English
After a plumbing repair or electrical upgrade, you are left with a hole in the wall. Patching it seems logical until the next service call forces you to cut it open again. A drywall access panel solves this permanently. The key to a successful installation is choosing the correct panel type for your application, cutting a precise opening, fastening the frame at the right spacing, and finishing the surface neatly. Follow these guidelines to achieve a result that looks seamless and provides reliable access for years.
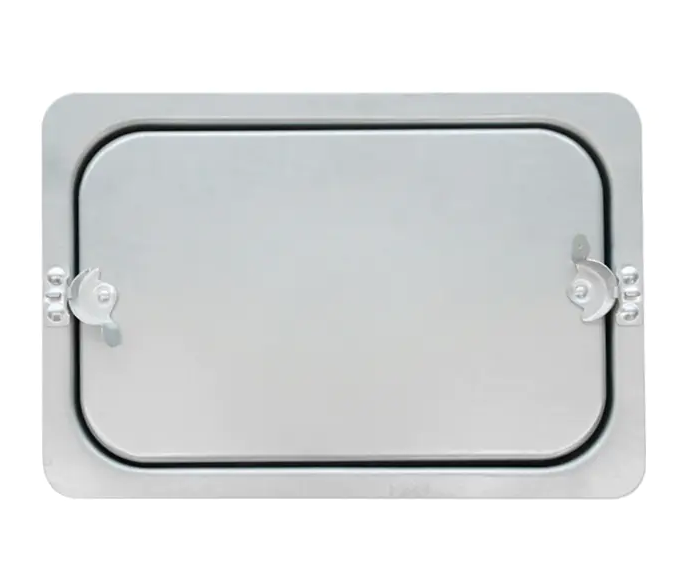
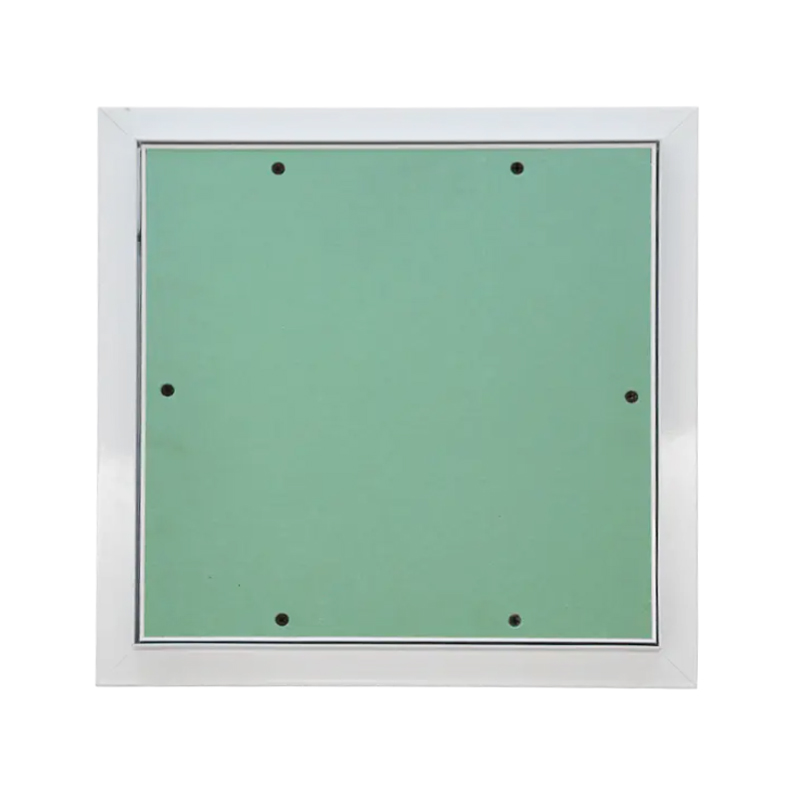
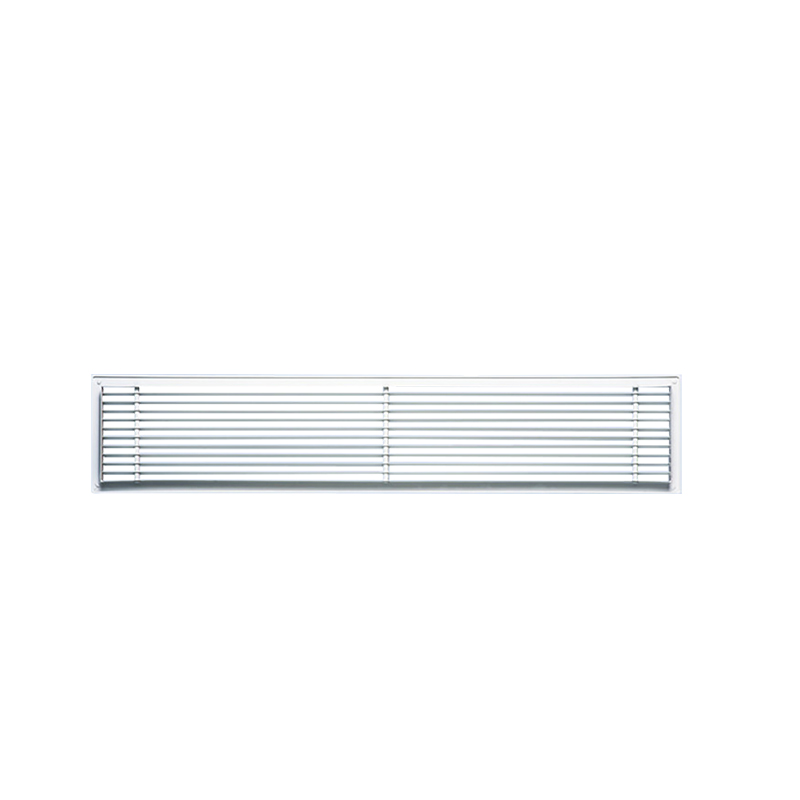
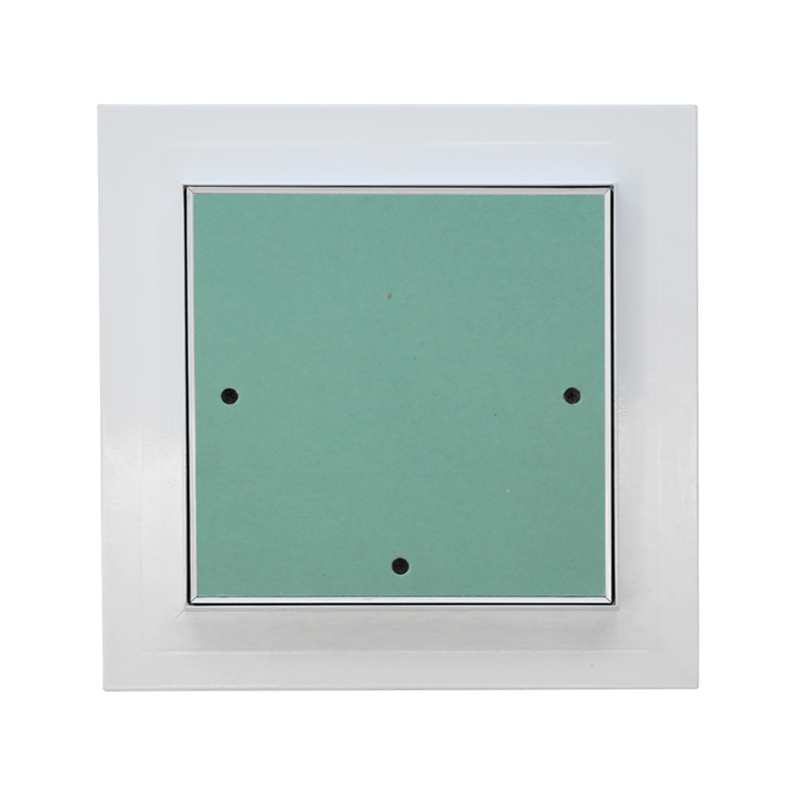 SA-AP320 Sliding Open Aluminum Access PanelSA-AP320 SLIDING OPEN ALUMINUM ACCESS PANELView Product →
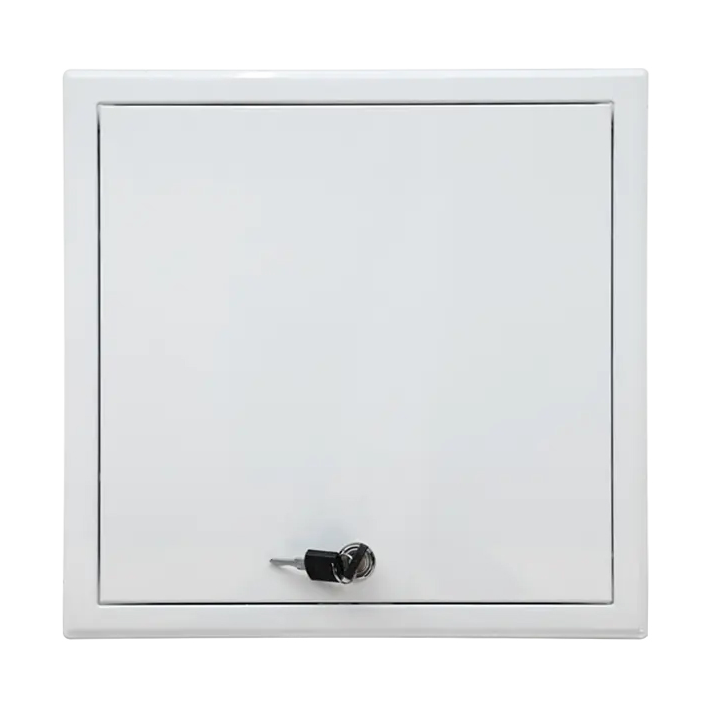
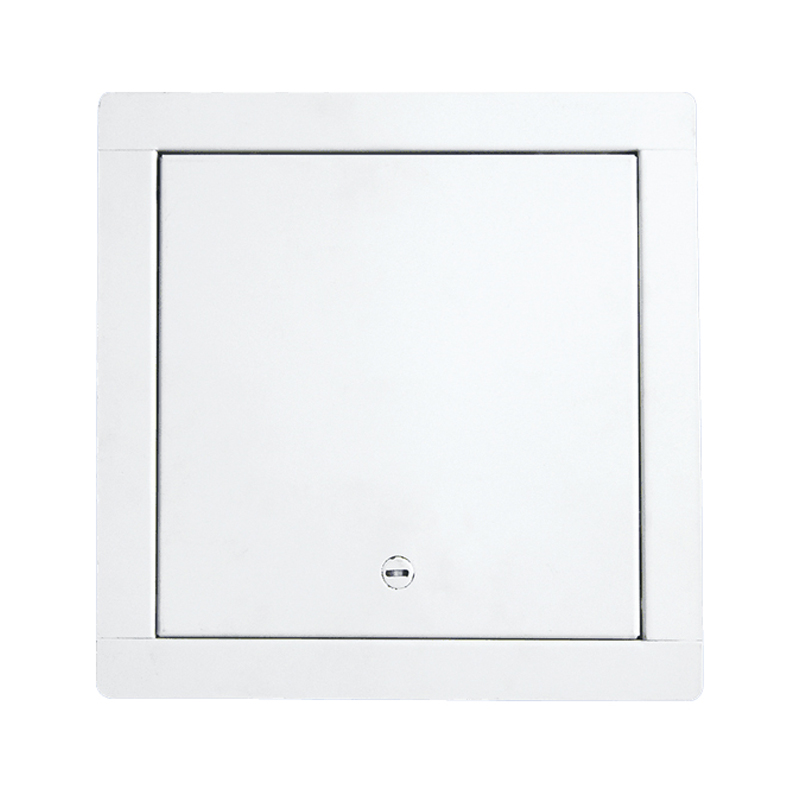
Not all access panels are suitable for drywall. Steel panels offer high strength and fire ratings, while aluminum panels are lightweight and corrosion-resistant. Plastic panels are budget-friendly and moisture-resistant, making them a good fit for bathrooms or basements. For most standard interior walls, a flush-mount panel with a drywall-compatible frame works best. When fire-rated assemblies are required, use a panel that meets the same hourly rating as the wall assembly. Standard sizes range from 6 x 6 inches to 24 x 24 inches, but you should always measure the actual rough opening rather than relying on the nominal hole size. A panel that is slightly smaller than the opening leaves room for adjustment and shimming.
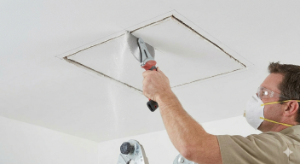
Accuracy at this stage determines how well the panel sits. Mark the panel outline on the wall using a level and a pencil. For a flush finish, add no more than 1/8 inch to each side of the panel frame dimensions to allow for easy insertion. Cut the drywall with a sharp utility knife or a drywall saw; score the paper face first, then snap the core. Always cut from the finished side to minimize tearing. Remove the cutout piece and check that the opening is square by measuring diagonals — they should match within 1/8 inch. For precise size guidelines, refer to the access panel sizes and dimensions reference before cutting.
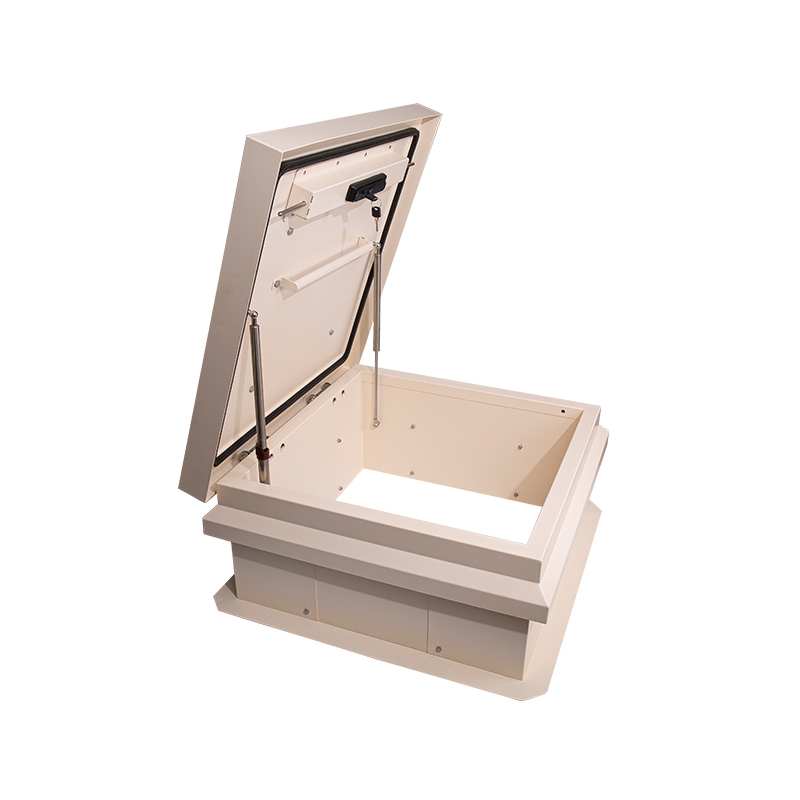
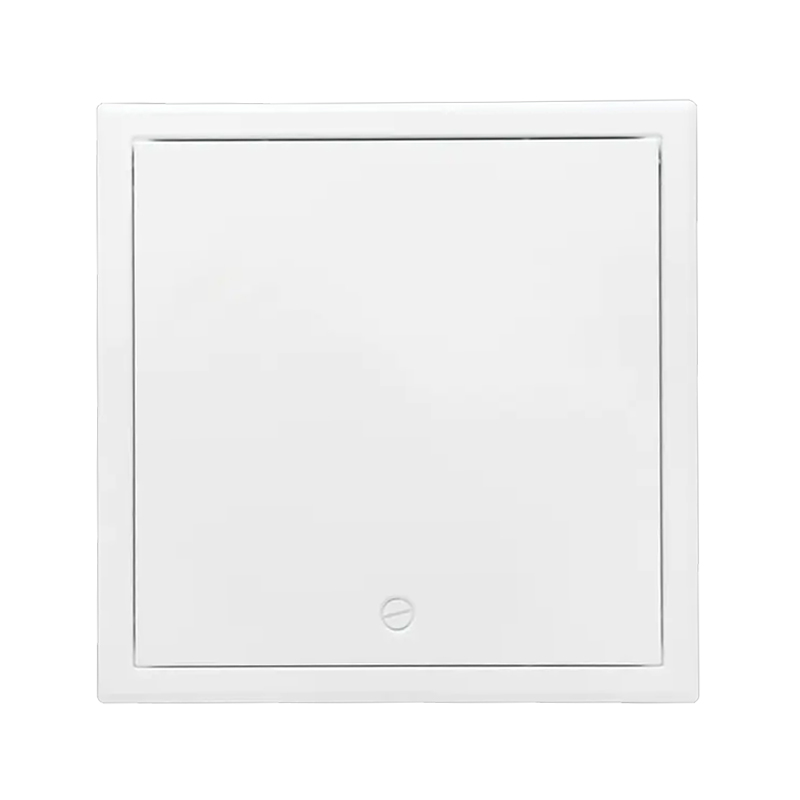
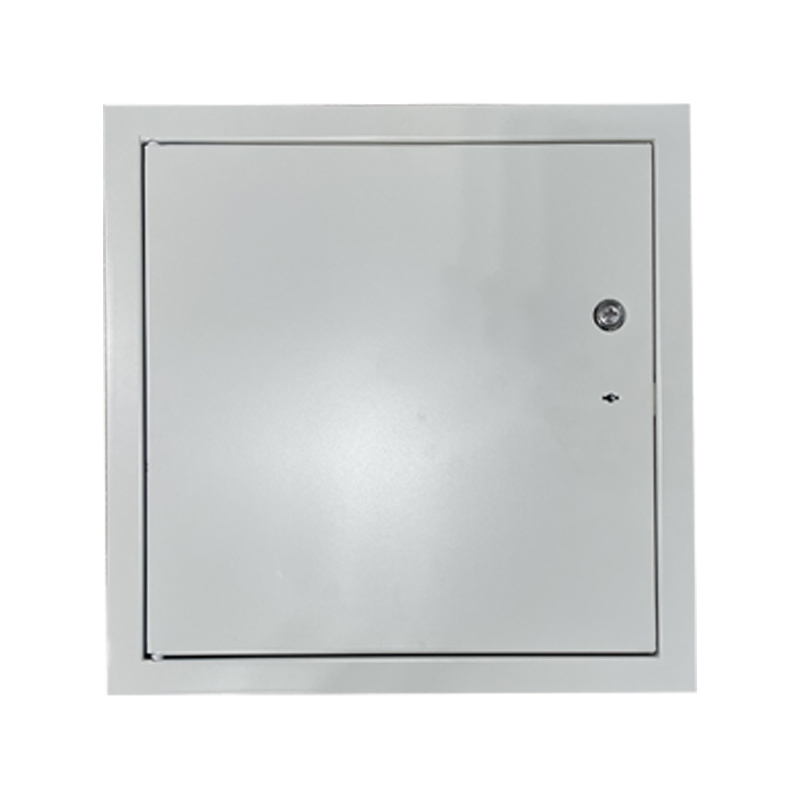
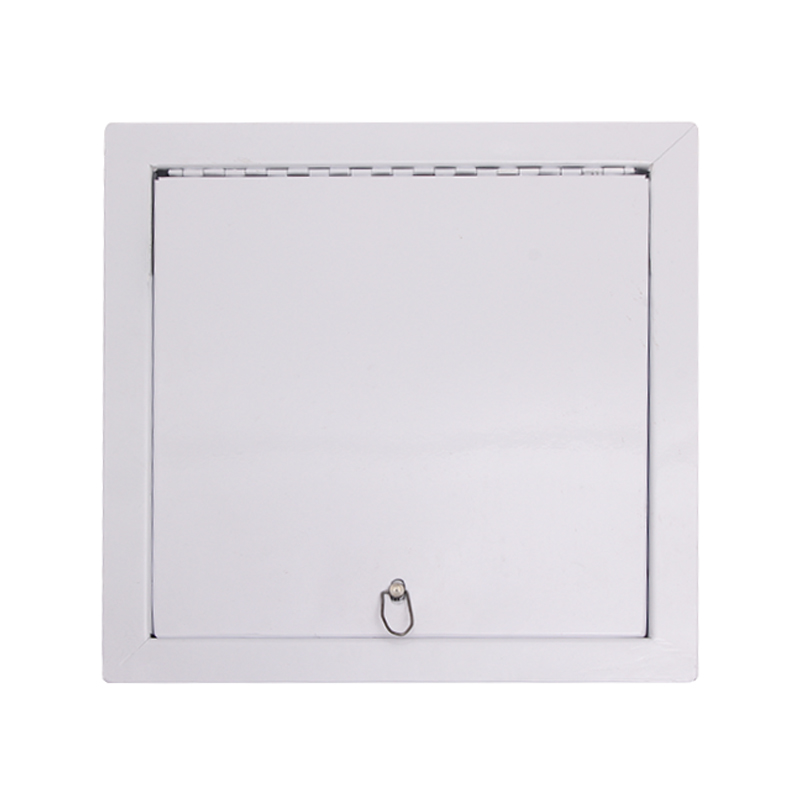 SS-AP110 Fire Rated Access PanelSS-AP110 fire-rated access panelView Product →
Position the panel frame into the opening and ensure it is flush with the drywall surface. Use a level to verify horizontal and vertical alignment. Drive drywall screws through the frame flanges into the surrounding studs or drywall backing. Space screws no more than 4 inches apart, and place one within 1 inch of each corner. Over-tightening can bow the frame, so stop when the screw head just contacts the metal. For panels that mount directly to drywall without stud support, use toggle bolts or heavy-duty drywall anchors rated for the panel weight. A detailed sequence of this process is covered in the drywall, plaster, and suspended ceiling installation guide.
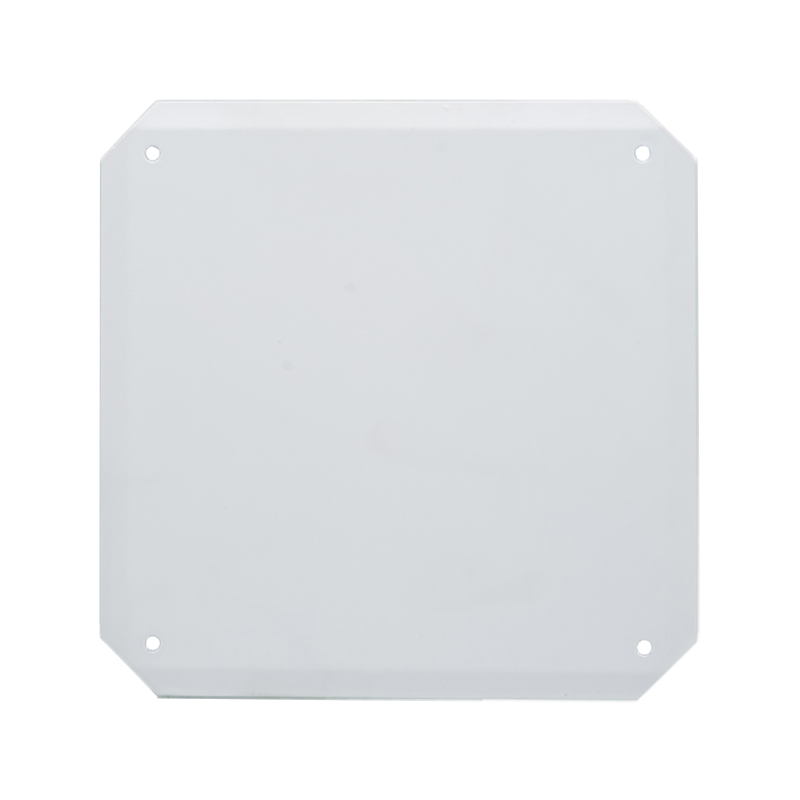
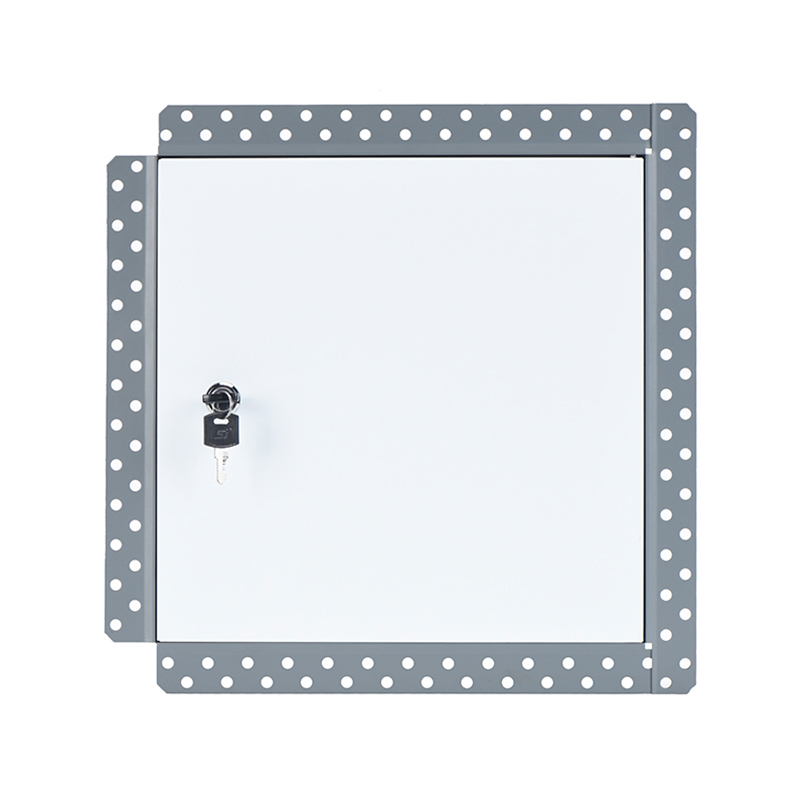
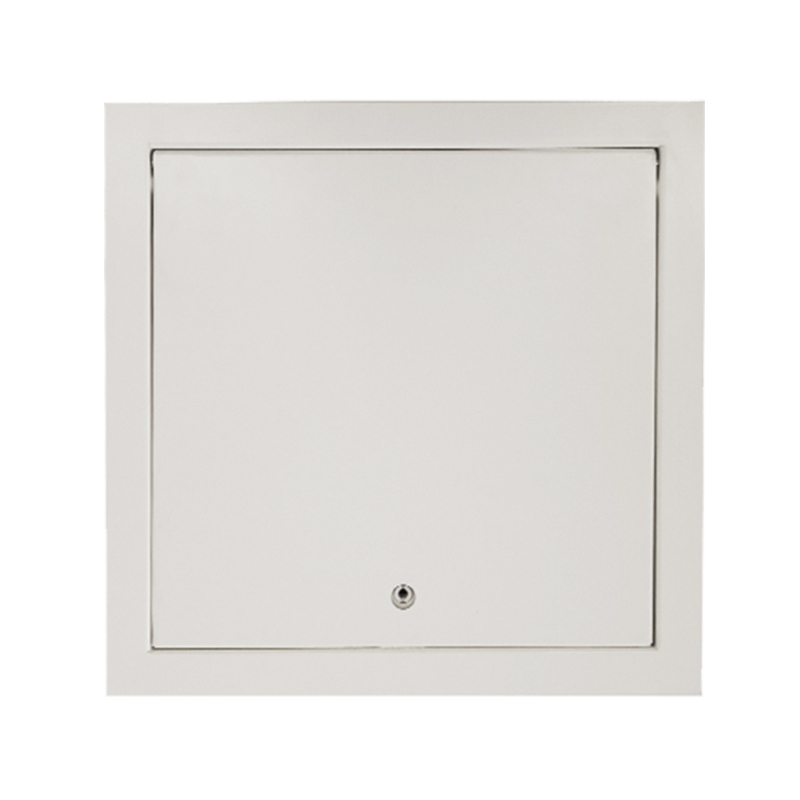 SS-AP111 Fire Rated Access PanelNEW DESIGN FIRE-RATED ACCESS PANELView Product →
The finishing method depends on whether the panel has a mud-in flange or an exposed flange. For mud-in panels, apply joint compound over the flange and paper tape, then feather it out 6 to 8 inches beyond the panel edges. Allow each coat to dry, sand lightly, and repeat until the surface is flush with the surrounding wall. For panels with a beaded or exposed flange, simply apply painter’s caulk along the edge and paint the frame to match the trim. A common mistake is to apply compound too thickly, which leads to cracking. Thin, even coats produce a seamless result. If the panel is in a ceiling, consider using a lightweight aluminum panel to reduce sagging.
Installing a drywall access panel is a straightforward task when you follow proven methods. Start by selecting a panel that matches your material, size, and fire-rating needs. Cut the opening with precision, fasten the frame at proper intervals, and finish the surface with care. By avoiding the common pitfalls outlined above, you will have an access point that remains functional and disappears into the wall. Reliable products and documented procedures make the difference between a job that looks professional and one that requires rework.

Contact Us
SHUNSHI provides a range of technical support services to ensure that customers are able to properly select, install and maintain these products.
Products
Access Panels GuideContact
Tel: 86-15988108762
86-572-8298792
Fax: 86-572-8298792
E-mail: [email protected]
No.281 Mingzhu Main Road, Leidian Town, Deqing, Huzhou, Zhejiang, China, 313219

 English
 Español
 عربى
عربى