English
Installing a roof hatch is one of the most important tasks when creating safe rooftop access for commercial or industrial buildings. A poorly installed hatch leads to leaks, heat loss, and safety hazards for maintenance crews. Based on field experience and manufacturer guidelines, the process boils down to three critical areas: precise opening preparation, proper curb alignment, and reliable weather sealing. This article walks through each phase with the facts you need to get it right the first time.
The roof deck opening is the foundation of your installation, and getting its dimensions right is non‑negotiable. Most roof hatches come with a specified clear opening size — for example, a 24‑inch by 24‑inch hatch requires a roof opening that matches the manufacturer’s exact dimensions, not the overall unit size. Always measure the rough opening against the product submittal drawing before cutting.
A reliable sizing guide can save hours of rework. The rule of thumb is this: the roof opening width and length must equal the clear opening of the hatch, and the base (curb) will be wider than the opening to provide a bearing surface. After opening the deck, inspect the cut edges for sharpness and remove any debris.
| Hatch Model | Clear Opening (W x L) | Required Roof Opening (W x L) |
|---|---|---|
| SAAP420 (Aluminum) | 24" x 249 | 24" x 249 |
| SAAP420 (Aluminum) | 36" x 36" | 36" x 869 |
| SAAP420 (Aluminum) – custom | Up to 60" x 60" | Same as clear opening |
Next, decide on the curb height. A standard curb is about 8 to 12 inches above the roof surface. If the roof insulation is thicker than usual, you may need a taller curb to keep the hatch flange above the finished roofing membrane. Some installations place the hatch directly on a pre‑existing curb from a previous unit — in residential retrofit situations, a replacement curb kit often simplifies this step.
When the roof deck sits lower than planned due to added insulation, a separate curb extension (curb adapter) is required. Never set the hatch directly on rigid insulation — the weight will crush it and create a leak path. The curb must bear directly on the structural deck or on a solid wood nailer that is flashed into the roofing system.
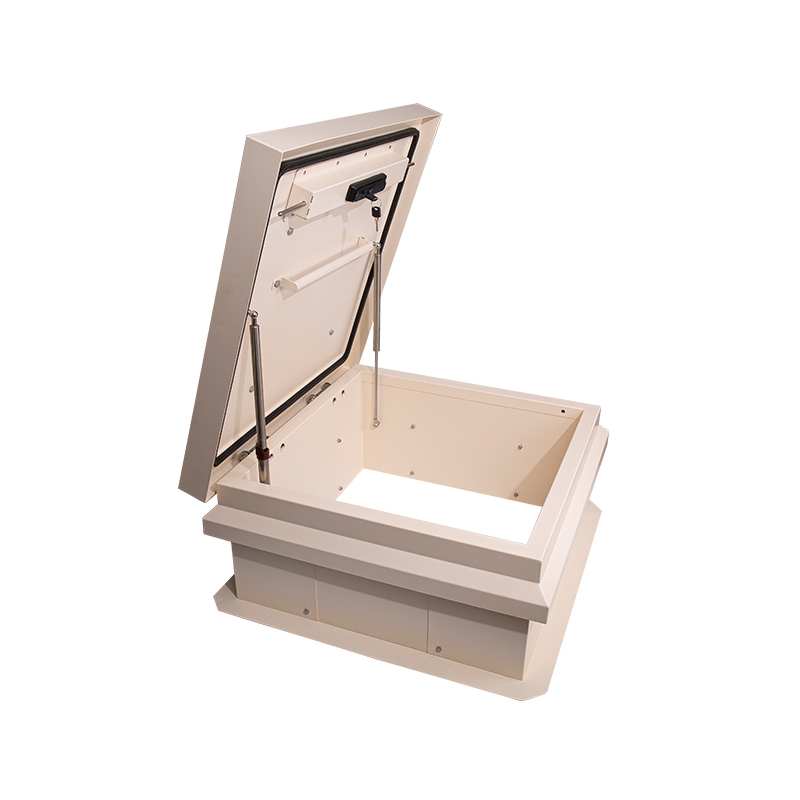
With the opening ready and the curb selected, the installation follows a sequence that applies to nearly all roof hatches, including 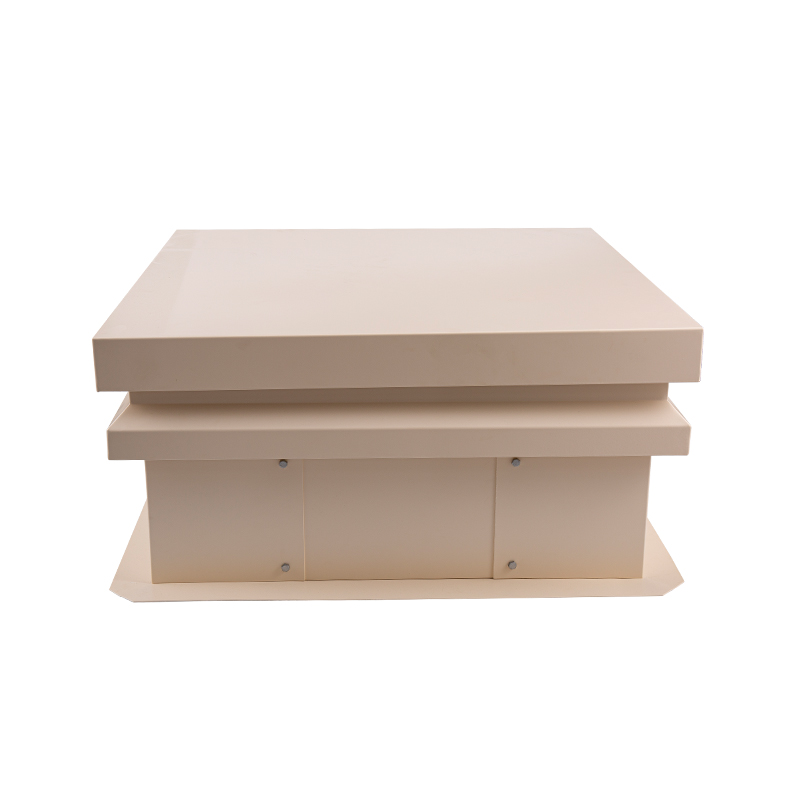 Aluminum Roof Hatch with Insulation and Weather-Tight DesignThis roof hatch features a 1mm aluminum frame and lid, XPS insulation, weather-tight design, and a three-point lock. It follows the same installation sequence as steel models but requires attention to fire-rated enclosure requirements per local codes.View Product → and similar steel models.
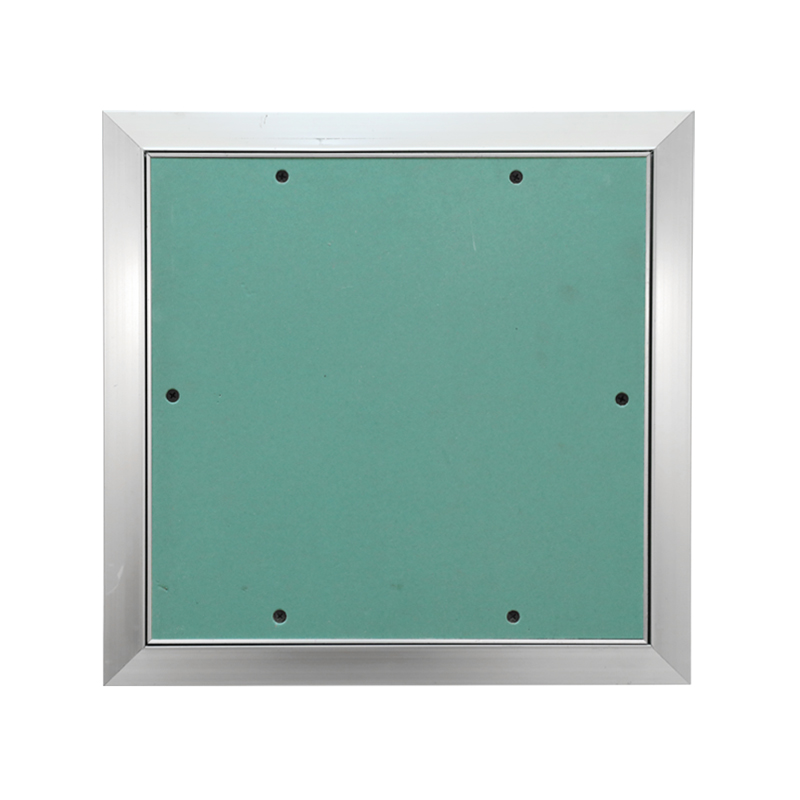
Fire‑rated installations require additional attention. The hatch assembly may need to be surrounded by fire‑resistant board or a specially designed fire‑rated access panel assembly that maintains the building’s fire‑resistance rating. Always check local codes before finalizing the installation.
Aluminum roof hatches are the most popular choice for general commercial use because they are lightweight, corrosion‑resistant, and durable. Steel hatches offer higher load capacity and can be fire‑rated, though they are heavier. Insulated models have a foam core between the metal skins, improving energy efficiency and reducing condensation on the inside surface. For cold climates, a thermally broken curb or a thick layer of rigid insulation above the opening is strongly recommended.
| Property | Aluminum (e.g., SAAP420) | Steel (galvanized) |
|---|---|---|
| Weight | 60–80 lbs (typical 24x24) | 90–130 lbs |
| Corrosion resistance | Excellent (no coating needed) | Good with galvanizing or paint |
| Maximum load capacity | 40 psf | 60+ psf |
| Fire rating (UL) | Usually not rated | 60‑ or 90‑minute available |
If the hatch will be accessed frequently — for HVAC maintenance, elevator overhauls, or roof repairs — choose a model with a hold‑open arm that locks in place. Gas spring struts are also available for heavier lids to reduce lifting effort.
Once the hatch is installed and sealed, perform these final checks:
Regular maintenance is simple but often neglected. Every six months, lubricate the hinges and latch mechanism with a silicone‑based lubricant. Clean debris from around the curb and inspect the flashing for cracks or separation. A well‑maintained roof hatch will last 20 years or more.
Three errors appear most frequently on job sites:
By following the manufacturer’s torque specifications and using an appropriate sealant (polyurethane or butyl, not silicone alone), these issues are easy to avoid.
Roof hatch installation is a straightforward process when each phase is given proper attention. Start with accurate measurements, choose the right curb height, fasten thoroughly, and seal against the elements. The result is a safe, durable access point that serves the building for decades.


Contact Us
SHUNSHI provides a range of technical support services to ensure that customers are able to properly select, install and maintain these products.
Products
Access Panels GuideContact
Tel: 86-15988108762
86-572-8298792
Fax: 86-572-8298792
E-mail: [email protected]
No.281 Mingzhu Main Road, Leidian Town, Deqing, Huzhou, Zhejiang, China, 313219

 English
 Español
 عربى
عربى