English
There is a certain satisfaction in a finished wall that has nothing on it — no visible hinges, no frame standing proud of the plaster, no door swinging out into a corridor. Behind that surface, though, someone still has to reach a valve, a junction box, a damper or a fan. That is exactly the gap a drywall insert is made to fill: an access door installed before the taping and painting stage, then finished with the same compound and coating as the wall around it.
We build these panels every day, and our products have gone into hotels, hospitals, plant rooms and apartment blocks in more than 90 countries. Below is what we have learned about choosing a drywall insert for walls and ceilings when the finish has to stay seamless.
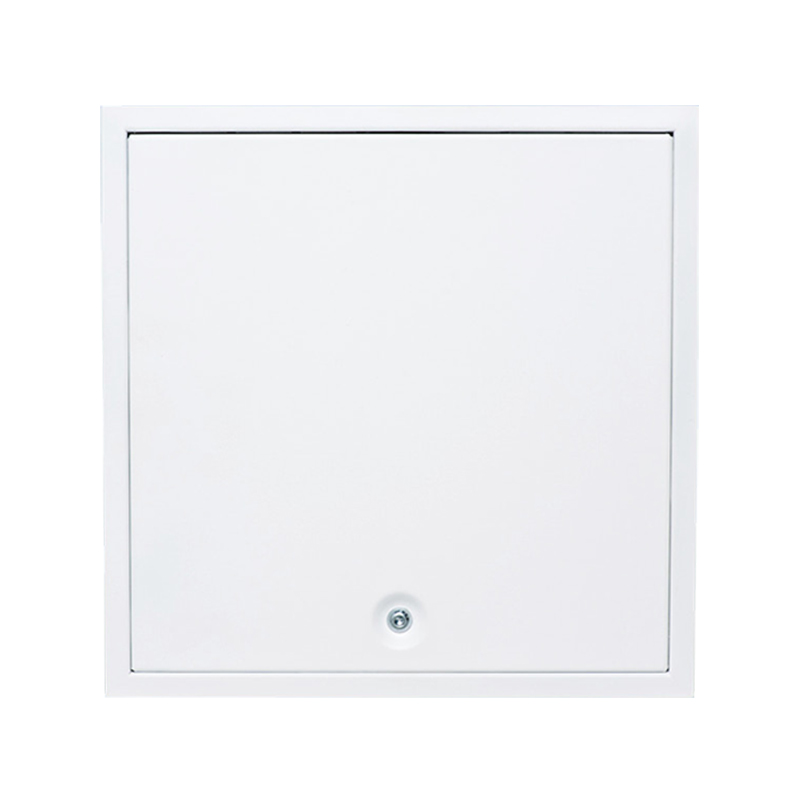
Nobody in our factory claims a plaster-in access panel is literally invisible. What it is, is discreet. The door panel is either a blank of gypsum board or a steel tray lined with gypsum board, and it sits inside a frame with a thin bead or flange designed to receive joint tape. Once the taper has feathered the joint and the painter has rolled the final coat, the only things that give the panel away are a hairline shadow line and a small lock or push catch.
Two details make that work. First, the frame has to finish flush with the surrounding board, so the tape has something solid to bridge. Second, the door has to stay flat when closed — no sag, no proud corner, no twist after a few hundred openings. Everything else, hinges, latches, panel material, matters mostly to the person who actually opens it.
Once you have handled a few of these units, the structure becomes obvious. Four parts do most of the work:
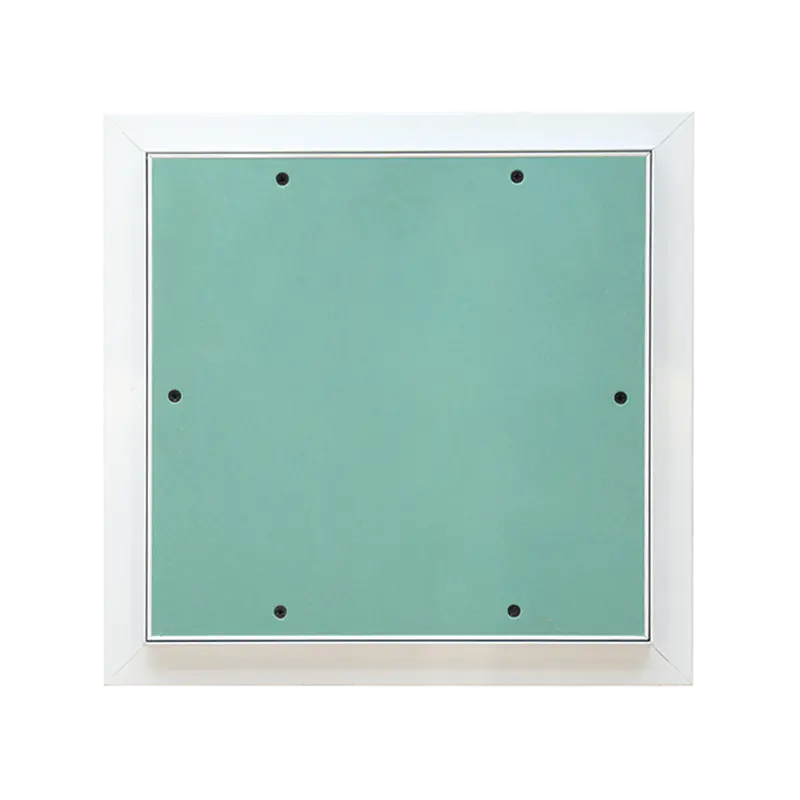
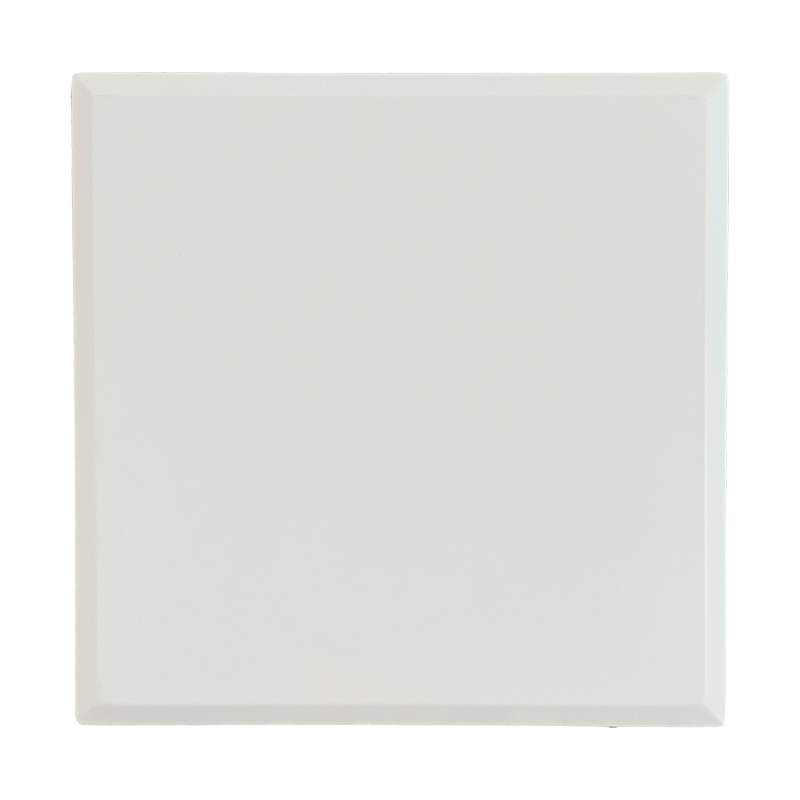
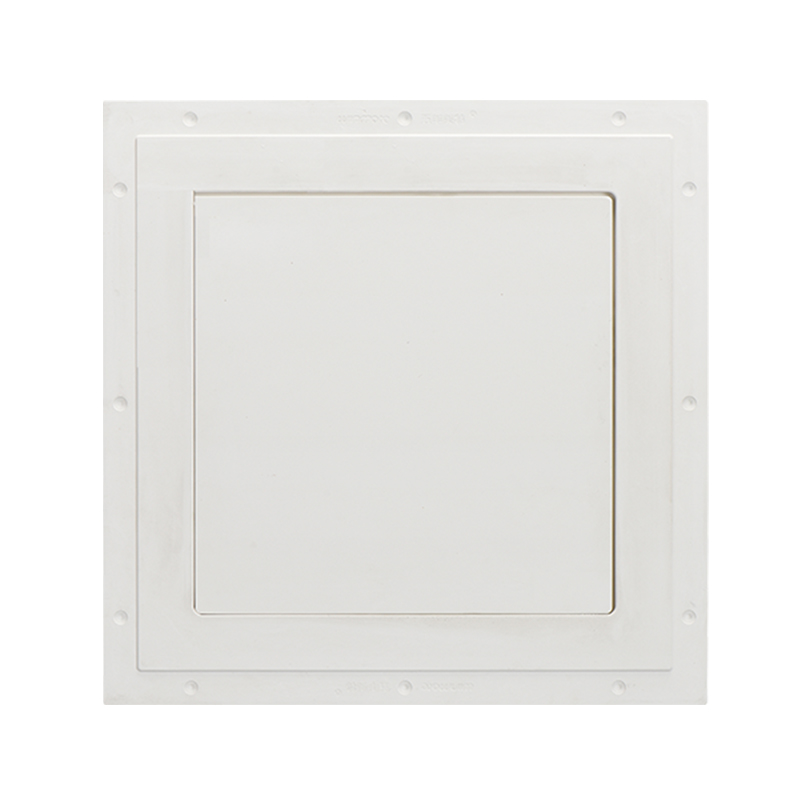 Gypsum Access Panel for Taped and Skimmed WallsMade from high-strength gypsum with glass-reinforced fiber and aluminum alloy, this panel matches a plasterboard wall for a seamless taped finish.View Product →
A gypsum-board panel like this one is the classic choice for a taped and skimmed wall, because the door face behaves exactly like the wall it sits in — same substrate, same paint, same texture.
The frame usually decides how clean the finished wall looks and how much labour the finishing stage costs. Here is how the styles we build most often compare:
| Frame style | Typical use | How it is finished | Panel behaviour |
|---|---|---|---|
| Beaded plaster frame | Drywall walls, corridors, hotel guest rooms | Tape and joint compound over the bead | Hinged, opens outward |
| Flanged frame | Ceilings and openings with timber or metal backing | Screw-fixed, tape covers the flange | Often fully removable |
| Set-bead steel with gypsum board | High-traffic walls needing impact resistance | Skim coat directly onto the bead | Hinged with concealed hinge |
| MDF flange frame | Residential ceilings and painted soft-fit interiors | Fill, sand, then paint | Removable or hinged |
Size is where most first-time buyers start, and it is a sensible place to begin. Openings of 200 × 200 mm and 300 × 300 mm cover valves and small junction boxes; 450 × 450 mm and 600 × 600 mm suit larger plant, dampers and ductwork connections. Anything beyond that is normally a custom build, and it helps to send a drawing rather than a description. Our drywall access panel types and size guide walks through the standard range in more detail.
Walls and ceilings are not the same job, though. A wall panel hangs on its hinges and the load is mostly lateral; a ceiling panel has gravity pulling against the catch, so the frame needs proper backing and the hinge needs to be sized for the door weight. Large ceiling openings are better split into two doors or fitted with a stay, because a single heavy panel above head height is awkward for maintenance staff and hard on the latch.
It also pays to think about what the ceiling contains. In bathrooms and kitchens, moisture-resistant board is worth specifying. In corridors and service risers, a steel tray panel survives knocks better than a plain gypsum door.
If the wall or ceiling is a fire separation, the access panel becomes part of a tested system. That means the panel, frame and intumescent seal are specified together, and the rating belongs to the assembly rather than to the door alone. Swapping a certified panel for a standard one on site quietly removes the protection the drawings called for — a detail worth writing into the inspection checklist.
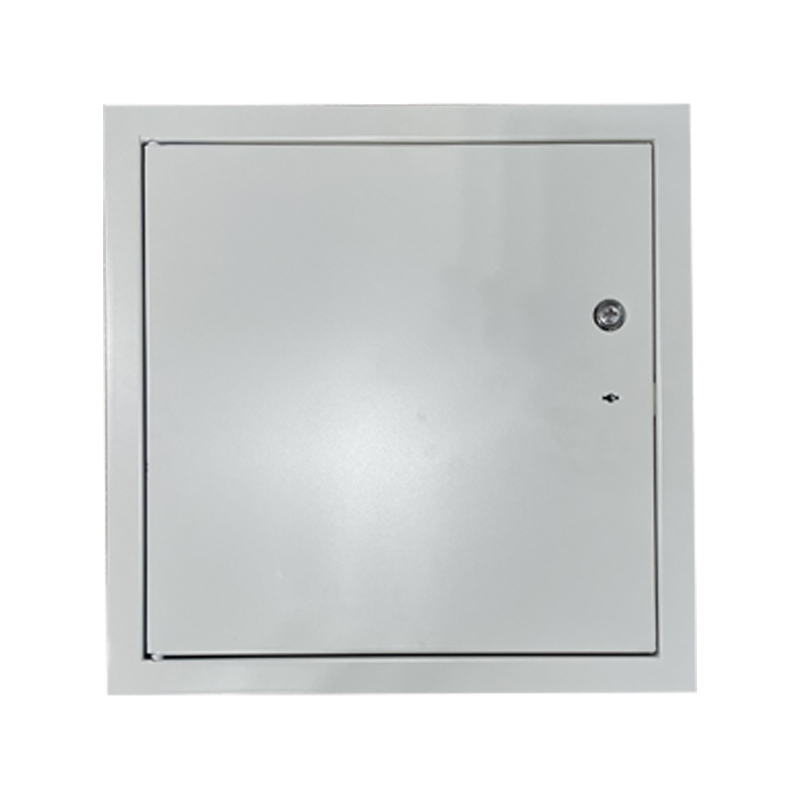
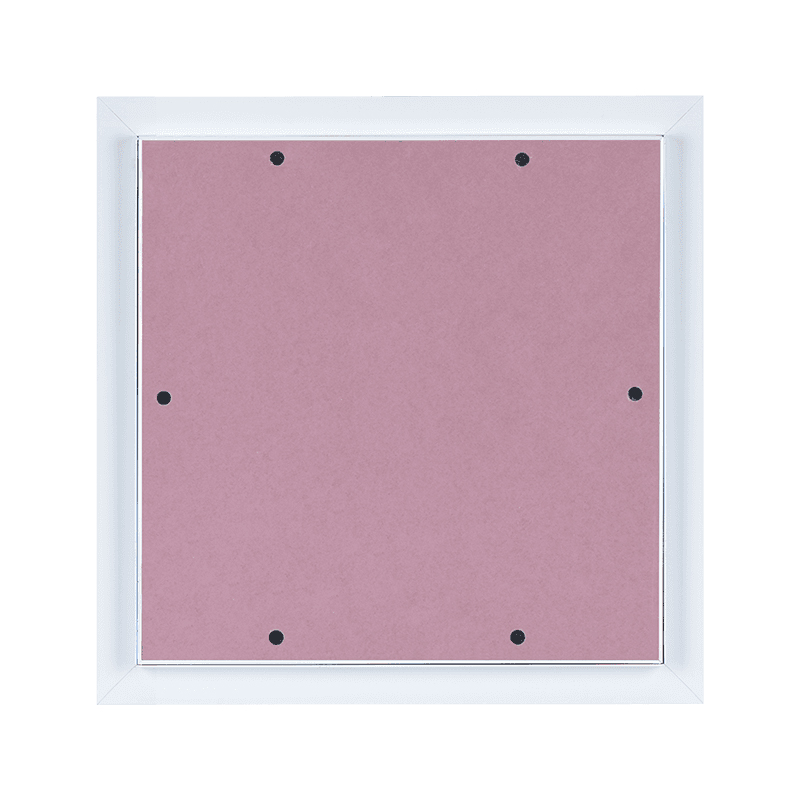 Fire-Rated Aluminum Access Panel with Gypsum InlayAluminum access panel with concealed snap lock, sealing strips and fire-rated gypsum board inlay, suited to ceiling or drywall maintenance in fire separations.View Product →
Sound-rated panels rely on mass and on tight seals at the frame. A well-fitted acoustic door with a continuous gasket will hold its performance; the same door with a cut seal or a warped leaf will leak noise at the perimeter. In hotel party walls and plant room partitions, that perimeter detail matters more than the panel thickness on the datasheet.
Moisture-resistant gypsum, sealed edges and stainless or coated fixings are the basics for bathrooms and wet rooms. Where tiles are planned over the panel, the door needs to be stiff enough that the tile bed does not crack along the opening line when the door is used.
The order of work is simple, but it is easy to rush the first two steps and pay for it later:
If you want a step-by-step version with substrate-specific notes, our guide to installing an access panel in drywall, plaster and suspended ceilings covers the sequence in more depth.
For distributors and contractors buying in quantity, the questions shift from "which panel" to "which supplier, and can they repeat it". Bead geometry, panel thickness and latch position all need to stay consistent from one container to the next, because a crew that has taped a hundred of your panels will notice immediately if number one hundred and one sits differently.
At Shunshi we run our own tooling in Deqing, Zhejiang, work to ISO 9001 procedures, and take on OEM and ODM orders where the branding, packaging and panel configuration are set by the buyer. That includes set-bead steel panels produced to a specified board thickness and latch type, which is often the model that fits best where impact resistance and a flush finish are both required.
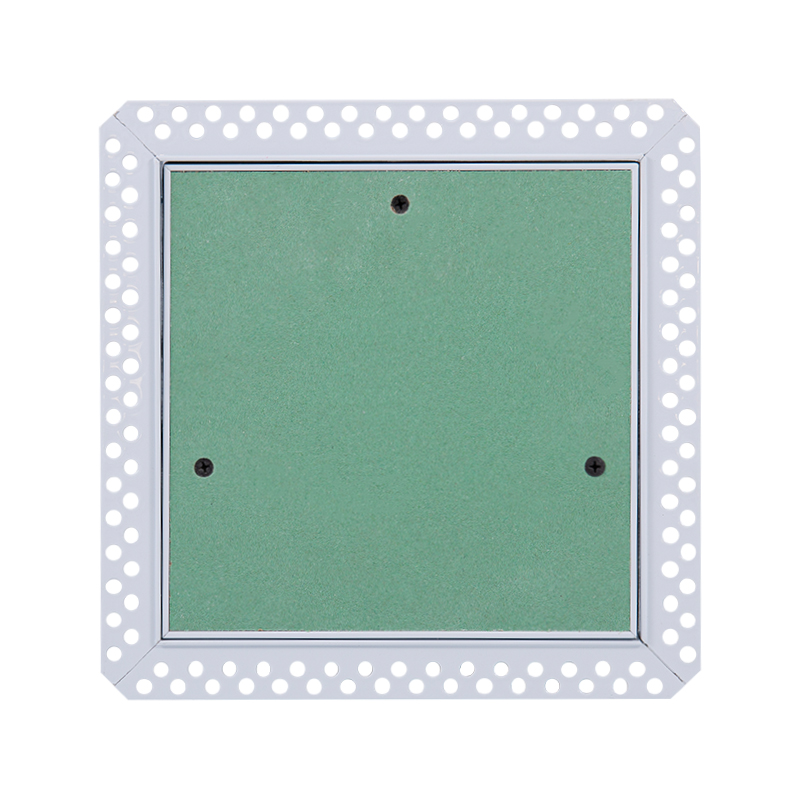
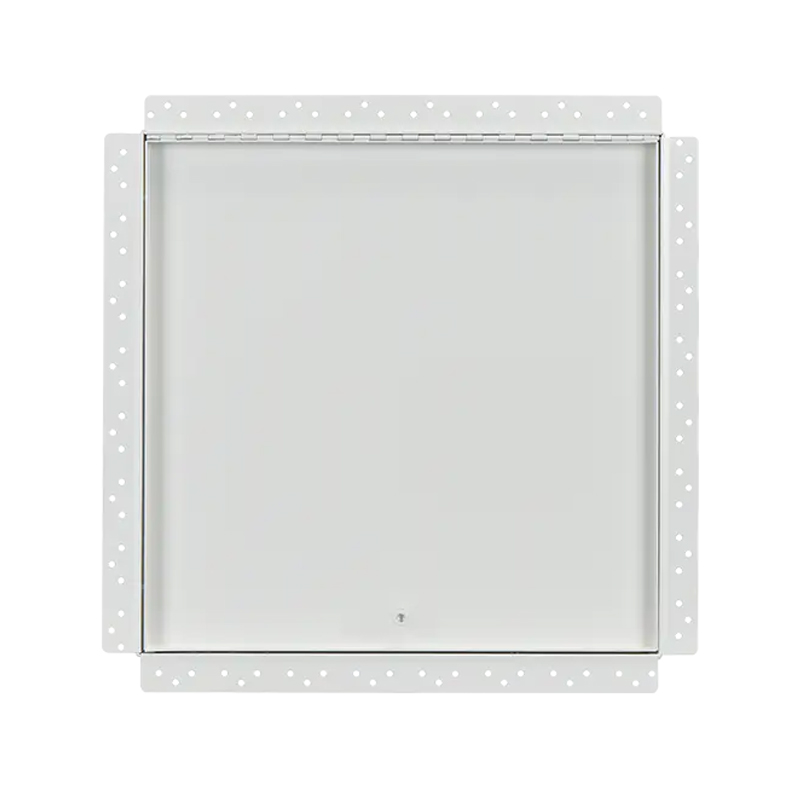
 Steel Access Panel with Beaded Frame and Gypsum CoreGalvanized steel access panel with beaded frame, water-resistant gypsum board, touch lock and removable door; available for OEM orders and sample trials.View Product →
Order quantities are flexible enough for a first project trial, and we are happy to send samples so your installer can tape one up and judge the finish before committing to a full order.
A drywall insert is a small item in the overall budget and a large one in how a finished space feels. Get the frame right, get the panel flat, finish it like the wall around it, and nobody will ever notice it — which is precisely the point. Tell us the wall build-up, the opening size and the rating required, and we will help you match a panel to it.

Contact Us
SHUNSHI provides a range of technical support services to ensure that customers are able to properly select, install and maintain these products.
Products
Access Panels GuideContact
Tel: 86-15988108762
86-572-8298792
Fax: 86-572-8298792
E-mail: [email protected]
No.281 Mingzhu Main Road, Leidian Town, Deqing, Huzhou, Zhejiang, China, 313219

 English
 Español
 عربى