English
A drywall access panel is a hinged or removable door set flush into a wall or ceiling, giving you clean, repeatable access to plumbing valves, electrical boxes, and HVAC components without cutting new drywall every time. Picking the right type and installing it correctly the first time is the key to a professional result.
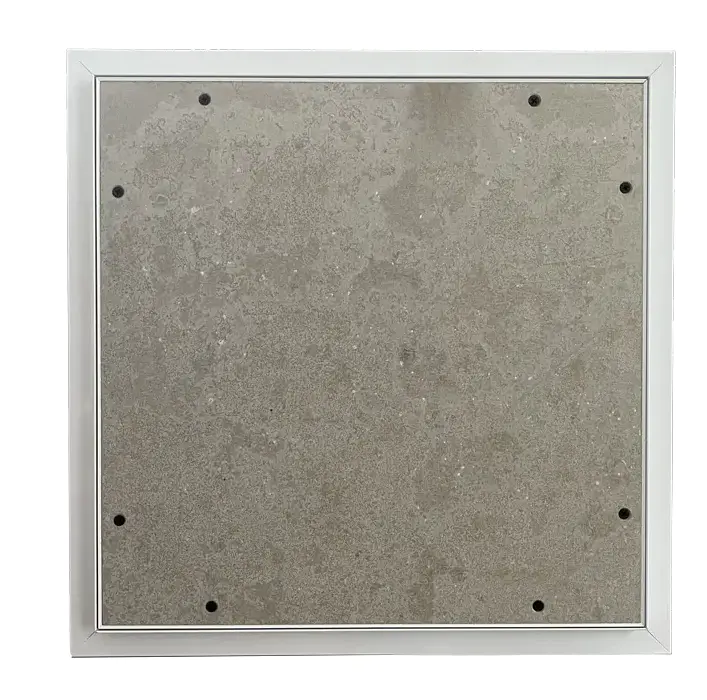
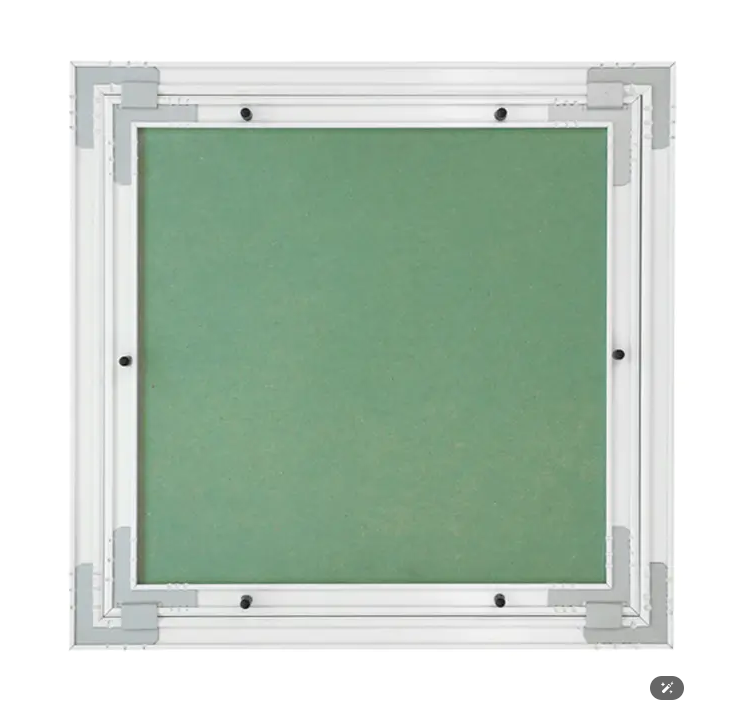
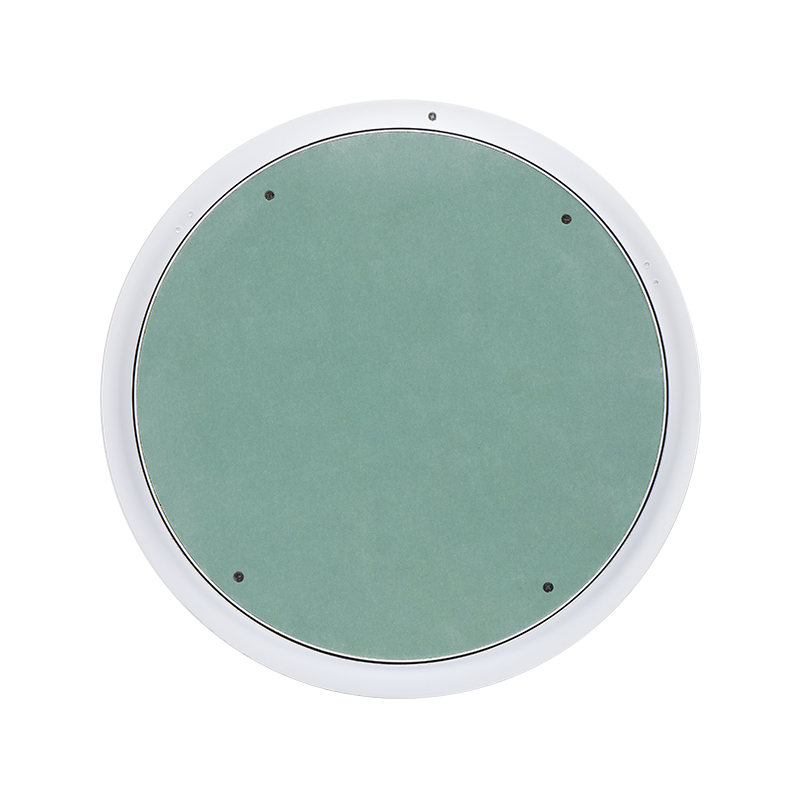
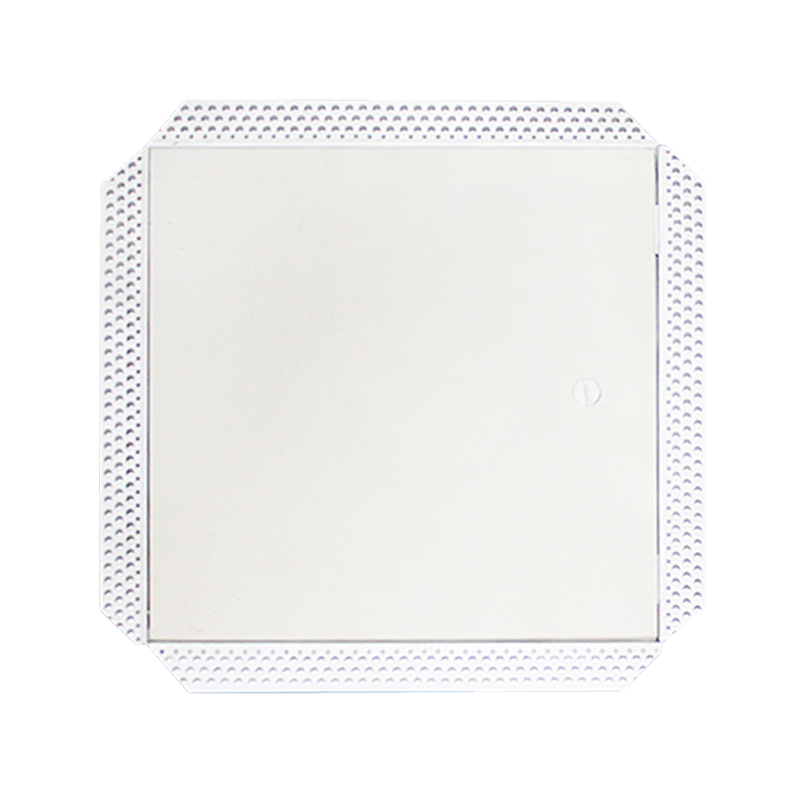
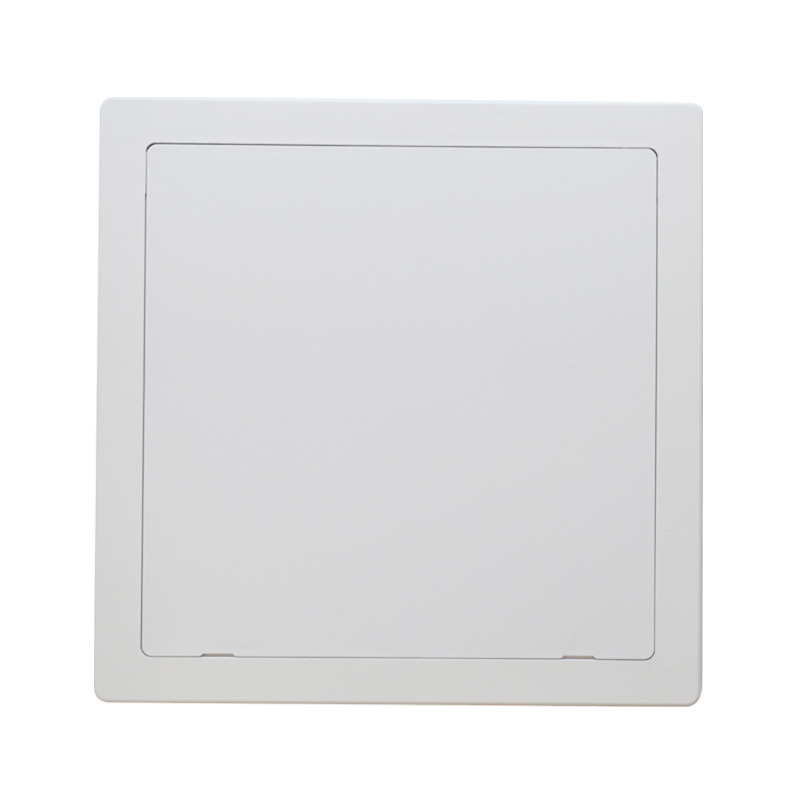
Bead-flange (drywall inlay) panels are the most popular choice for residential walls and ceilings. The door accepts a drywall insert that blends invisibly into the surrounding surface after taping and painting. Sizes typically run from 6×6 up to 24×24 inches.
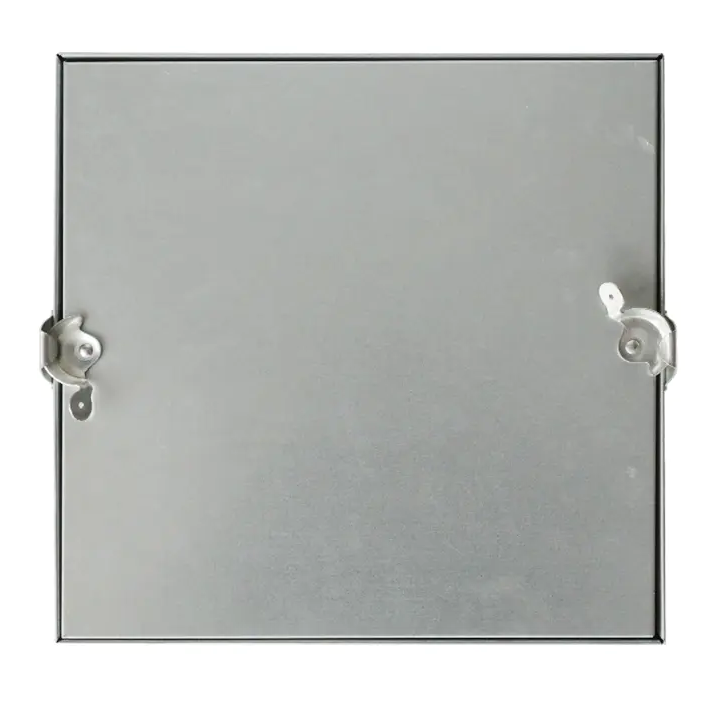
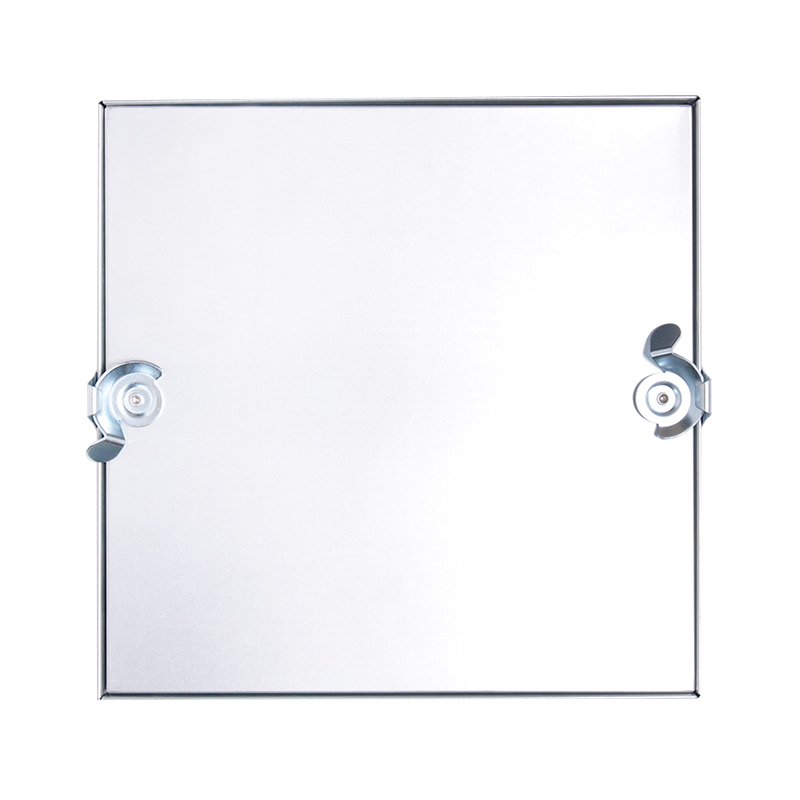
Flush metal panels have a solid door secured by a quarter-turn screwdriver latch. They are faster to install and common in utility rooms or commercial spaces where a seamless finish is less critical.
Fire-rated panels are required by code anywhere an opening penetrates a rated wall or ceiling assembly. They carry a UL listing, use 20-gauge or heavier steel, and include intumescent perimeter seals. Using a standard panel in a rated wall is a code violation.
Insulated panels are designed for exterior walls and attic hatches. A rigid foam core typically delivers R-10 to R-20, and a continuous gasket prevents air leakage.
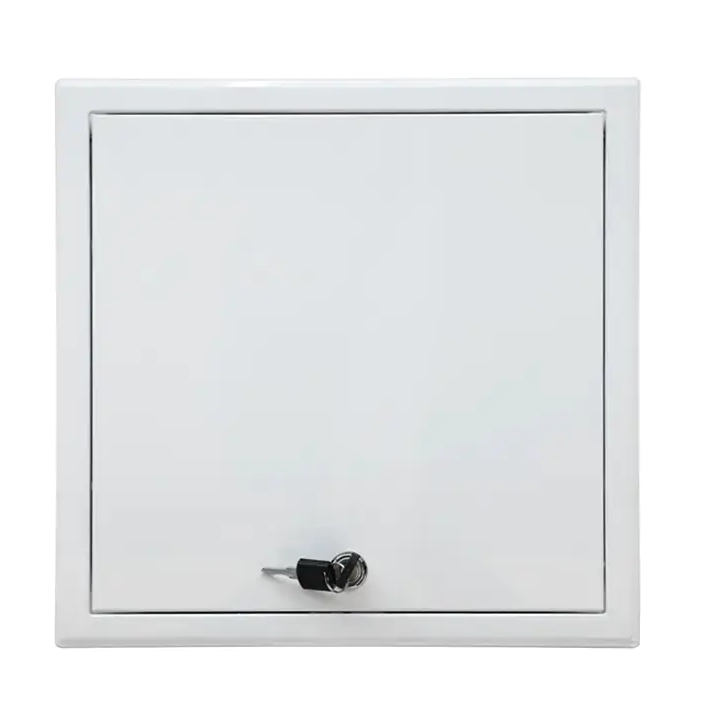
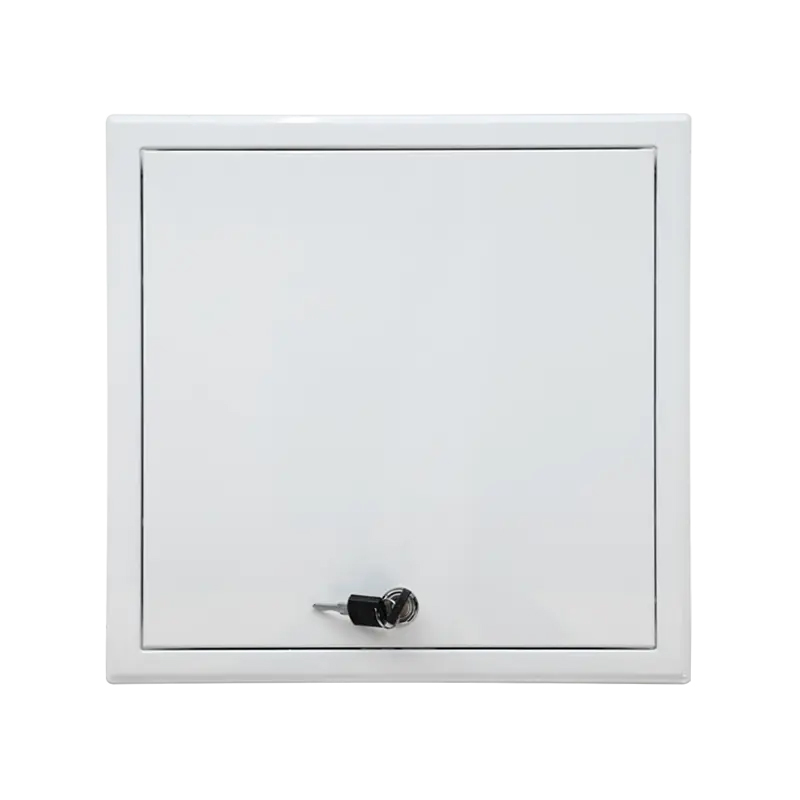
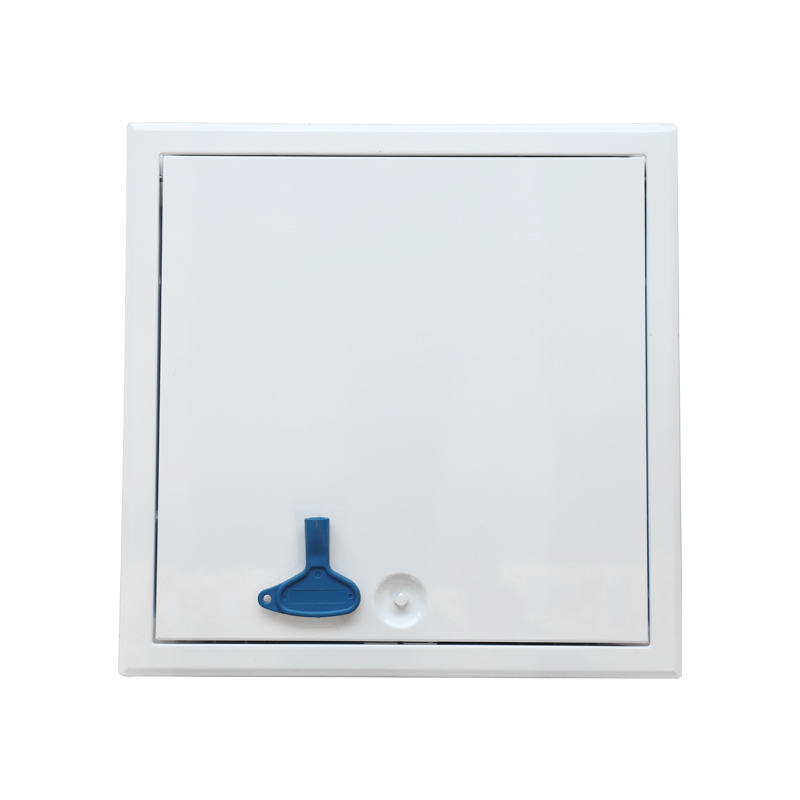
Locking panels integrate a key cylinder or padlock hasp and are required for enclosures in publicly accessible areas.
The opening needs to be large enough to actually service what's behind it:
The rough opening should be ¼ to ½ inch larger than the panel's listed dimension on each side to allow for adjustment.
Get the panel type right, frame the opening square and solid, and the rest of the installation follows naturally.
Contact Us
SHUNSHI provides a range of technical support services to ensure that customers are able to properly select, install and maintain these products.
Products
Access Panels GuideContact
Tel: 86-15988108762
86-572-8298792
Fax: 86-572-8298792
E-mail: [email protected]
No.281 Mingzhu Main Road, Leidian Town, Deqing, Huzhou, Zhejiang, China, 313219
 English
 Español
 عربى
عربى