English
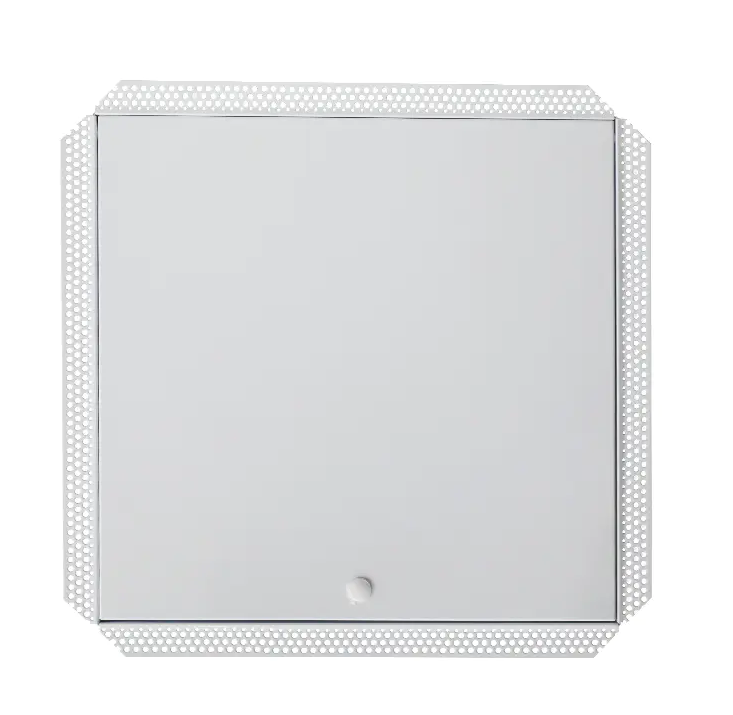
Installing a steel access panel requires cutting a precise opening, building a support frame, securing the panel frame, and hanging the door — a process most DIYers can complete in under two hours with basic tools. Steel panels are widely used in walls and ceilings to provide access to plumbing, electrical conduits, HVAC components, and fire-stopping systems.
This guide walks through every stage, from selecting the right panel size to final flush-fitting, with specific measurements and common pitfalls to avoid.
Gather tools and materials before cutting anything. Missing an item mid-job leads to rushed decisions and poor results.
| Category | Items |
|---|---|
| Tools | Stud finder, drywall saw, level, drill, screwdriver, tape measure, pencil |
| Materials | Steel access panel (correct size), 2×4 or metal stud framing, drywall screws, joint compound (optional) |
| Safety | Safety glasses, work gloves, voltage tester (if near electrical) |
Panel sizing tip: Always order a panel at least 2 inches larger than the component you need to access. Standard residential panels range from 6×6 in. to 24×36 in.; the most common size for plumbing cleanouts is 12×12 in.

Use a stud finder to locate studs or joists near your target area. The opening must be positioned between two studs (typically 14.5 in. clear for 16 in. on-center framing). Mark the exact rectangle with a pencil and verify it is level before cutting.
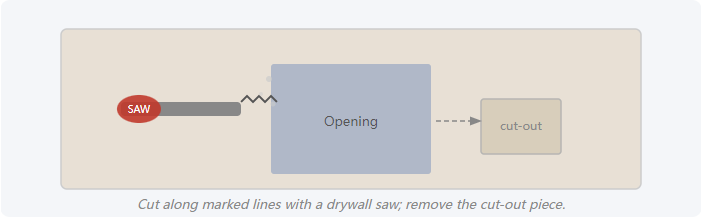
Score along your pencil lines with a utility knife first to prevent tearing, then use a drywall saw to cut cleanly. Cut on the waste side of the line to avoid an oversized opening.
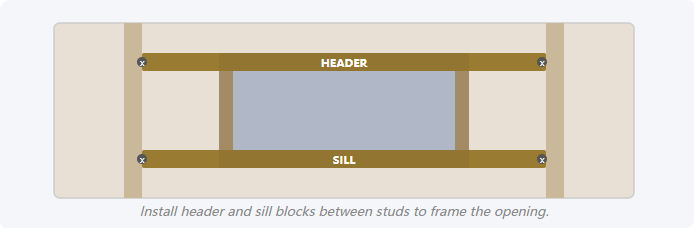
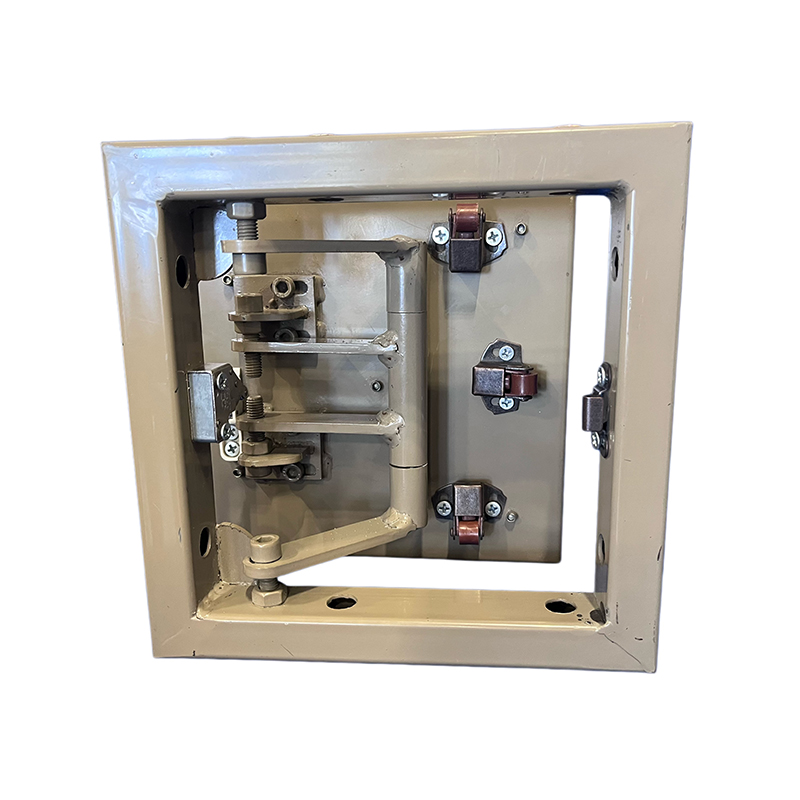
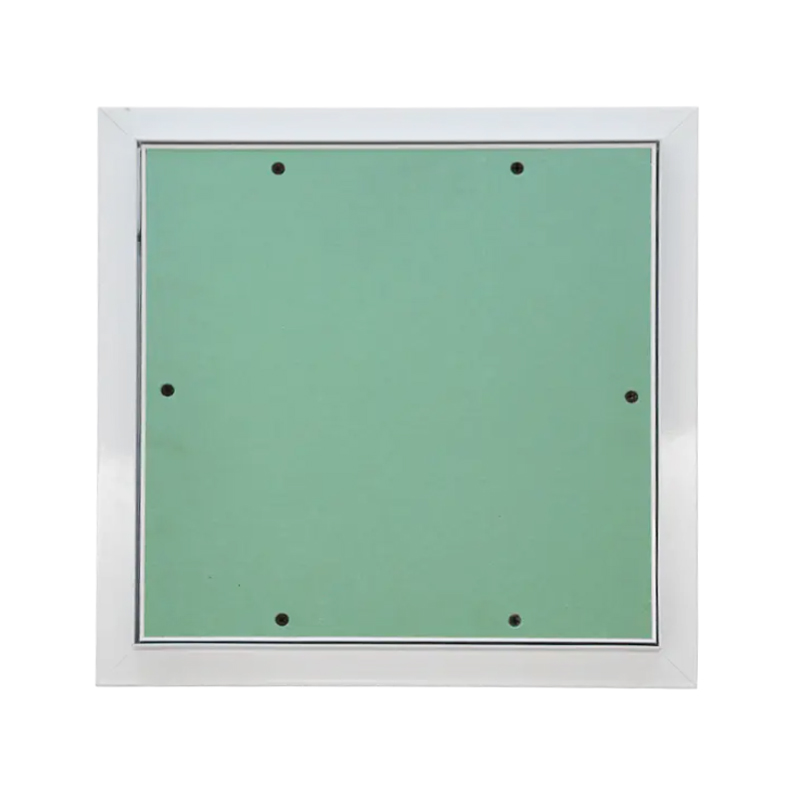
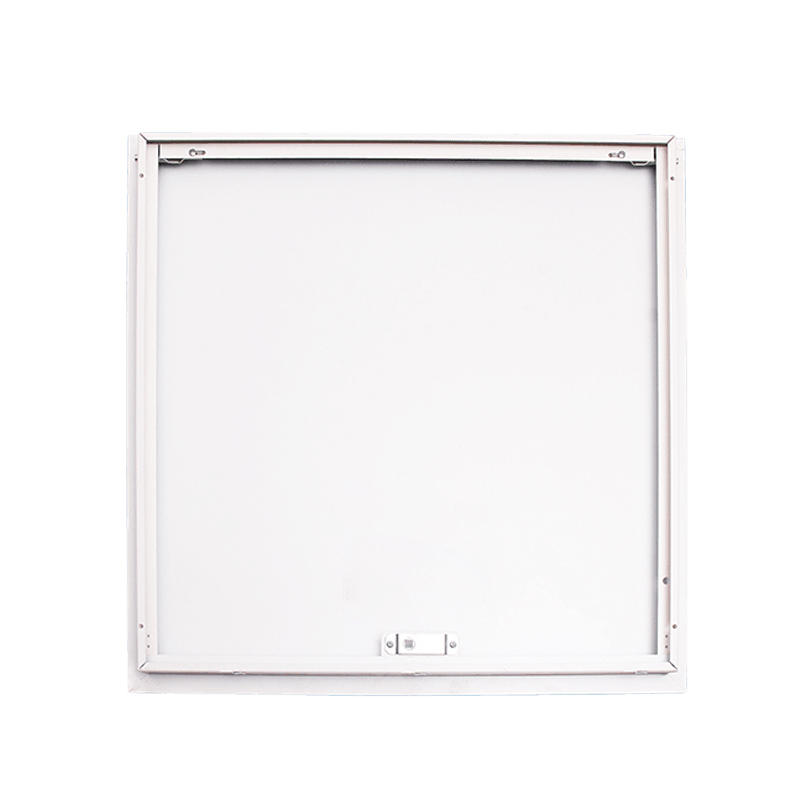
Steel access panels need solid backing to hold their weight and stay flush. Install header and sill blocks (horizontal 2×4s or metal studs) between existing framing members at the top and bottom of the opening.
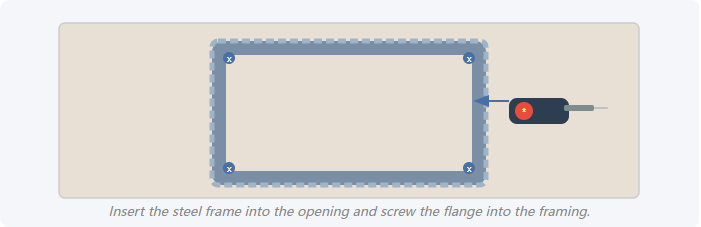
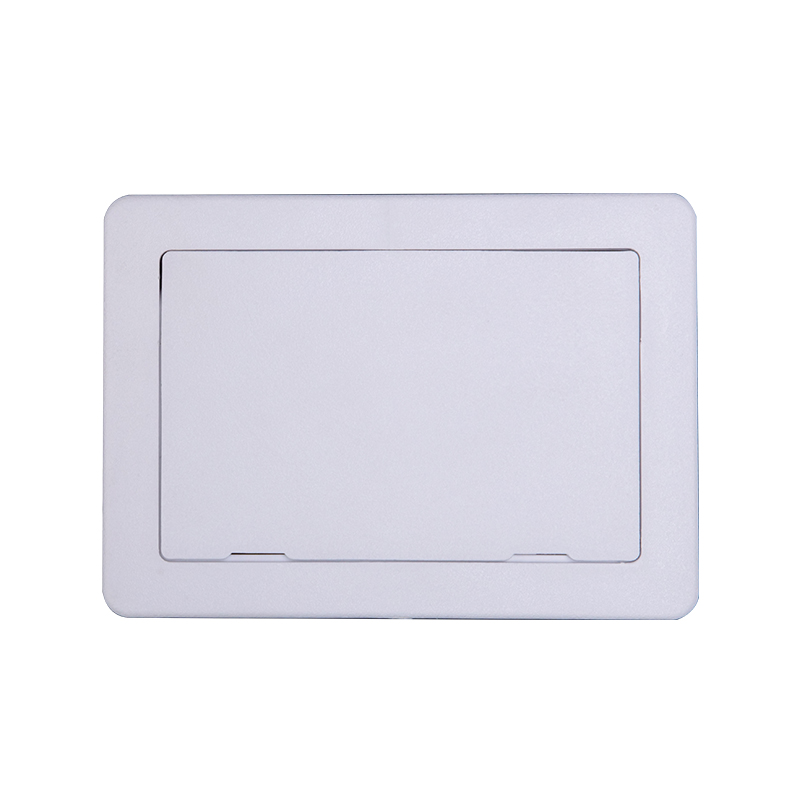
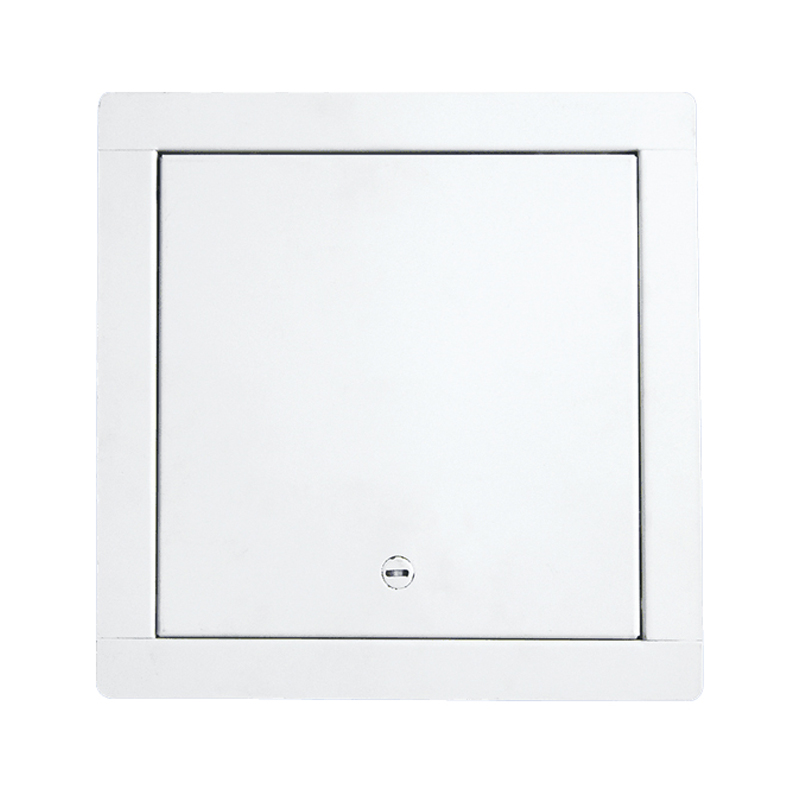
Slide the steel panel frame into the opening from the front face of the wall. The flange (lip) should sit flat against the wall surface all the way around. Secure it with screws through the pre-drilled holes, typically at all four corners and every 6–8 in. along the sides.
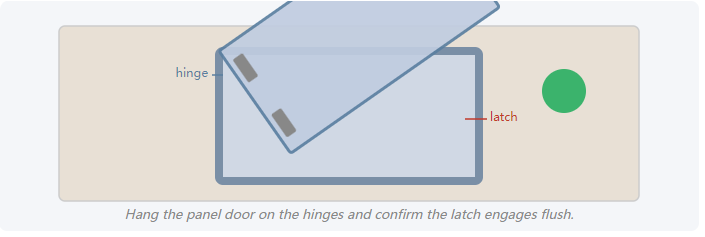
Most steel access panels ship with the door pre-attached to the frame. If yours is separate, align the door's hinge knuckles with the frame pins and press down to seat them. Then close the door and check for an even gap (ideally under 2 mm) on all sides.
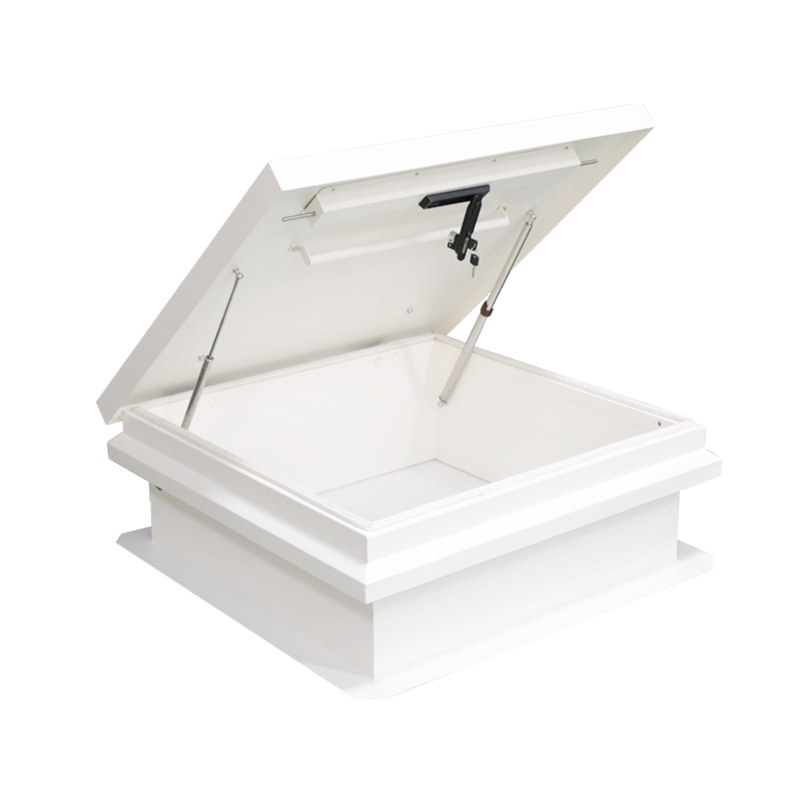
Ceiling installations require extra attention because gravity works against you during framing and panel placement.
| Factor | Wall | Ceiling |
|---|---|---|
| Framing direction | Vertical studs, horizontal blocks | Horizontal joists, cross-blocking |
| Gravity risk | Low | High — use a prop or second pair of hands |
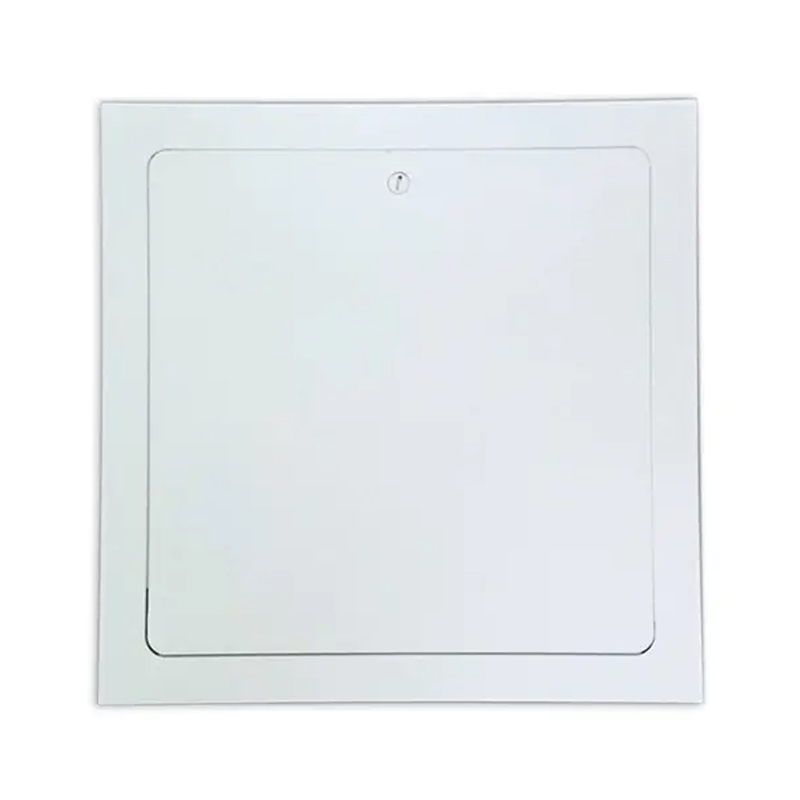
| Recommended latch | Flush key latch or screwdriver latch | Spring-loaded or quarter-turn latch |
| Finish difficulty | Moderate | Higher — compound feathering overhead is harder |

Contact Us
SHUNSHI provides a range of technical support services to ensure that customers are able to properly select, install and maintain these products.
Contact
Tel: 86-15988108762
86-572-8298792
Fax: 86-572-8298792
E-mail: [email protected]
No.281 Mingzhu Main Road, Leidian Town, Deqing, Huzhou, Zhejiang, China, 313219
 English
 Español
 عربى
عربى