English
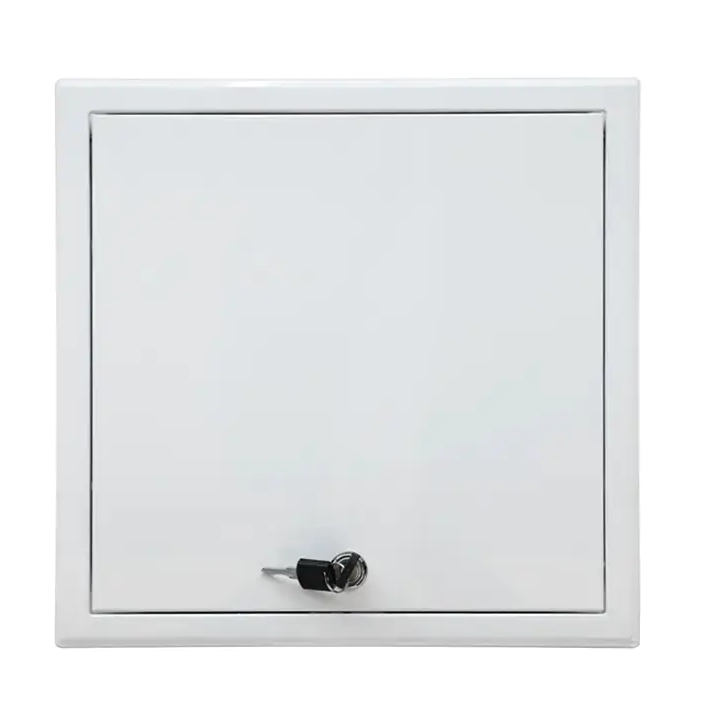
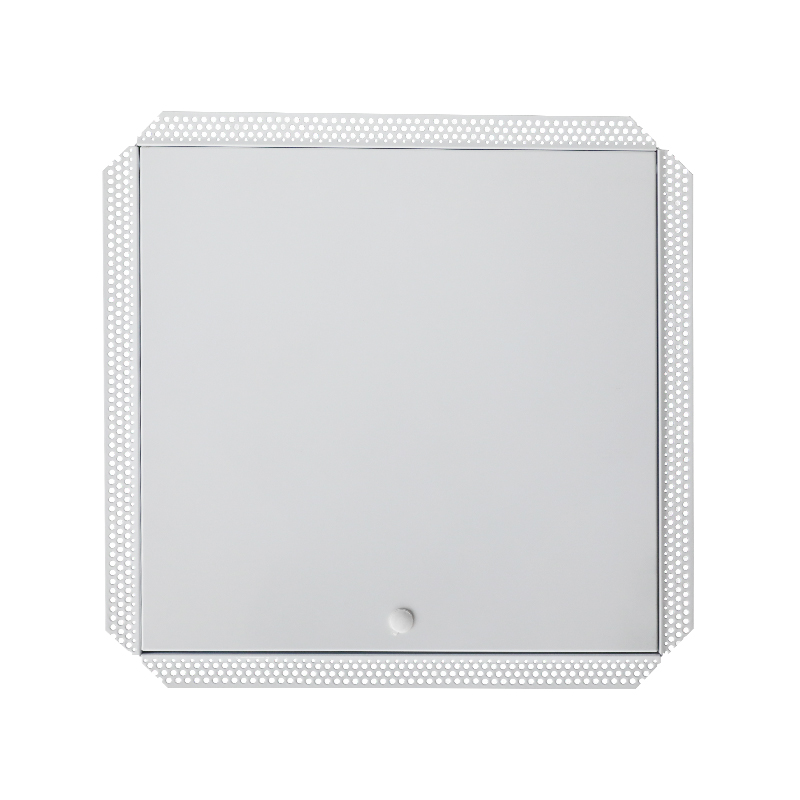
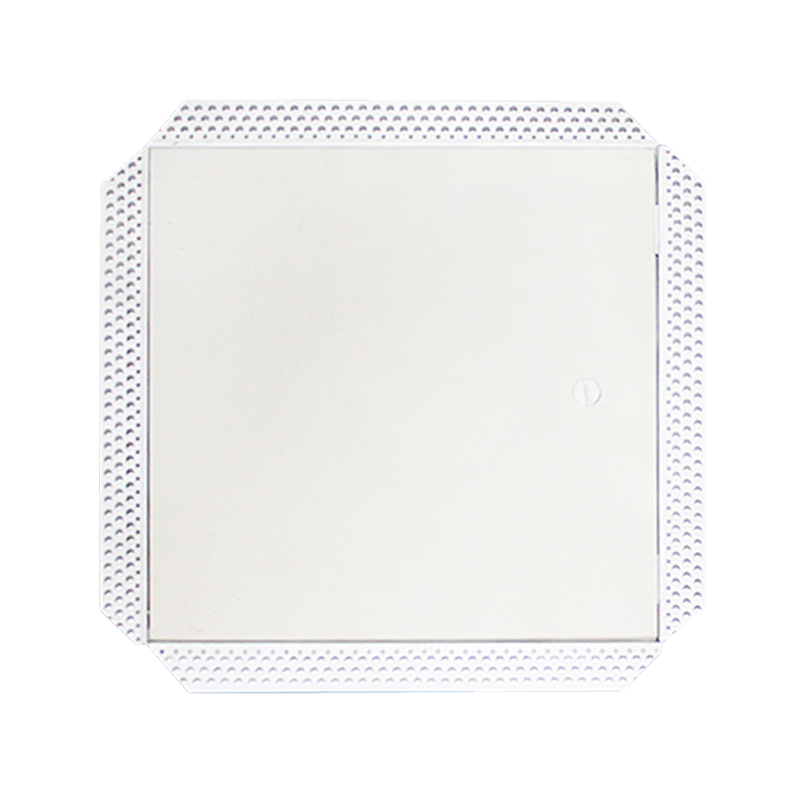
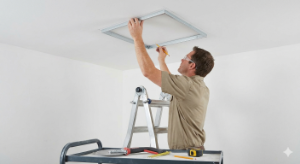
To install a ceiling access panel, you must measure the inner flange of the panel, cut a corresponding hole in the drywall while avoiding ceiling joists, and secure the frame using construction adhesive or mechanical fasteners. For standard residential plumbing or electrical access, a 12x12 inch plastic panel is the most common choice due to its lightweight nature and ease of installation.
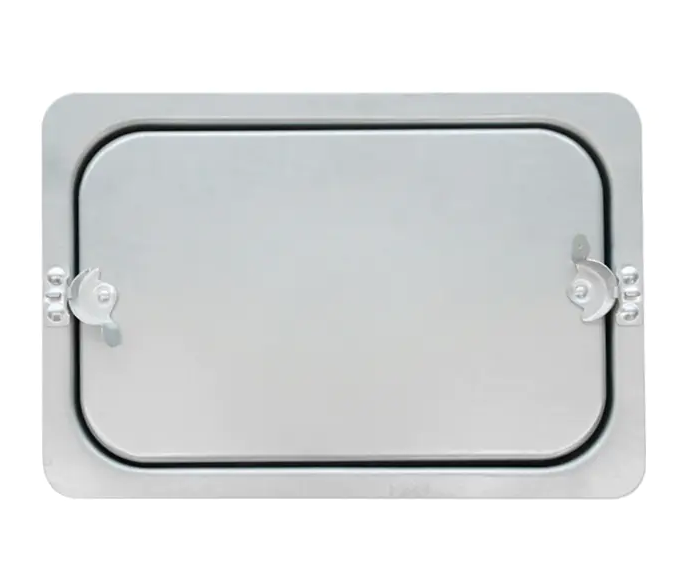
Whether you are creating an attic access door or a small hatch for shut-off valves, the key is a clean cut. Using a jab saw and ensuring the hole is exactly 1/8 inch larger than the panel's insert ensures a snug, professional fit without the need for extensive drywall patching.
Before beginning your DIY drywall access panel project, you must select the material and rating appropriate for your specific location.
Proper preparation prevents costly mistakes, such as cutting through electrical wires or structural soffit access panel supports.
| Stud Finder | Locating joists to avoid structural damage. |
| Drywall Jab Saw | Making manual, controlled cuts in the ceiling. |
| Construction Adhesive | Securing plastic frames without screws. |
| Level and Pencil | Ensuring the ceiling access hatch is square. |
Use a stud finder to locate the ceiling joists. Most residential joists are spaced 16 or 24 inches apart. Position your access panel ceiling template between these joists to avoid cutting into the wood. Trace the "knockout" or the inner frame of the panel onto the drywall.
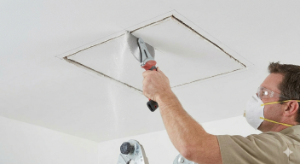
Carefully poke your jab saw into the drywall at one corner of your marking. Saw along the lines with short, controlled strokes. Pro Tip: Hold a vacuum hose near the saw to catch 90% of the gypsum dust before it falls into the room.
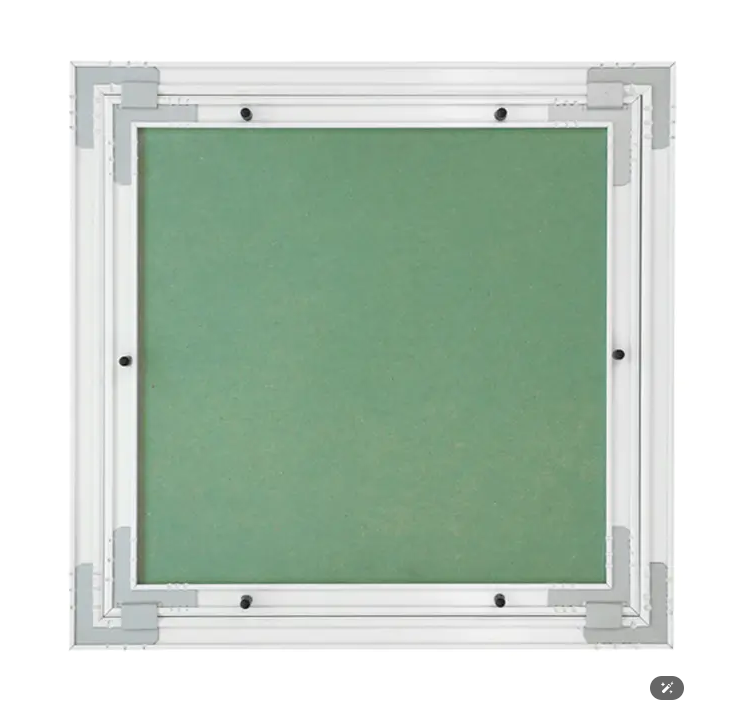
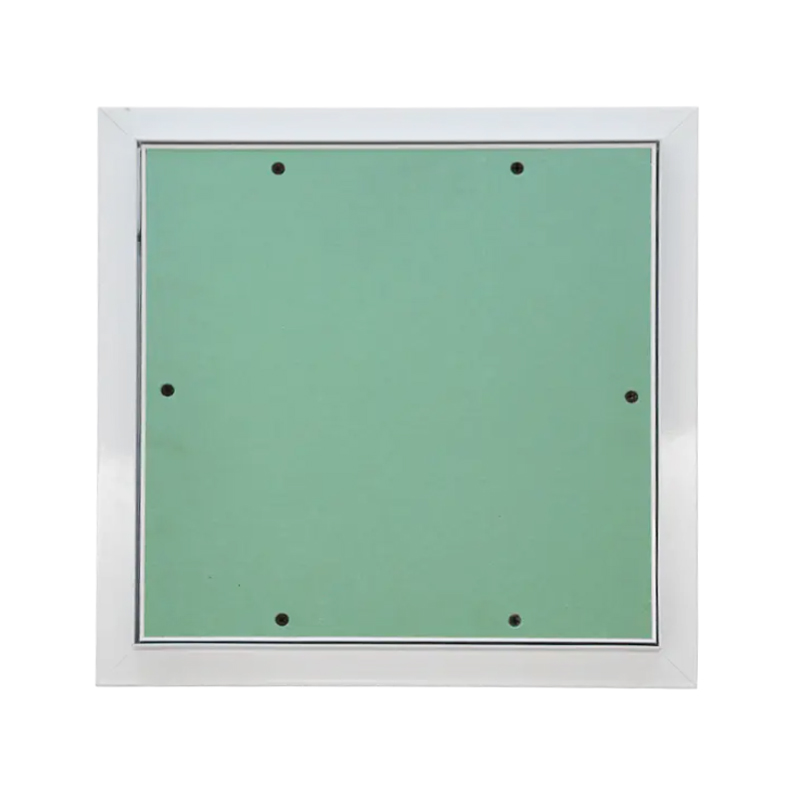
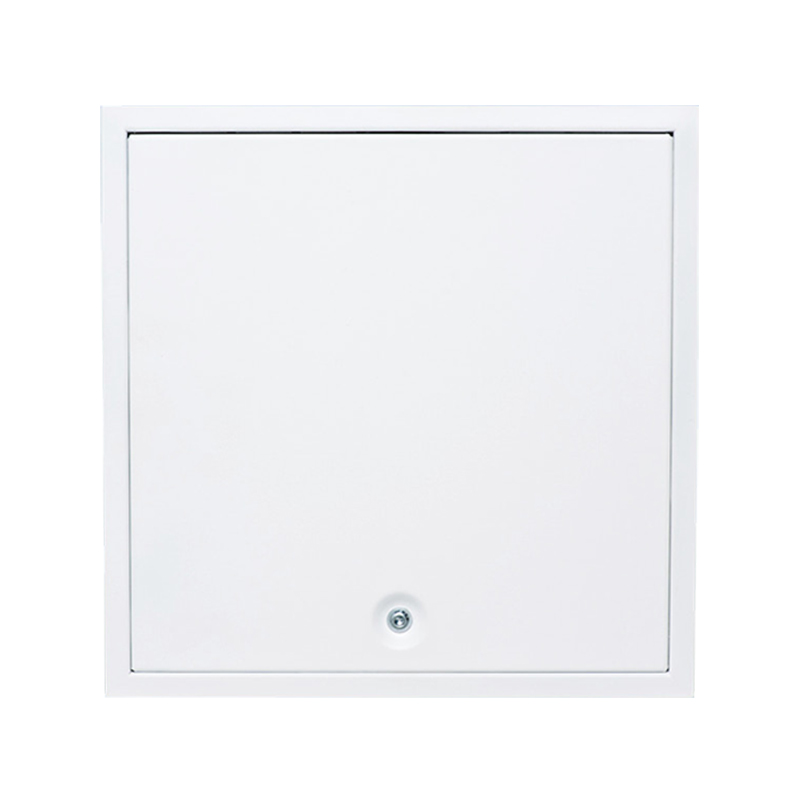
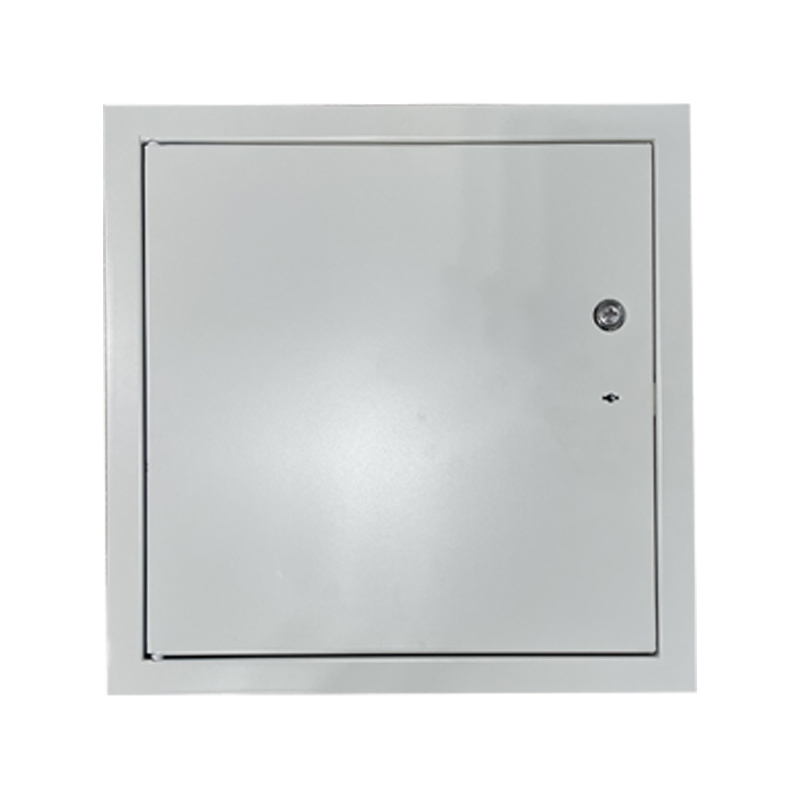
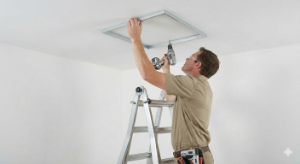
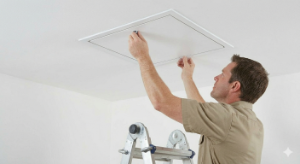
Dry-fit the panel to ensure it slides in easily. For a custom access panel or plastic model, apply a bead of high-quality construction adhesive to the back of the outer flange. Press it firmly against the ceiling. If using a metal ceiling attic access door, you may need to use the provided screw holes to secure it directly into the drywall or adjacent joists.
Once the adhesive has cured (usually 24 hours), snap the door into the hinge mechanism. If you installed a gypsum ceiling access panel, you can now apply joint compound to the edges to make the frame completely invisible.
When installing an access panel, you must adhere to local building regulations, especially regarding fire safety and insulation.
A common issue with ceiling door access is "sagging" over time. This typically happens if the hole was cut too large or if the adhesive used was not rated for overhead applications. If the door becomes difficult to open, check for paint buildup around the edges. Score the perimeter with a utility knife to release a stuck door without damaging the surrounding drywall.
By following these steps, you can create a functional ceiling plumbing access panel or attic entry that is both aesthetically pleasing and fully compliant with home safety standards.
Contact Us
SHUNSHI provides a range of technical support services to ensure that customers are able to properly select, install and maintain these products.
Products
Access Panels GuideContact
Tel: 86-15988108762
86-572-8298792
Fax: 86-572-8298792
E-mail: [email protected]
No.281 Mingzhu Main Road, Leidian Town, Deqing, Huzhou, Zhejiang, China, 313219
 English
 Español
 عربى
عربى