English
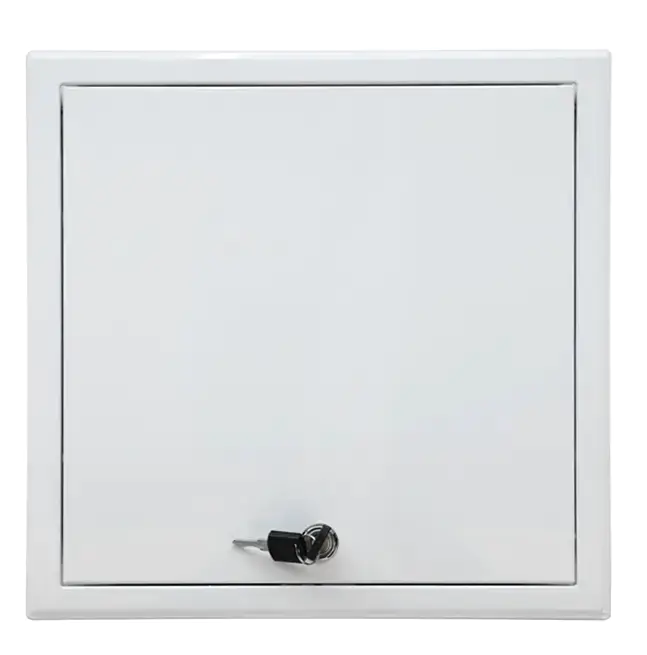
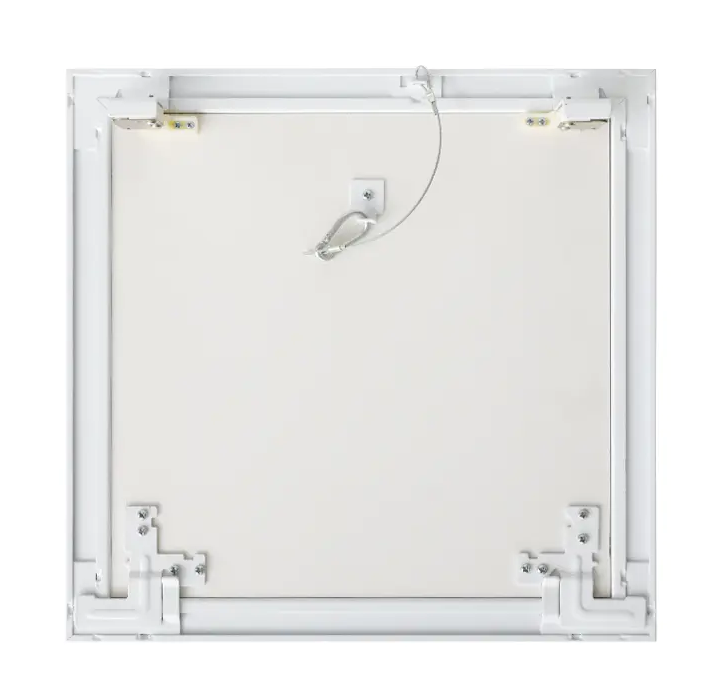
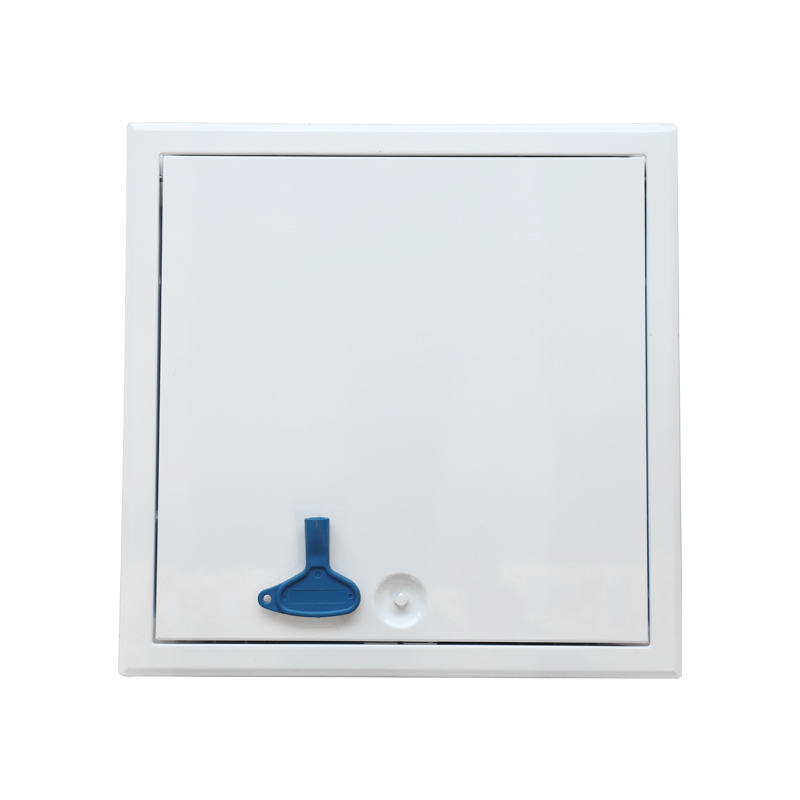
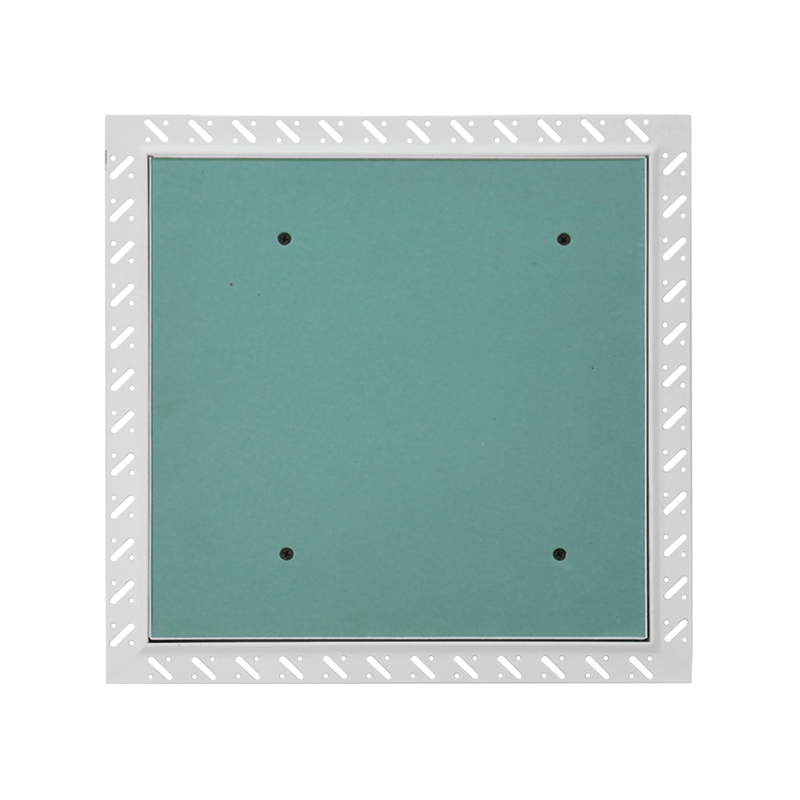
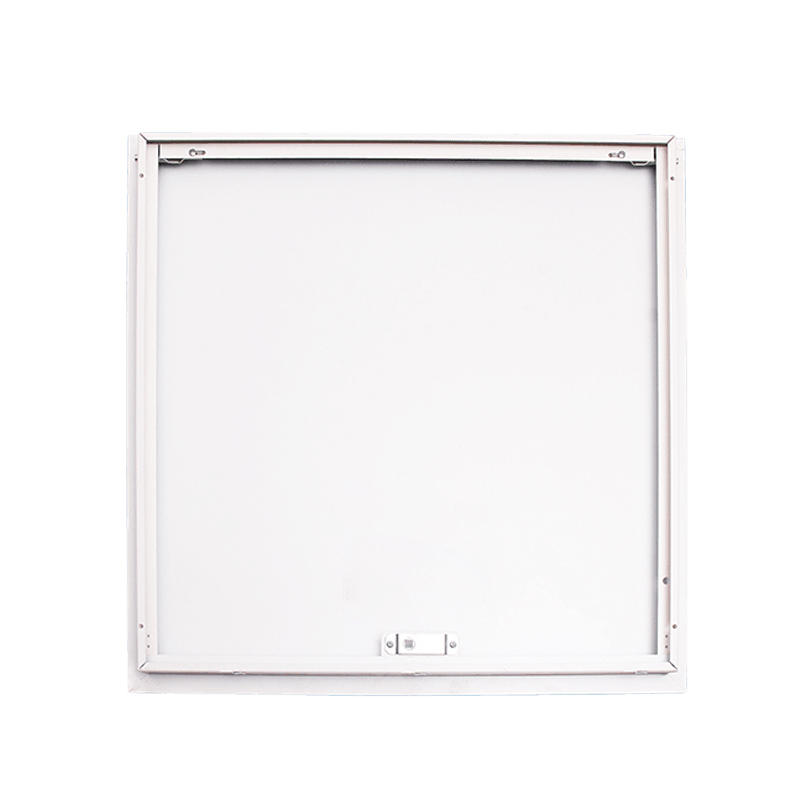
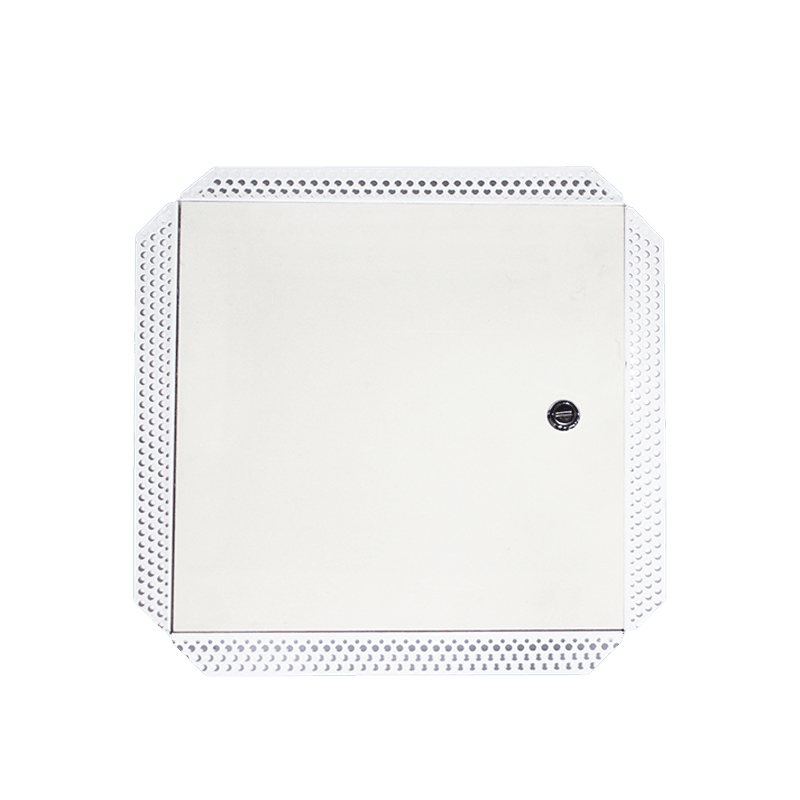
A drywall access panel is a flush-mounted door installed in a gypsum board wall or ceiling to provide maintenance access to concealed plumbing, electrical, or HVAC components. When correctly specified and installed, the panel disappears into the surrounding surface — paintable, hardware-free, and indistinguishable from the adjacent wall. The most common specification mistakes happen at two points: choosing the wrong inlay material for the environment, and cutting the rough opening before confirming the framing layout.
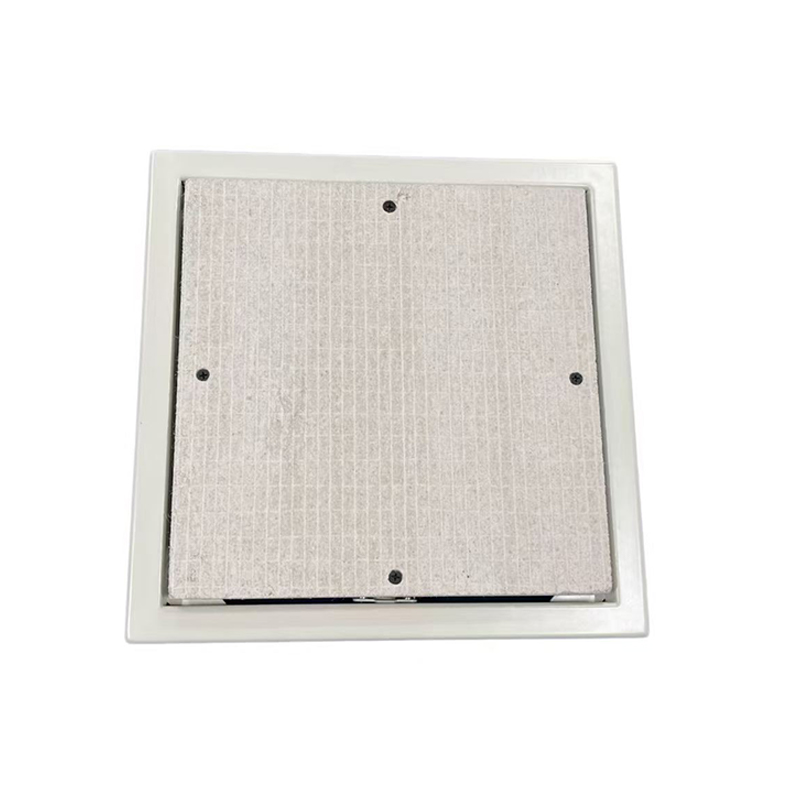
The door leaf of a drywall access panel carries an inlay bonded to its face — this inlay is what gets painted to match the surrounding wall. The inlay material must match both the surrounding substrate and the moisture exposure of the installation environment.
| Inlay Type | Best For | Avoid When |
|---|---|---|
| Standard gypsum board | Dry interior walls — offices, corridors, residential | Any wet or humid location |
| Moisture-resistant gypsum | Bathrooms, kitchens, laundry — painted finish | Direct water splash or tile substrate |
| PVC board | High-humidity areas — no painting required | Fire-rated assemblies |
| Cement board | Tiled walls — bonds directly to tile adhesive | Painted finishes (not compatible) |
The inlay thickness must also match the surrounding wall board exactly. A 12 mm inlay in a wall finished with 15 mm board will sit visibly recessed — a finishing problem that requires the frame to be removed and replaced, not patched over. Confirm the board thickness on site before ordering. For a full breakdown of how inlay type maps to application scenario, see the access panel selection guide.
Standard drywall access panels cannot be installed in fire-rated wall or ceiling assemblies without compromising the assembly's rated performance. Where a panel penetrates a 60-minute or 120-minute rated assembly, the panel must carry a matching fire rating — tested and certified to the specific wall construction, not just the panel in isolation.
Fire-rated drywall access panels use heavier-gauge steel frames and intumescent seals that expand under heat to maintain the fire barrier at the panel opening. Specifying a standard panel in a rated assembly is a code violation that will be flagged during inspection — and correcting it after the drywall is finished means cutting out the frame and starting over. Confirm fire rating requirements with the project's MEP engineer before selecting the panel type.
Drywall access panel installation is straightforward, but three steps determine whether the finished result is flush and invisible or visible and misaligned.
The most widely installed size in commercial drywall applications is 300 × 300 mm (12" × 12"), which accommodates the majority of plumbing valve and electrical junction box access requirements. Where larger clearance is needed for HVAC controls or distribution boards, 400 × 400 mm is the standard step up. Custom sizes are available for non-standard rough openings.
Yes, with the correct inlay material. Standard gypsum inlays will swell and delaminate in humid environments — specify a moisture-resistant gypsum inlay for painted bathroom walls, or a cement board inlay for tiled walls where the panel face needs to accept tile adhesive. The frame material (steel or aluminum) is corrosion-resistant and suitable for bathroom installation regardless of inlay type.
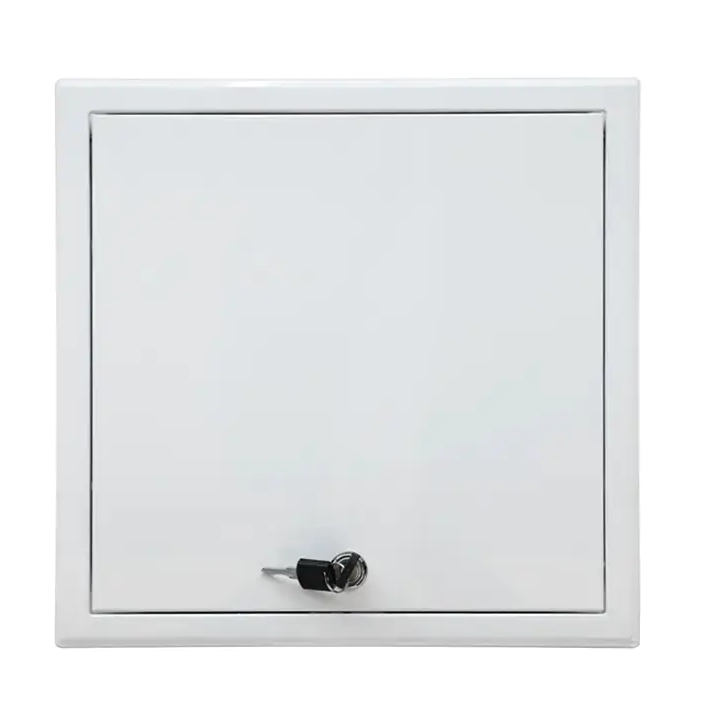
Three things determine whether the panel is truly invisible after installation: the inlay thickness matches the surrounding drywall exactly; the joint compound is applied in two feathered coats rather than one thick coat; and the door-to-frame gap is masked before painting to prevent paint from bridging the gap and sealing the door shut. Panels with a 1–2 mm reveal between the door and frame edge — rather than an exposed visible hinge or latch — produce the cleanest result in high-finish environments.


Contact Us
SHUNSHI provides a range of technical support services to ensure that customers are able to properly select, install and maintain these products.
Products
Access Panels GuideContact
Tel: 86-15988108762
86-572-8298792
Fax: 86-572-8298792
E-mail: [email protected]
No.281 Mingzhu Main Road, Leidian Town, Deqing, Huzhou, Zhejiang, China, 313219

 English
 Español
 عربى
عربى