English
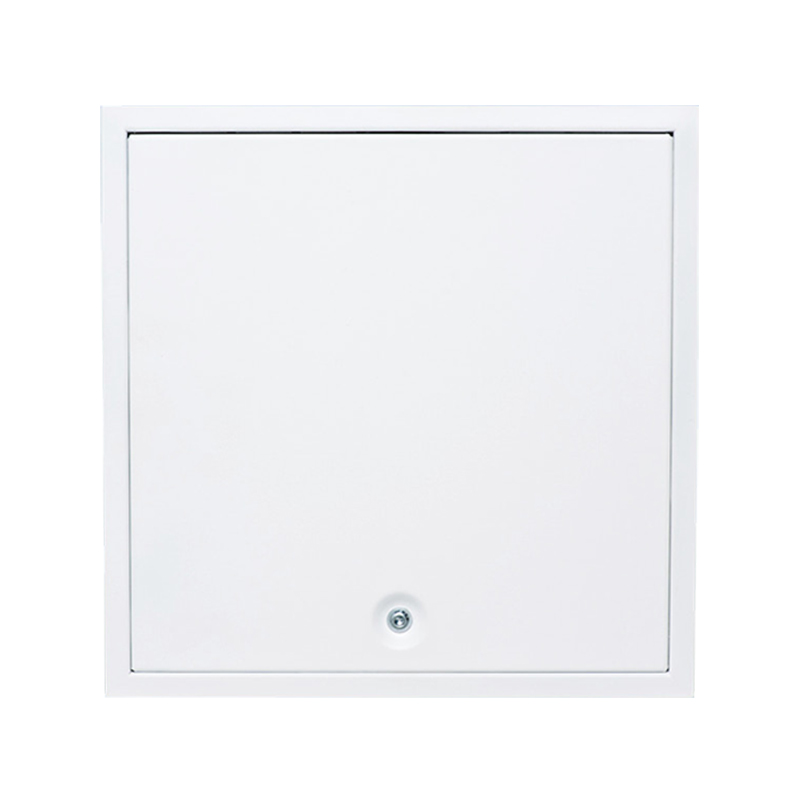
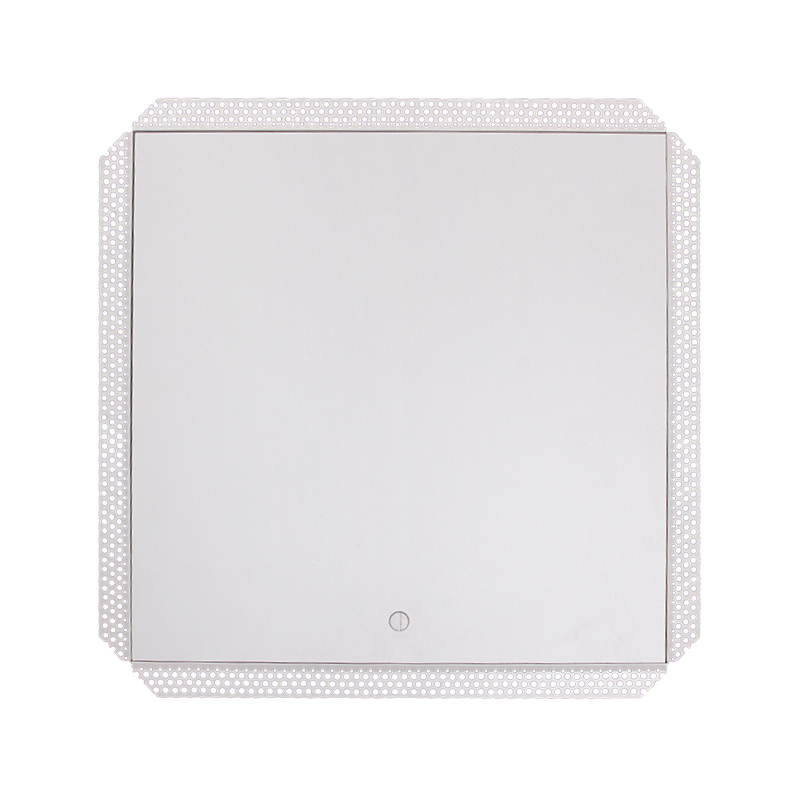
Installing an aluminum access panel correctly comes down to two things done in the right order: selecting the right panel for the surface before cutting anything, and following the installation sequence specific to whether you're working on a wall or a ceiling. Skip either step and you end up with a panel that sits proud of the wall, a latch that doesn't align, or a ceiling door that sags after the gypsum inlay is painted. This guide covers both wall and ceiling installation in full, plus wet-area considerations where aluminum panels are most commonly specified.
If you haven't confirmed the panel type for your surface yet, start with the aluminum access panel selection guide before proceeding — the inlay thickness, latch type, and frame profile you need differ significantly between drywall, tiled, and ceiling applications.
Gather the following before starting. Having everything on hand before cutting prevents the opening from sitting exposed while you locate a missing tool.
For ceiling installations on panels larger than 300 mm × 300 mm, a second person to support the panel during fitting is strongly recommended — handling a weighted panel with a gypsum inlay above your head while aligning screws is a two-person task.
Identify the exact position of the valve, junction box, or pipe the panel needs to provide access to. Use a stud finder to locate studs in the surrounding area — the panel frame must anchor to solid structure, and the opening must not cut through a stud. If the utility falls directly behind a stud, reposition the panel slightly to one side so the opening clears it while keeping the frame flange able to anchor into adjacent framing.
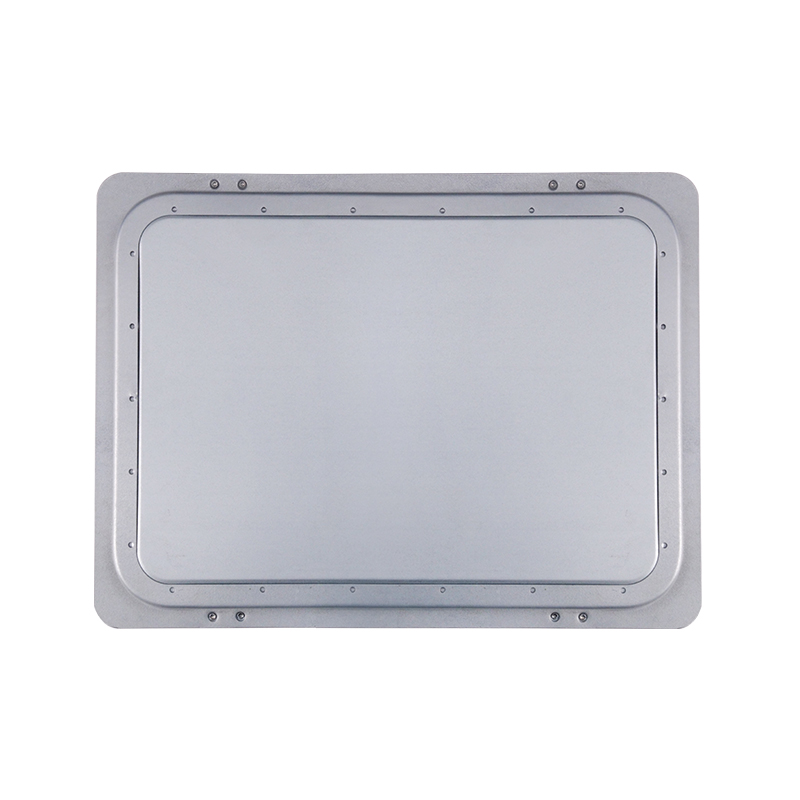
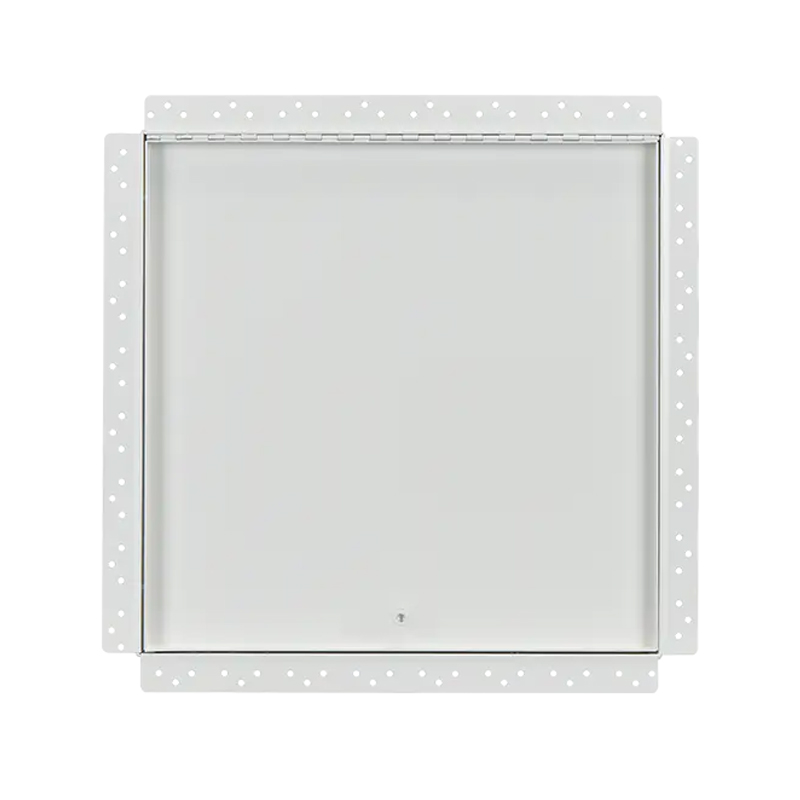
Hold the panel frame face-down against the wall at the intended position. Trace the inner edge of the frame flange with a pencil — this is the cut line, not the outer frame edge. Use a spirit level to confirm the marked rectangle is square before cutting. Start with a small pilot hole inside one corner to check for obstructions behind the wall, then cut along the marked lines with a drywall saw. Cut slowly along the final pass to keep the edges clean and avoid paper tear on the drywall face.
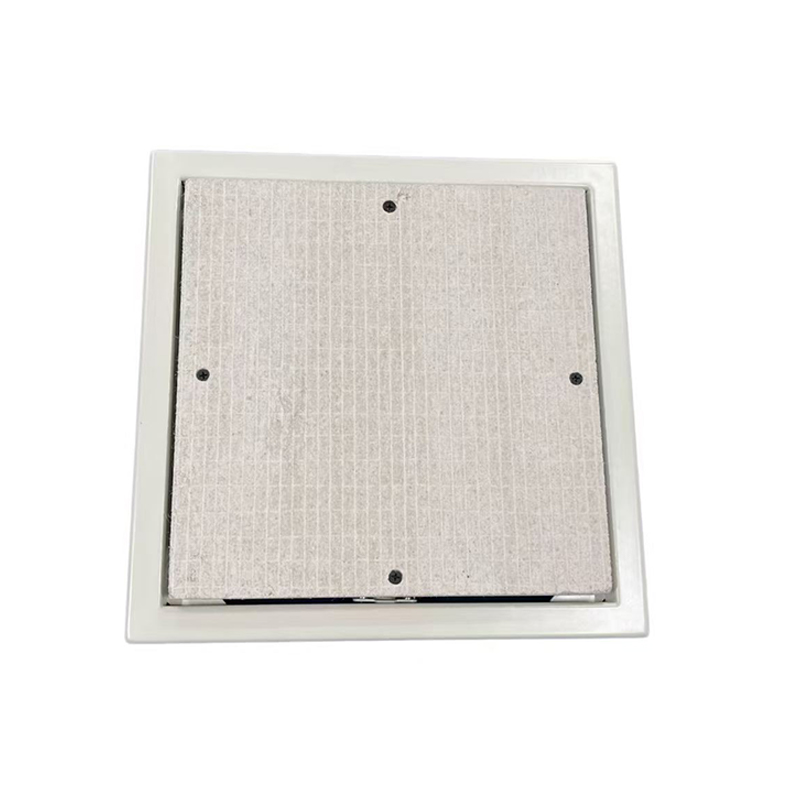
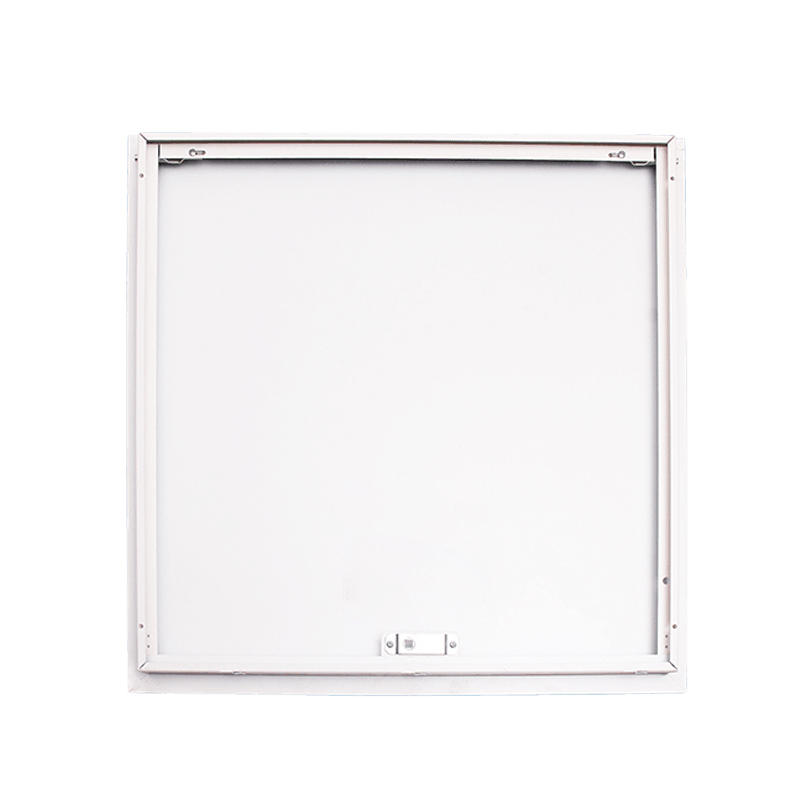
Insert the aluminum frame into the opening and check the fit. The frame flange should sit flat against the wall surface with no gaps. If the opening is fractionally too tight, trim the edges with the drywall saw rather than forcing the frame — a distorted frame will prevent the door from closing flush later. Once the fit is confirmed, secure the frame to the surrounding framing with drywall screws through the pre-drilled holes in the frame. Do not overtighten — aluminum frames can distort under excessive screw pressure, which will cause the door to bind.
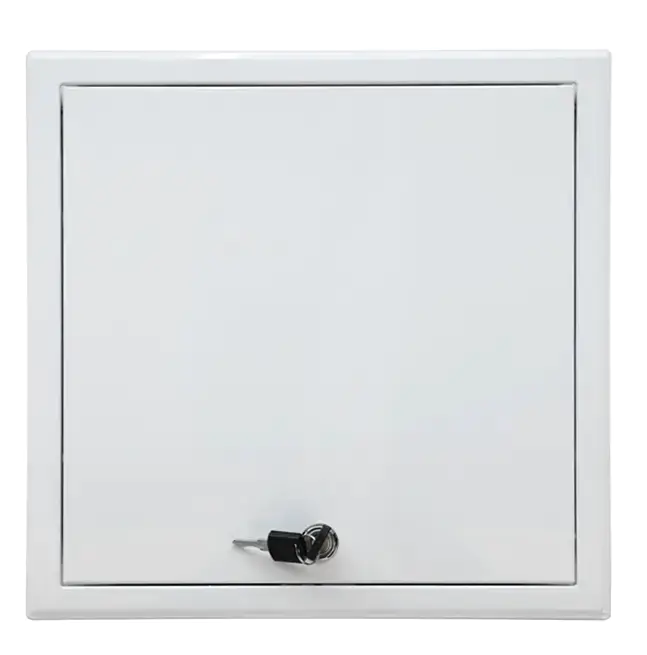
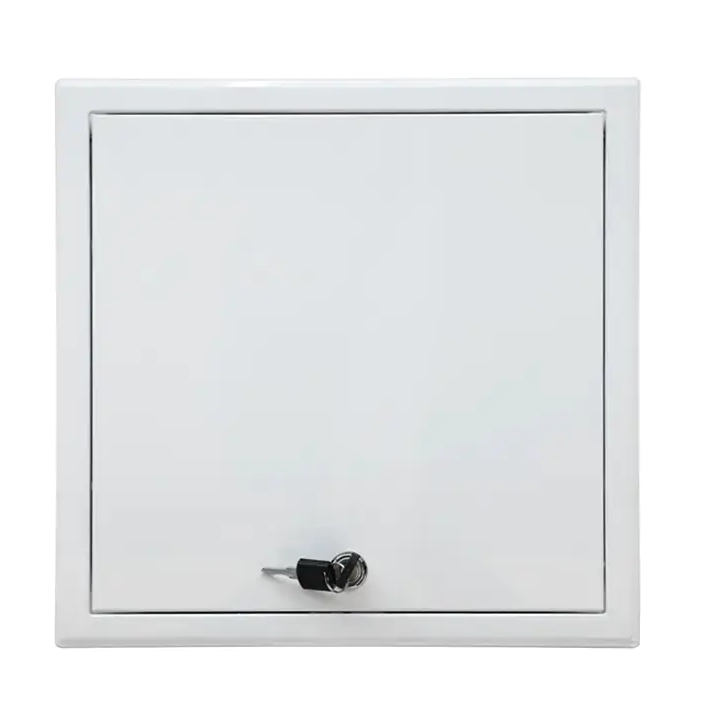
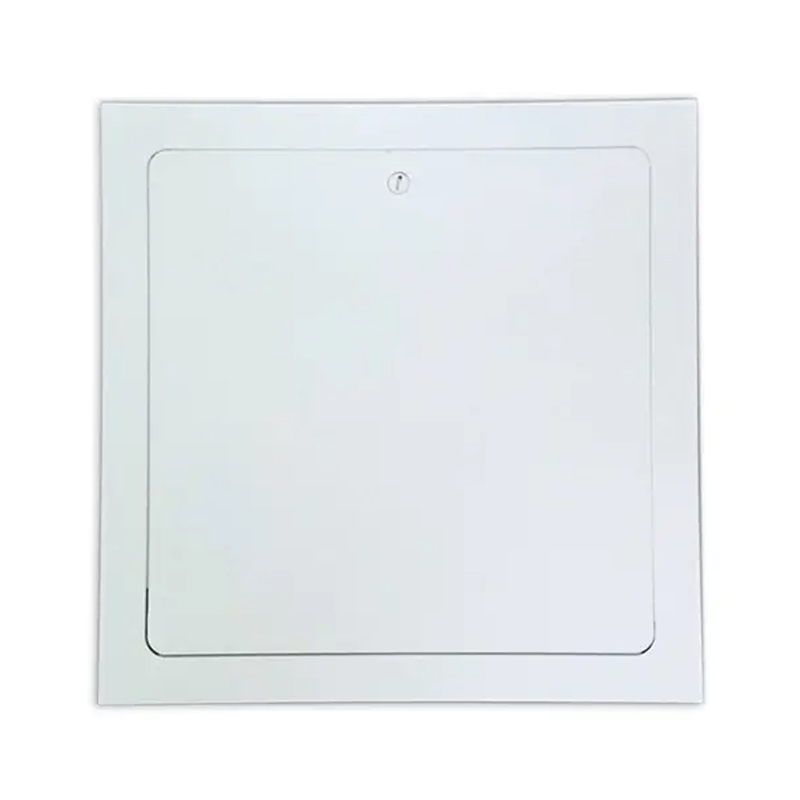
Attach the door to the frame and test the latch and hinge movement before applying any joint compound. This is the last point at which frame alignment can be adjusted without disturbing the finished surface. The door should close flush with the frame face with no visible step or gap on any side. If the panel has an adjustable hinge, set the alignment now. Once joint compound is applied and painted, correcting alignment requires removing the frame entirely.
Apply joint compound around the frame flange, feathering it out 100–150 mm onto the surrounding wall surface. Use drywall tape at the frame corners to prevent cracking. Allow to dry fully, sand smooth, and prime before painting. Paint the gypsum inlay on the door face along with the surrounding wall — do not seal the door shut with paint by running a brush across the gap between the door and the frame.
Ceiling installation follows the same basic sequence as wall installation, with three important differences that address the structural and safety demands of an overhead fitting.
Before marking the opening, push a thin probe through a small pilot hole to confirm the frame depth will fit within the ceiling void without contacting ductwork, conduit, or structural members above. The frame profile depth of the panel must fit entirely within the void — a frame that contacts the structure above will prevent the flange from sitting flush with the ceiling surface.
If the panel opening falls between two ceiling joists with no solid structure at the sides of the opening, install short nogging boards (timber blocking) between the joists to create a frame for the panel to anchor into. Cut the nogging pieces to fit snugly between the joists and fix them in place before inserting the panel frame. Without this support, the frame will only anchor into gypsum board, which is insufficient for the repeated loading from opening and closing a ceiling panel over time.
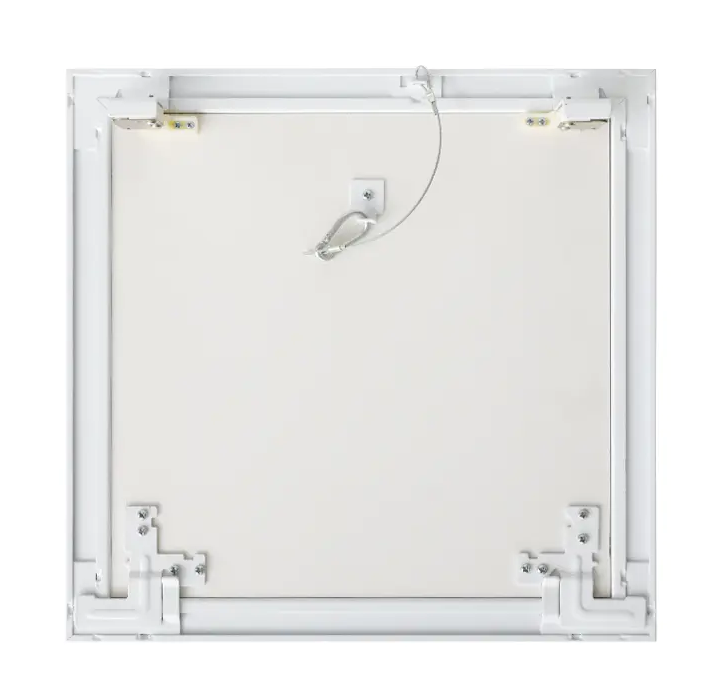
On ceiling panels with a built-in safety hook — designed to limit how far the door can swing open when accessed from below — confirm the hook is engaged and operational before finishing. A door that opens beyond the hook's stop point and detaches from the frame while someone is standing below is a preventable site hazard. Test the full door swing before applying any finish to confirm the retention mechanism is functioning correctly.
Bathroom and wet-area installations follow the same structural sequence as standard drywall installations, but require material substitutions at every layer that comes into contact with moisture. Using standard materials in a wet area produces a panel that looks acceptable at handover but fails — through inlay swelling, hinge corrosion, and frame paint failure — within one to two years of use.
| Mistake | Result | Prevention |
|---|---|---|
| Cutting the opening to frame outer dimensions, not inner | Frame flange has no surface to rest on; panel cannot be secured | Trace the inner frame edge as the cut line, not the outer profile |
| Overtightening frame screws | Frame distorts; door binds and will not close flush | Tighten to snug, test door movement before final tightening |
| Painting over the door-to-frame gap | Door sealed shut; requires cutting to reopen | Mask the gap before painting; remove masking before paint dries |
| Skipping door alignment check before finishing | Misalignment discovered after paint — requires full frame removal | Test latch and flush fit immediately after frame installation |
| Using standard inlay in a bathroom | Inlay swells within months; tile delaminates from door face | Specify moisture-resistant or cement board inlay from order stage |
For wall installations, the frame should anchor into solid framing — either directly into studs or into nogging boards fitted between them. Anchoring into gypsum board alone is insufficient for a panel that will be opened regularly, as the screws will work loose over time. For ceiling installations, nogging boards between joists provide the equivalent solid anchor point where the opening falls between structural members.
Yes — this is one of the advantages of prefabricated aluminum access panels. The frame is designed to fit through the cut opening and anchor to the surrounding framing from the front face of the wall, with no need to remove adjacent drywall sheets. The main pre-installation step is confirming there are no electrical cables, pipes, or structural elements directly behind the proposed cut location before making the opening.
Apply joint compound in two thin coats rather than one thick coat, feathering each coat outward 100–150 mm from the frame edge. Sand between coats and prime before the final paint. The most common cause of a visible frame outline after painting is applying compound too thickly in a single pass, which creates a ridge at the feathered edge that telegraphs through the paint. Two thin coats, fully dried and sanded between applications, produce a flat, invisible transition.
The mechanical installation — marking, cutting, fitting the frame, and securing it — takes 30–60 minutes for a standard wall panel. The finishing process (joint compound, drying, sanding, priming, painting) adds another half day once drying time is factored in. Ceiling installations with nogging add 30–45 minutes to the structural preparation stage. Wet-area installations with tiled door faces require additional time for tile adhesive and grout to cure before the door is functional — typically 24–48 hours after tiling.
The rough opening — the hole cut in the drywall — is determined by the inner frame dimensions, not the panel's nominal size. Most aluminum access panel frames require the rough opening to match the inner frame opening exactly, with the frame flange overlapping the cut edge by 20–25 mm on each side. Always confirm the rough opening dimensions from the product data sheet for the specific panel being installed, as this varies between manufacturers and panel series.

Contact Us
SHUNSHI provides a range of technical support services to ensure that customers are able to properly select, install and maintain these products.
Products
Access Panels GuideContact
Tel: 86-15988108762
86-572-8298792
Fax: 86-572-8298792
E-mail: [email protected]
No.281 Mingzhu Main Road, Leidian Town, Deqing, Huzhou, Zhejiang, China, 313219

 English
 Español
 عربى
عربى