English
Anyone who has spent a morning on site knows the small satisfaction of a well-fitted access panel, and the small sinking feeling that comes with one cut a few millimetres too wide. Installing an access panel in drywall is not a difficult job, but it is a job where the order of operations matters far more than the amount of force you are prepared to apply.
What follows is a practical walkthrough written from the perspective of people who manufacture these panels every day and spend a fair amount of time answering questions about them. We will cover choosing the right panel before you cut, setting out the opening, fixing and finishing, and the details that decide whether the result still looks clean in six months' time.
The single most common cause of a messy access panel installation is buying the panel after the hole exists. Panels come in families, and each family expects a different opening.
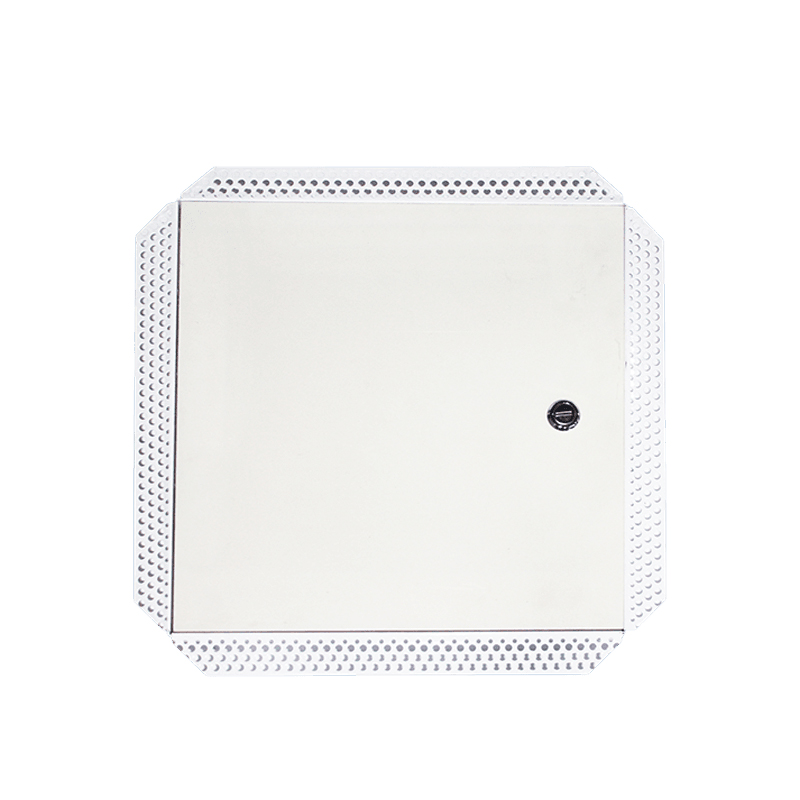
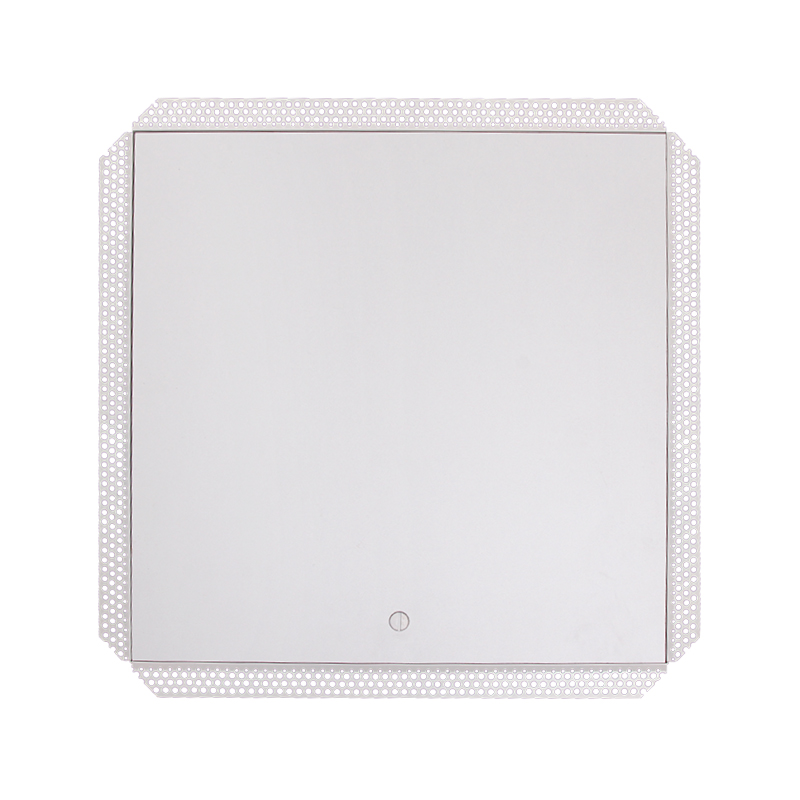
The first family is the beaded or flush frame panel. The frame has a thin perforated or beaded edge that is screwed to the drywall and then taped and skimmed with joint compound, so the finished result disappears into the wall. This is the neatest option for a wall that will be plastered and painted, and it is the one most specifiers ask for in corridors and finished rooms.
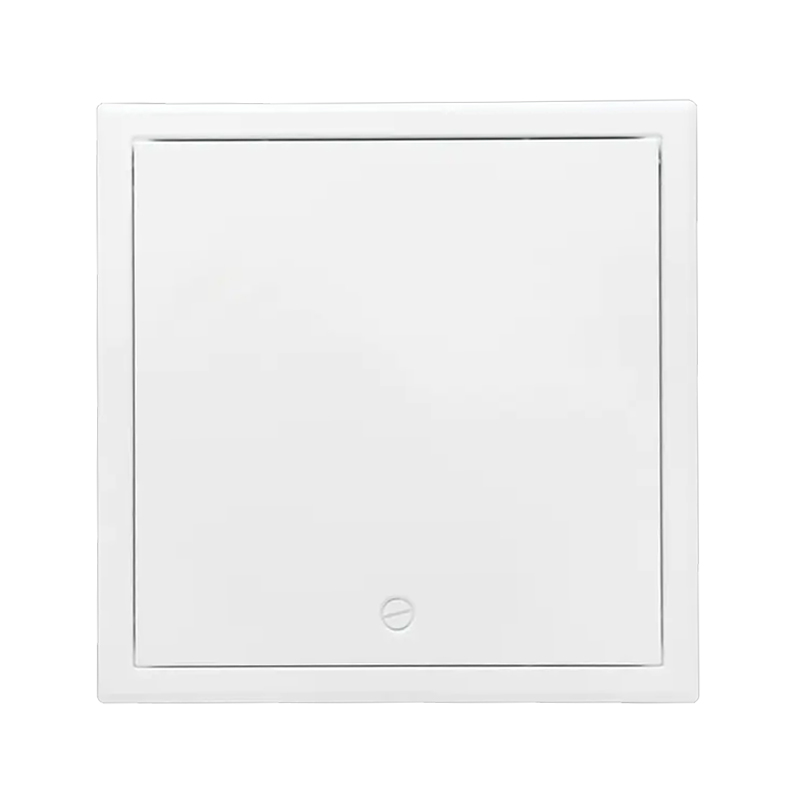
The second family is the press-fit or snap-in panel. The frame is a simple friction-fit plastic or aluminium section that pushes into a cut opening, with a door that snaps shut. It is fast, needs no taping, and is ideal for retrofits, service cupboards and ceilings where speed matters more than a seamless finish.
The third family has a visible picture frame or flange that overlaps the face of the board. Nothing is taped; the flange simply covers the cut edge. It is the least fussy option and often the most sensible one in plant rooms and risers.
Two more things are worth checking before you order: the board thickness the frame will clamp onto, and the swing of the door. Standard 12.5 mm gypsum board is the most common host, but 15 mm fire board and double-layer boards are not unusual, and a frame designed for a thin board will not grip a thick one.
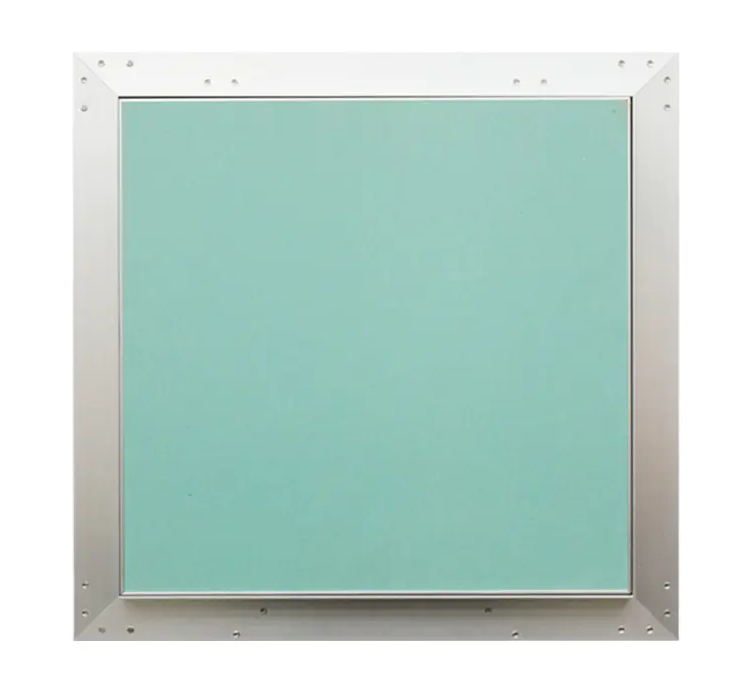
For a flush result in ordinary gypsum board, a gypsum-faced panel that accepts tape and compound is usually the simplest thing to finish well.
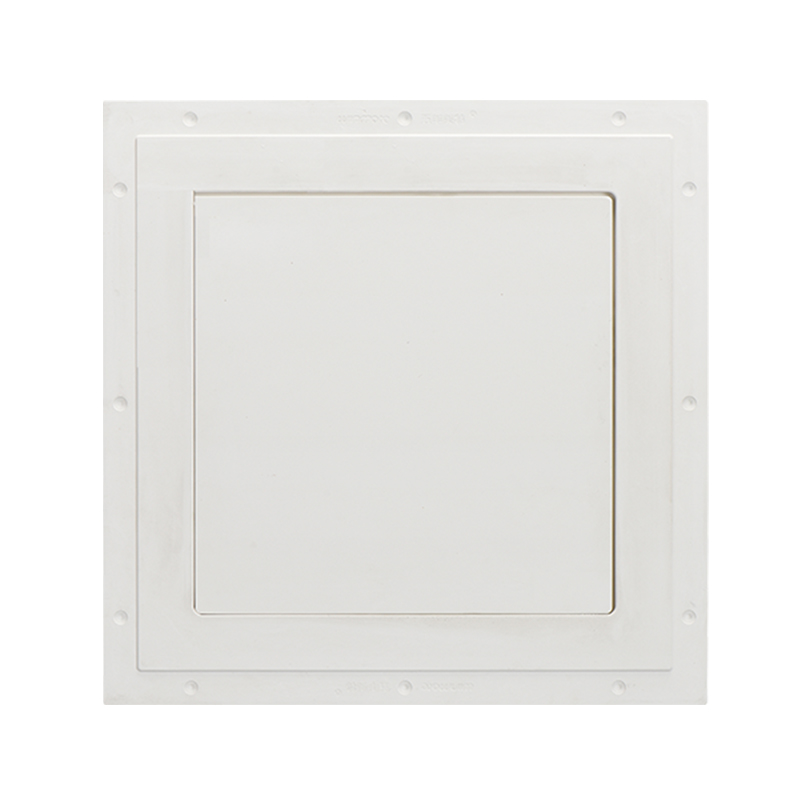 Gypsum-Faced Access Panel for Flush Drywall CeilingsTape-ready gypsum-faced access panel with glass-fiber and aluminum reinforcement, available in standard or custom sizes for flush drywall ceilings.View Product →
| Panel style | What you measure | Typical cut-out allowance | Where it suits |
|---|---|---|---|
| Beaded or flush frame | Outer edge of the frame | Opening matches the frame outer edge within 2-3 mm | Walls that will be skimmed and painted |
| Press-fit or snap-in | Overall face size of the panel | Opening 1-2 mm larger than the panel face | Fast retrofits and ceilings |
| Picture frame with flange | Inner opening of the flange | Cut-out smaller than the flange by 20-25 mm all round | Plant rooms, risers and quick repairs |
Ceiling work punishes shortcuts. Gravity is working against the frame, and a panel that feels tight when you push it up will drop a few millimetres once the building starts to move. Always fix the frame mechanically at all four corners rather than relying on friction, and add a timber batten across the opening if the cut spans more than one joist bay.
Choose a hinged door with a lock for ceilings where maintenance staff need regular access, and check that the door swings down clear of any fittings below. A second pair of hands makes fitting far easier; failing that, a simple timber prop cut to length will hold the panel in place while you drive the screws.
Nothing in this article turns a standard panel into a fire-rated one. On a protected wall or ceiling, the panel must be part of a tested assembly, installed exactly as the manufacturer's certification describes, including the correct frame, intumescent seals and fixing pattern. Substituting a similar-looking panel with a different frame breaks the listing and undoes the compartmentation.
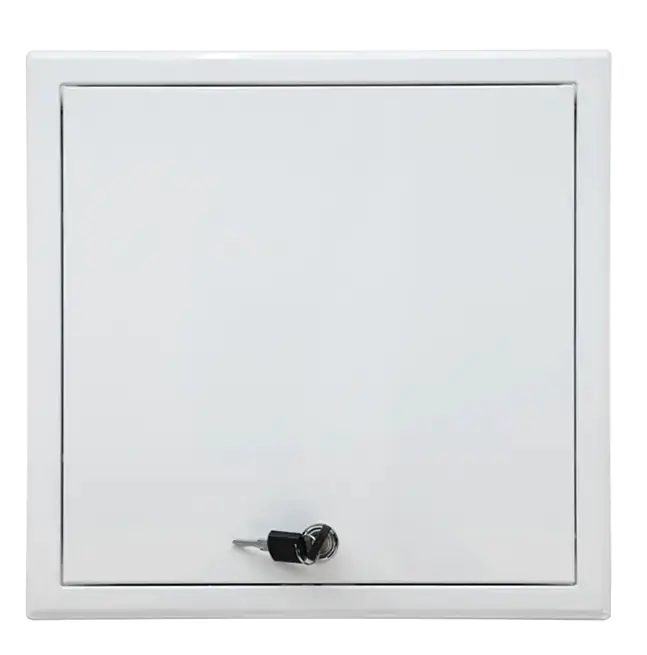
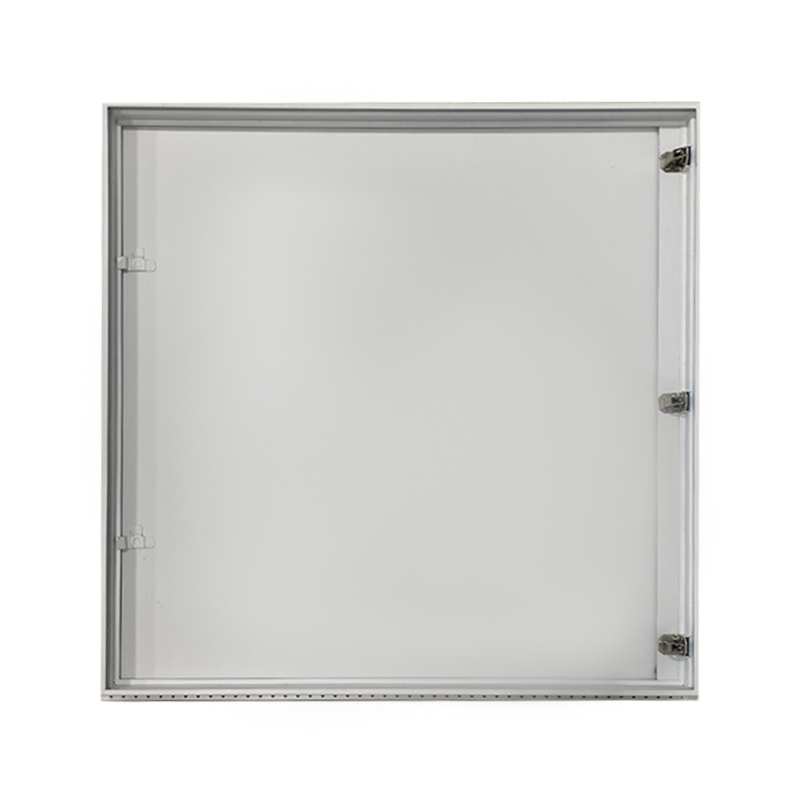
For openings in fire-resisting construction, a purpose-made steel panel with documented performance is the right starting point.
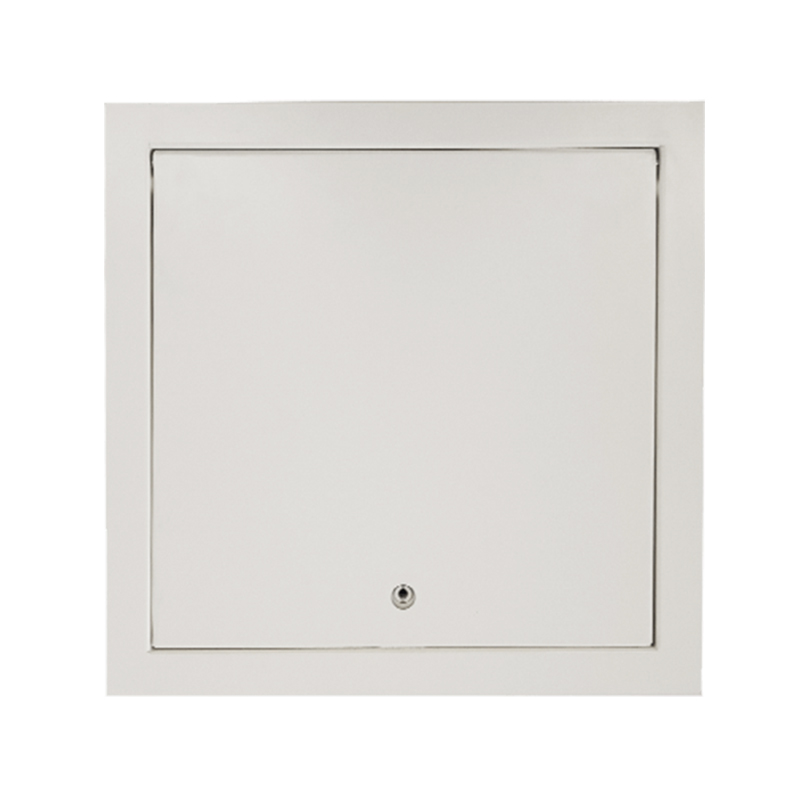 Fire-Rated Steel Access Panel for Walls and CeilingsWelded galvanized steel frame, removable spring-hinged door and keyed spring lock make this panel suitable for fire-resisting wall or ceiling openings.View Product →
Bathrooms, kitchens and laundry areas are harder on both the panel and the joint compound around it. Moisture-resistant board, a sealed frame-to-wall joint and a door that closes onto a gasket will all extend the life of the installation considerably. In tiled areas, plan the tile set-out around the panel so the frame lands on a grout line rather than across the middle of a tile.
A moisture-resistant gypsum-faced panel keeps the flush look while standing up to the occasional splash.
 Moisture-Resistant Gypsum Access Panel with Concealed Snap LockAluminum-framed panel with sealing strips, push-open concealed snap lock and fire-rated gypsum inlay, offering a flush, frameless look in moisture-prone drywall areas.View Product →
None of this is complicated, but the difference between a panel that looks like part of the wall and one that looks like an afterthought almost always comes down to the first ten minutes: choosing the right panel and marking the opening from the right dimension.
If you would like the longer version, including plaster and suspended ceiling variants, our full guide on installing an access panel in drywall, plaster and suspended ceilings walks through the same steps with the details specific to each substrate.

Contact Us
SHUNSHI provides a range of technical support services to ensure that customers are able to properly select, install and maintain these products.
Products
Access Panels GuideContact
Tel: 86-15988108762
86-572-8298792
Fax: 86-572-8298792
E-mail: [email protected]
No.281 Mingzhu Main Road, Leidian Town, Deqing, Huzhou, Zhejiang, China, 313219

 English
 Español
 عربى