English
Drywall access panels are flush-mounted doors installed in gypsum board walls or ceilings to provide concealed maintenance access to plumbing valves, electrical junction boxes, and HVAC controls. Specifying the wrong panel for the substrate or environment is the single most common cause of rework on commercial fit-outs — an inlay that swells in a humid bathroom, a frame that distorts in an oversized rough opening, or a fire-rated assembly penetrated by a standard panel are all specification errors that require full frame removal to fix. This guide covers how to choose, install, and finish drywall access panels correctly the first time.
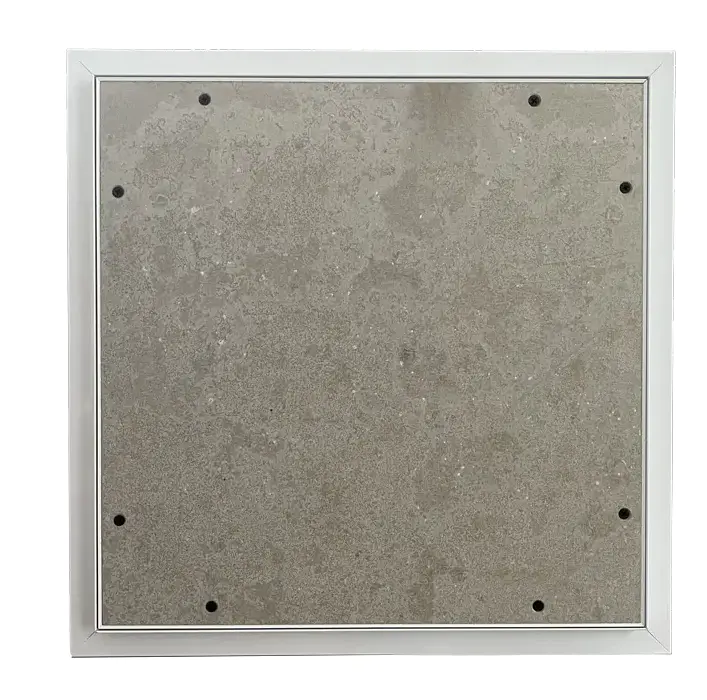
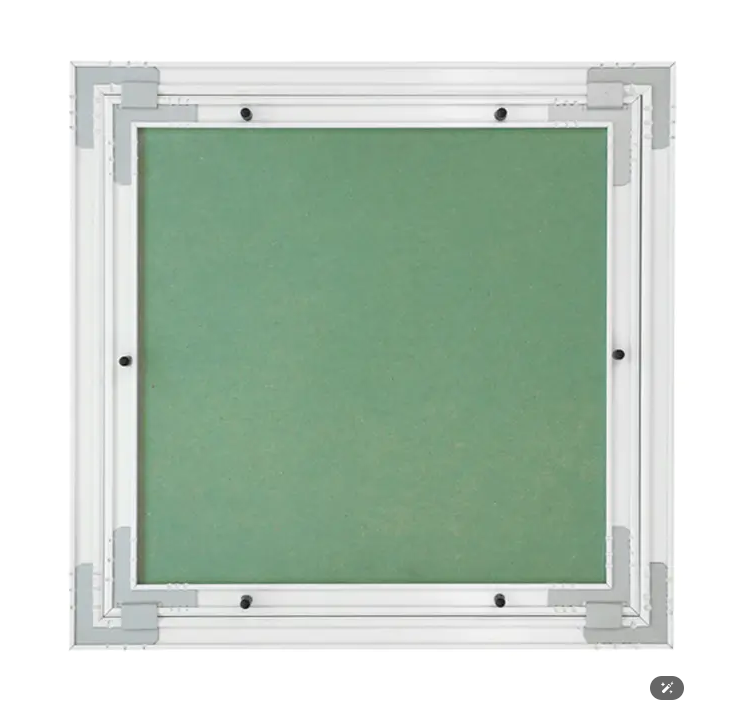
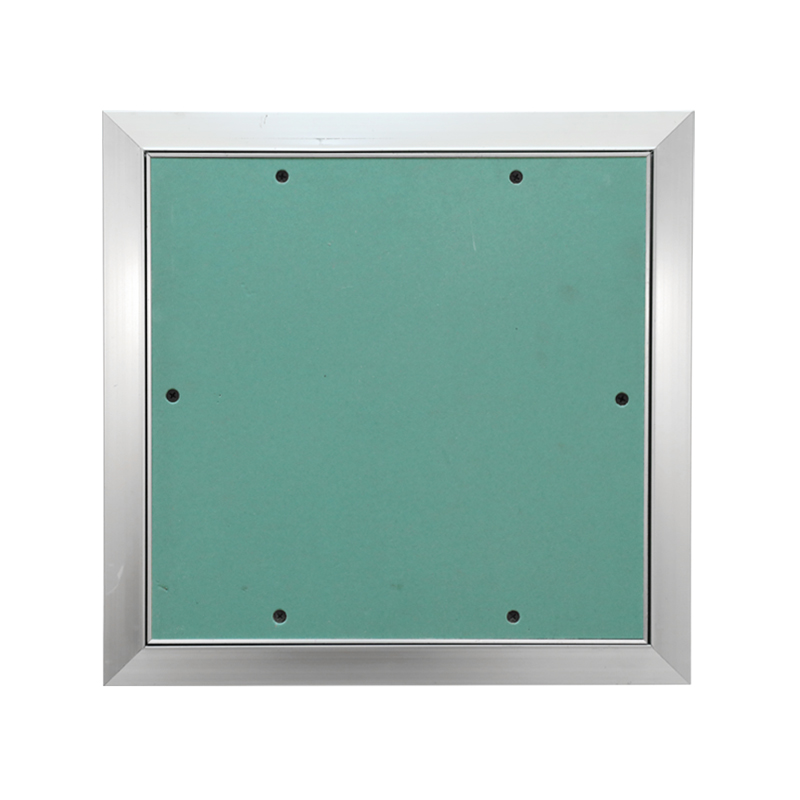
A drywall access panel — also called a drywall access door or inspection hatch — is a prefabricated frame-and-door assembly designed to sit flush within a finished gypsum board surface. The door face carries a gypsum, PVC, or cement board inlay that matches the surrounding wall, so the panel can be painted over to become effectively invisible after installation.
In commercial construction, building codes in most markets require access points wherever service infrastructure is concealed behind finished surfaces. In residential and hospitality projects, they appear in bathroom walls behind shower valves, above suspended ceilings, and in kitchen walls behind isolating valves. The challenge is not whether to install one — it is selecting the correct panel type for the specific surface and environment before the drywall is finished.
The most useful way to choose between types of drywall access panels is by the installation environment and finish requirement — not by size alone. The inlay material and frame design determine whether the panel performs over years of use or fails within months.
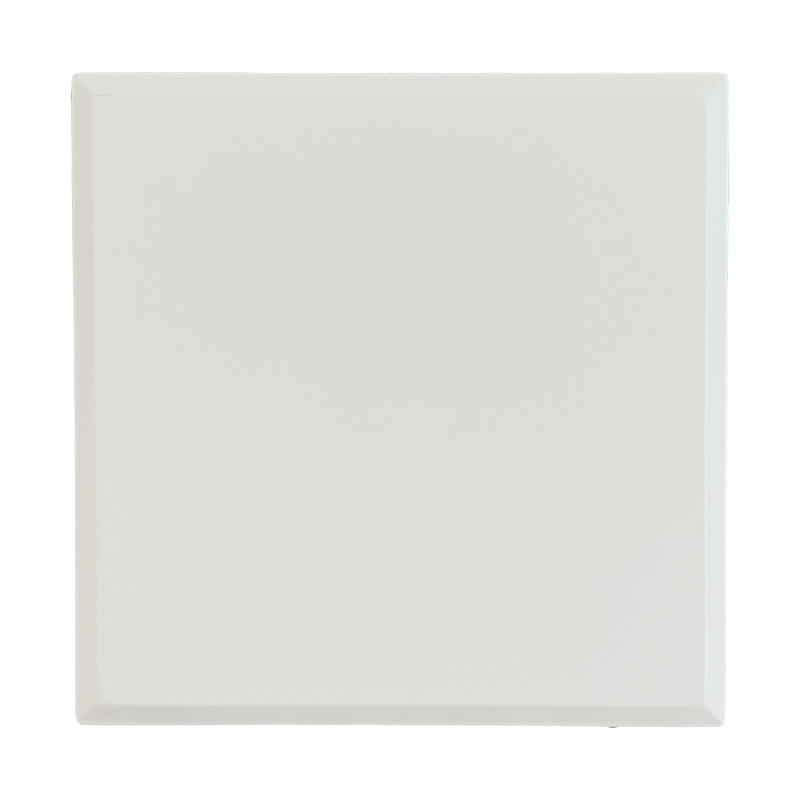
The most widely specified type for commercial offices, hotel corridors, and residential walls in dry environments. The gypsum board inlay is bonded to the door face and painted along with the surrounding wall — no visible frame, no hardware on the face, and a reveal of 1–2 mm between door and frame is the only sign the panel exists. A concealed snap lock or cam key lock keeps the door closed without any visible latch mechanism. Available in inlay thicknesses of 9 mm, 12 mm, 12.5 mm, and 15 mm to match standard drywall profiles.
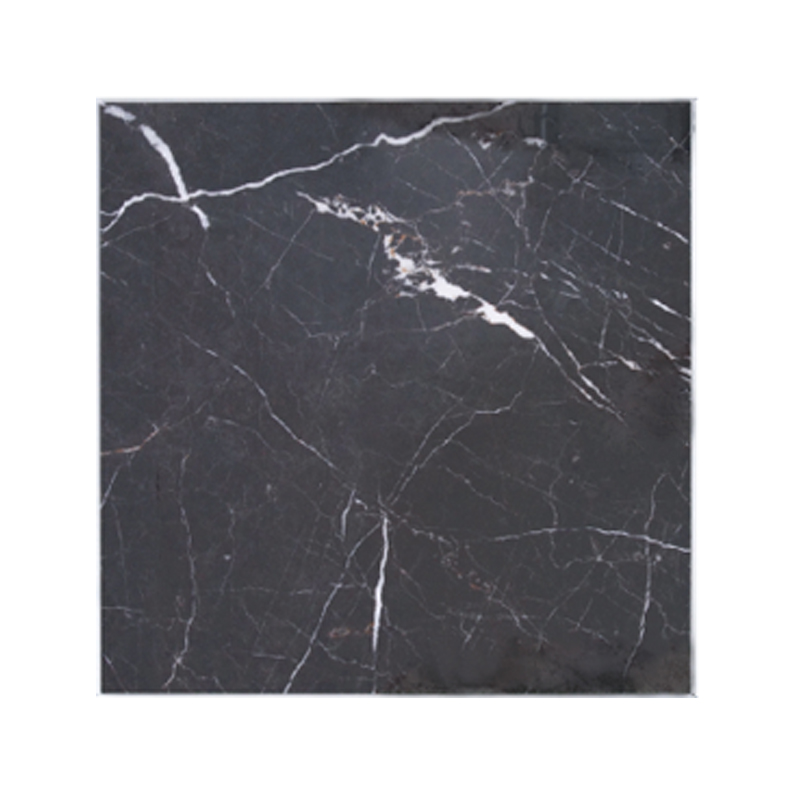
Standard gypsum board swells, cracks, and delaminates from the door face within months of installation in humid environments. Bathrooms, commercial kitchens, laundry rooms, and any wall adjacent to wet areas require a moisture-resistant gypsum inlay — the same specification that applies to the surrounding drywall. The aluminum frame is inherently corrosion-resistant; the hardware should be confirmed as stainless steel to prevent hinge stiffening in persistent humidity. Shunshi's aluminum-framed panels with moisture-resistant inlay, such as the SA-AP337, use a cement board inlay compatible with tile adhesive systems for tiled wet-wall applications.
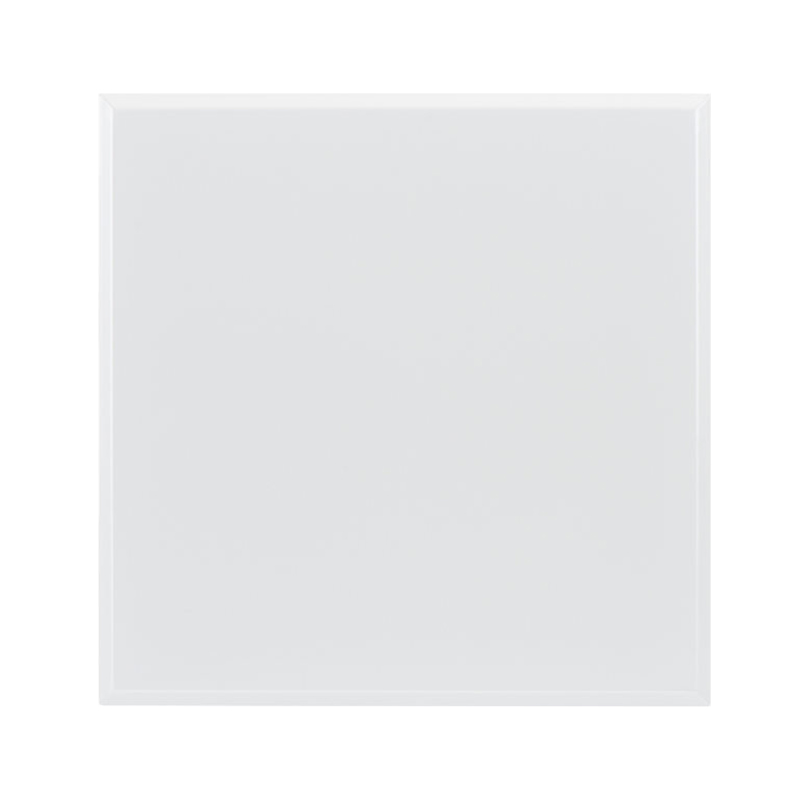
Where the surrounding wall surface will not be painted — commercial kitchens with tiled or sealed walls, pool plant rooms, or food-service environments — a PVC board inlay is the correct specification. The factory-finished PVC surface requires no painting after installation, saving finishing time on projects where paint schedules are compressed. PVC inlay panels are not suitable for fire-rated assemblies.
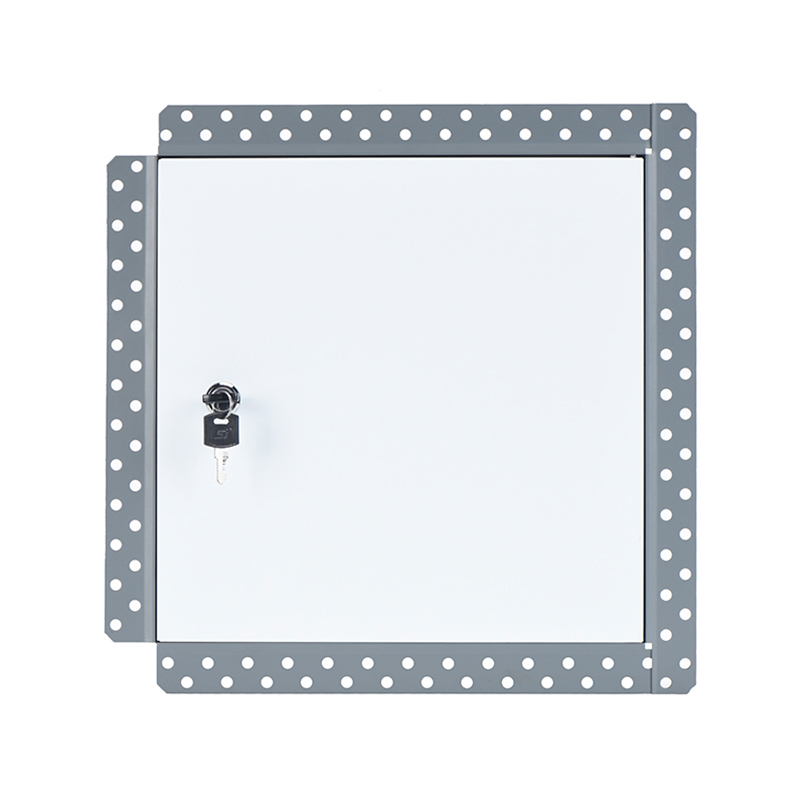
Where the wall finish is plaster or skim coat rather than painted drywall, a beaded or perforated frame panel allows the plaster to key into the frame flange rather than sitting on top of it. The result is a fully concealed frame after plastering — only the door leaf is visible. This is the standard specification for access panels in older commercial buildings being refurbished, where the surrounding finish is plaster and a standard flat-flange panel would create a visible step at the frame edge.
Where a drywall access door penetrates a fire-rated wall or ceiling assembly, the panel must carry a matching fire rating tested and certified to the specific assembly construction. Common ratings are 30, 60, 90, and 120 minutes. Installing a standard panel in a rated assembly is a code violation that will be flagged at inspection — and remediating it after the wall is finished means full frame removal and replacement. Confirm fire rating requirements with the project engineer before ordering.
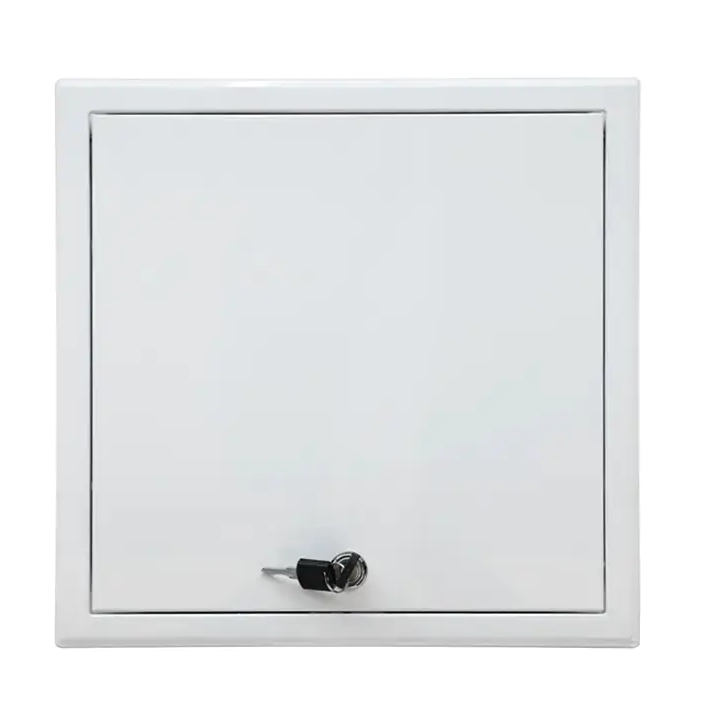
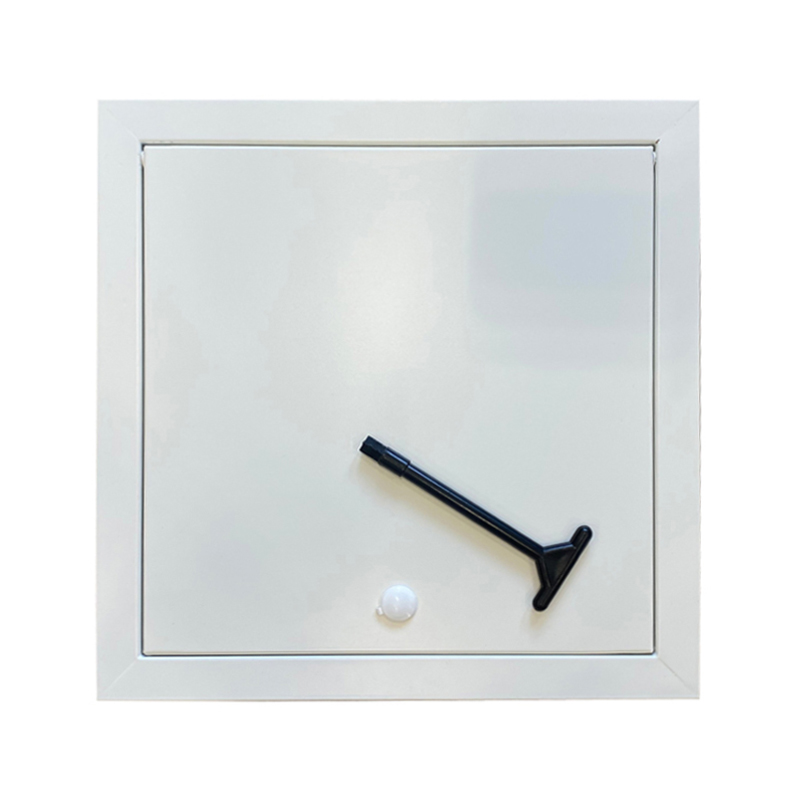
In hotels, hospitals, schools, and commercial offices where the panel is installed in a publicly accessible area, a cam lock with key restricts access to authorized personnel only. A standard push-latch or screwdriver-slot panel in a public corridor offers no meaningful protection against unauthorized opening. Steel-framed panels with cam key locks — such as the SS-AP210 — provide the correct combination of paintable flush finish and key-restricted access for these environments. For more detail on locking mechanisms and when each applies, see the steel access panel with key lock guide.
Access panel for drywall applications is available in standard sizes from 150 × 150 mm up to 600 × 600 mm. The correct size is determined by the maintenance task behind the panel — not the available wall space. A panel must be large enough for a hand and tool to operate the component behind it, not just large enough to see it.
| Nominal Size | Typical Application | Access Type |
|---|---|---|
| 150 × 150 mm | Small valves, sensors | Fingertip / visual inspection only |
| 300 × 300 mm | Plumbing valves, junction boxes | Single-hand tool access |
| 400 × 400 mm | HVAC controls, distribution boards | Two-handed tool access |
| 600 × 600 mm | Major service zones, plant room walls | Full arm and shoulder access |
300 × 300 mm is the most widely ordered size across commercial drywall applications. On multi-floor projects, standardizing on one size wherever the maintenance task permits reduces per-unit cost, simplifies the submittal package, and gives facilities teams a single replacement SKU to stock. For a detailed breakdown of size selection logic across different applications, see the access panel sizes guide.
Correct drywall access panel installation takes 30–60 minutes for the mechanical steps. The finishing process adds a half-day once drying time is included. Three decisions made during installation determine whether the result is invisible or noticeably out of flush.
For ceiling installations, a second person to support the panel during frame insertion is strongly recommended for any panel 300 × 300 mm and above. On panels larger than 400 × 400 mm installed overhead, confirm whether a safety hook or retention cable is required to prevent the door from dropping fully open when accessed from below.
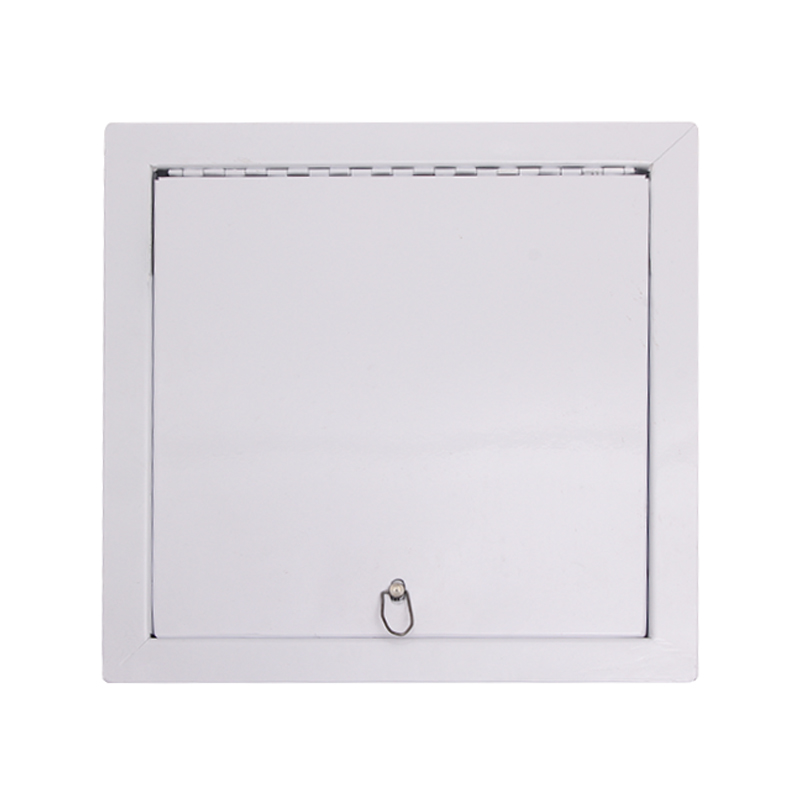
A drywall access panel is specifically designed for installation in gypsum board (drywall) surfaces — the door carries a gypsum, PVC, or cement board inlay that can be painted or tiled to match the surrounding finish. A standard access panel may use a plain metal door face that remains visible after installation. The distinction matters for finish-sensitive environments where the panel must be invisible after completion.
Yes. Drywall access panels are installed in both walls and ceilings. For ceiling installations, the frame must anchor into solid framing — either directly into joists or into nogging boards fitted between them. On panels 300 × 300 mm and above installed overhead, confirm whether a safety hook or retaining cable is specified to prevent the door from falling fully open when accessed from below. A second installer to support the panel during frame insertion is recommended for all ceiling installations above 300 × 300 mm.
Steel panels are the correct specification for fire-rated assemblies and high-traffic applications requiring maximum frame rigidity. Aluminum panels are lighter, inherently corrosion-resistant, and the preferred choice for ceiling installations, bathroom walls, and coastal or humid environments where steel would require additional surface protection. For most interior wall and ceiling applications in commercial construction, aluminum is the more practical specification. See the full aluminum access panel selection guide for a detailed comparison by application scenario.
A cam lock with key is the correct specification for any drywall access door installed in a publicly accessible corridor, hotel guest room, hospital ward, or school hallway. A push-to-open snap latch or screwdriver-slot latch does not restrict access and is appropriate only in maintenance-only areas where all building occupants are authorized to open the panel. The latch type should be confirmed at the specification stage — changing from a snap latch to a cam lock after ordering requires a new panel, not a hardware swap.
The mechanical installation — marking, cutting, fitting and securing the frame — takes 30–60 minutes for a standard wall panel. The finishing process (two coats of joint compound, drying, sanding, priming, and painting) adds a half-day once drying time is factored in. Ceiling installations with nogging add 30–45 minutes to the structural preparation stage. Wet-area installations with tiled door faces require 24–48 hours after tiling for adhesive and grout to cure before the door is fully functional.

Contact Us
SHUNSHI provides a range of technical support services to ensure that customers are able to properly select, install and maintain these products.
Products
Access Panels GuideContact
Tel: 86-15988108762
86-572-8298792
Fax: 86-572-8298792
E-mail: [email protected]
No.281 Mingzhu Main Road, Leidian Town, Deqing, Huzhou, Zhejiang, China, 313219

 English
 Español
 عربى
عربى