English
A crawl space access door gets ignored until the day somebody actually has to go down there. Then it matters a great deal: the hatch has to open without a fight, close tight enough to keep the damp out, and stay square after a few seasons of the house moving around it. We have been manufacturing access panels and hatches for close to twenty years, and the crawl space doors we see failing in the field usually fail for the same handful of reasons — an opening cut too generously, a frame that was never shimmed square, or a seal fitted on a wet afternoon and never looked at again. This guide walks through the job the way we would approach it on a real house.
Before measuring anything, it helps to be clear about the job. A crawl space hatch is not a cupboard door. It sits between a conditioned part of the house and an unconditioned, often damp space underneath, so it has to do several things at once:
Write those requirements down and half the product decisions make themselves.
The most expensive mistake in this job is a rough opening that is 10mm too big, because there is no elegant way to take it back. Measure twice, and measure the clear opening you need rather than the panel you are buying.
If a hatch is already there, pull the old door and frame out and inspect the timber or masonry behind it. Old frames are often packed with cardboard, scraps of insulation or nothing at all. Check that the header above the opening is sound and that the trimmer studs on either side are fixed, not just nailed through plaster. Then measure the opening in three places — top, middle and bottom — and in both directions. Use the smallest of the three figures; older houses are rarely square, and the frame has to fit the tightest point.
In a timber floor, find the joist direction first. A cut parallel to the joists may need only one trimmer and a header, while a cut across them is a much bigger structural question. In a foundation wall, treat the wall as load-bearing until an engineer says otherwise: a lintel or steel angle is usually needed above the opening. Do not assume a small hatch is exempt.
Allow for the frame. If the frame section is 40mm wide on each side, the rough opening is the clear opening plus 80mm in each direction, plus a few millimetres of packing space. Our size and dimension reference sets out nominal versus clear dimensions for the standard ranges, which is a useful cross-check before you mark the line.
For an exterior crawl space hatch, steel is our default recommendation. A galvanised steel frame with a powder-coated door face handles the humidity, holds a gasket properly and takes a lock without deforming. Aluminium is lighter and will never rust, which makes it a sensible choice in coastal air or for interior hatches where weight matters, but a thin aluminium frame can dent at the strike side if the door is slammed repeatedly.
Plastic hatches have their place in interior access openings and utility cupboards, and they are cheap and quiet, but we would not put one in a foundation wall where it will be stepped on or leaned against. If you want a side-by-side comparison of how the two metals behave under load, corrosion and fire exposure, our team wrote up a technical steel versus aluminium comparison that covers the details without the sales language.
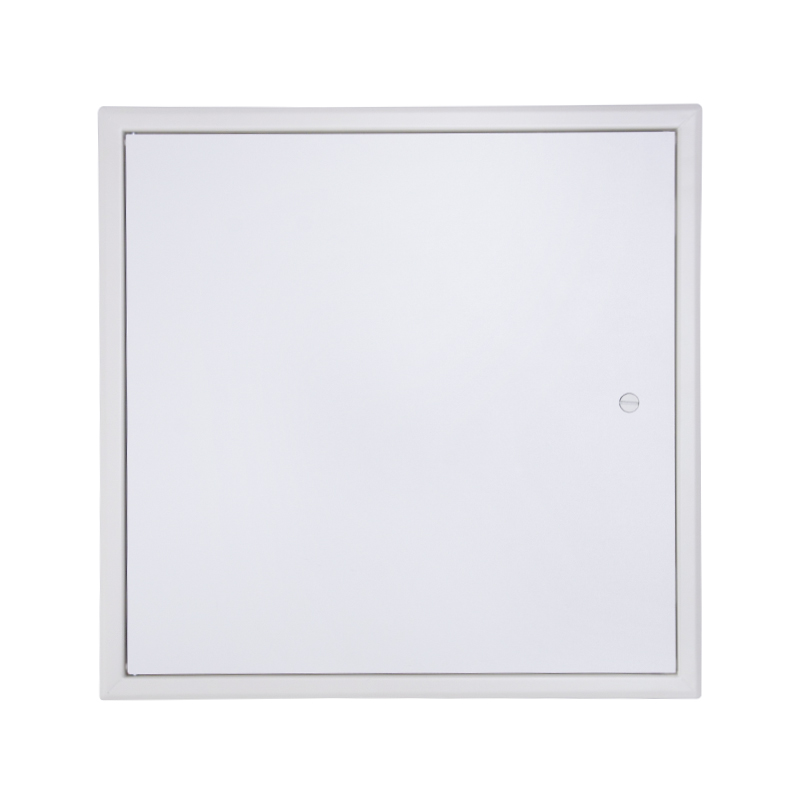
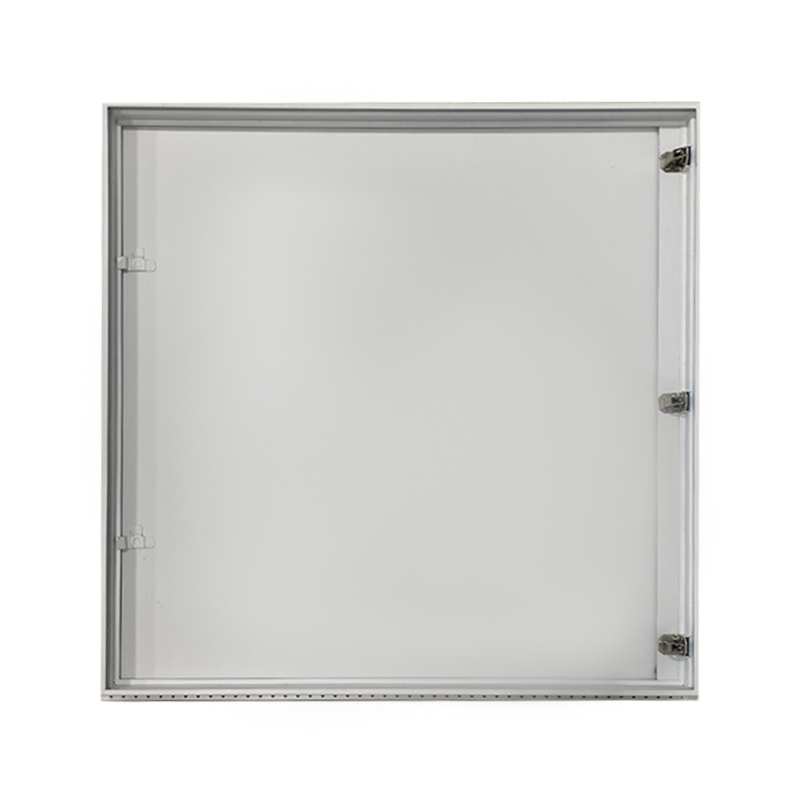 Heavy-Duty Galvanized Steel Access Panel SS-AP401A flush, durable galvanized panel for interior crawl-space or utility-room access, with a strong hinge, screwdriver lock and standard or custom sizes.View Product →
Where the crawl space is entered from a basement or utility room rather than from outside, a heavy-duty galvanised panel with a magnetic or push-lock latch is often the most practical answer, because it sits flush, seals against a gasket and can be opened in seconds without a handle sticking into the room.
The sequence below is what we would follow on a typical exterior foundation hatch. Adapt the fixing method to masonry or timber as required, and read the manufacturer's instructions before you start — they take precedence over any general guide.
Water vapour, not liquid water, is what usually causes trouble. Warm indoor air leaking through an unsealed hatch meets a cold door face and condenses, and after a few winters the paint lifts and the frame starts to corrode from the inside. A continuous gasket plus a properly filled perimeter gap solves most of this in one go. Where the hatch is the boundary between a heated house and a cold crawl space, treat the door as part of the thermal envelope: insulate it, seal it, and resist the temptation to leave it slightly ajar "for ventilation" — if the space needs venting, that is a separate decision and should be made deliberately rather than through a gap under the door.
On the finish side, keep drainage in mind. If the hatch sits at grade, build a slight fall away from the threshold and check that the sill does not sit below the surrounding paving. Standing water at the base of a door is a reliable way to shorten its life.
None of the faults below are unusual, and none of them are difficult to avoid once you know what to look for.
| Symptom | Usual cause | What we do about it |
|---|---|---|
| Door binds in summer | Frame fixed out of square or over-shimmed at one corner | Release the fixings, re-shim from the hinge side and re-check level |
| Damp patch inside the door face | Warm air leaking past the gasket and condensing | Replace the gasket, adjust the latch for compression, seal the perimeter gap |
| Hinges pulling out of the frame | Screws too short for the frame section, or fixings placed in the packing | Use longer stainless screws into solid frame material, add a backing plate if needed |
| Water pooling at the sill | Threshold set level with or below surrounding ground | Rebuild the fall away from the door and reseal under the sill |
| Pests getting past a closed door | Gap at a corner or an unfitted cable entry | Close the gap with a brush seal strip and re-check the full perimeter |
If you are specifying hatches for a development, a rental portfolio or a renovation contract, the simplest way to avoid repeat visits is to standardise. Pick one frame size that suits the smallest opening you have, choose the material that matches the exposure of each location, and keep the latch type consistent so tenants and maintenance staff only have to learn one mechanism. Buying in volume also lets you ask for a factory-fitted gasket and a specified latch, which removes a step from the installer's day.
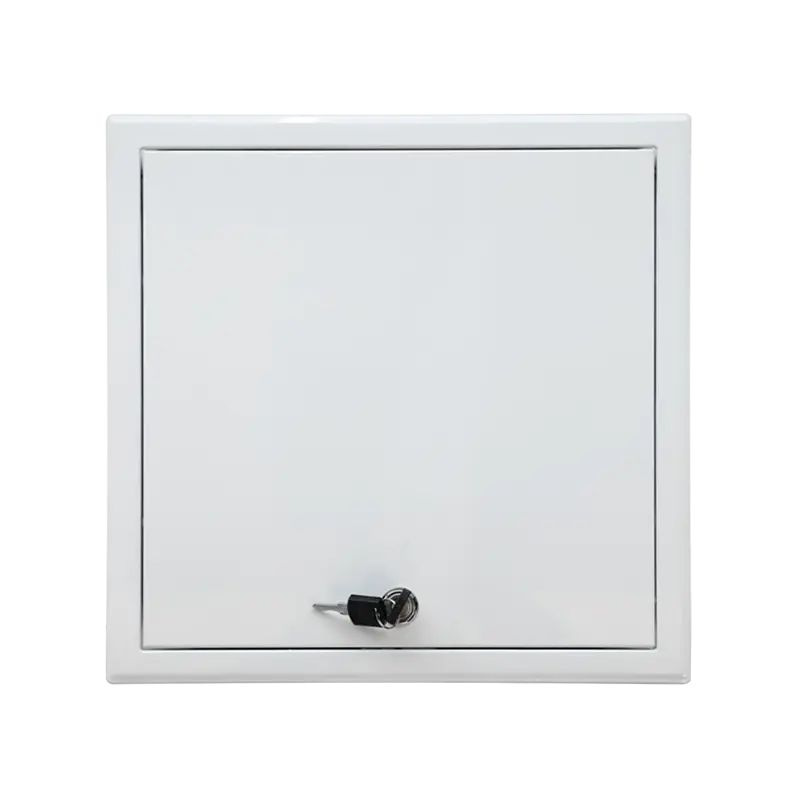
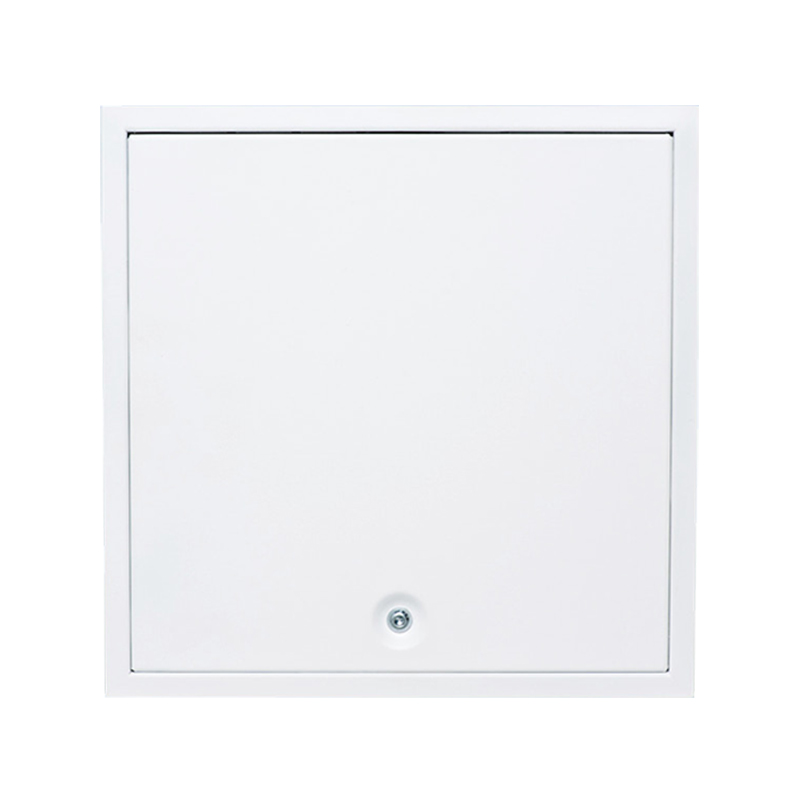
 Wholesale Steel Access Panels and Access DoorsBrowse steel access panel models by frame, lock and installation type, useful for standardising hatch specifications across crawl spaces, plant rooms and renovation projects.View Product →
Our steel range is where most crawl space and plant room work ends up, and we are happy to talk through sizes, fixing flanges and latch options before an order is placed. Send us the rough opening dimensions and a photo of the wall or floor construction, and we can usually tell you within a day whether a standard panel will work or whether the job needs a custom frame.
One last word of advice from the factory floor: buy the hatch before you cut the hole. It sounds obvious, but we take calls every month from installers standing next to an opening that is already 20mm too wide, asking whether we can make a frame bigger by Friday. Measure the product, cut once, and the rest of the installation is straightforward.


Contact Us
SHUNSHI provides a range of technical support services to ensure that customers are able to properly select, install and maintain these products.
Products
Access Panels GuideContact
Tel: 86-15988108762
86-572-8298792
Fax: 86-572-8298792
E-mail: [email protected]
No.281 Mingzhu Main Road, Leidian Town, Deqing, Huzhou, Zhejiang, China, 313219

 English
 Español
 عربى