English

An access panel turns a closed drywall surface into a serviceable opening for a valve, junction box, damper, drain, or cable connection. Installing an access panel in drywall is not complicated, but the result depends on planning the cut, supporting the frame, and finishing the edges without interfering with the door or latch. A rushed opening can leave a weak frame, a poor fit, or a repair that looks worse than the problem it was meant to solve.
From our experience on the manufacturing side, most installation problems start before the first cut. The panel has to suit the substrate, the opening has to match the rough opening rather than the visible door size, and the surrounding drywall needs enough support. The steps below follow that practical order.
Begin by finding exactly what needs to be reached and how much room a hand, tool, or replacement part will need. A panel that fits the pipe but leaves no space to turn a valve is not useful. Check the clearance above, below, and to each side of the service point, then think about how the door will open. On a ceiling, the door usually needs to swing downward without hitting a wall, beam, or light fitting.
Before cutting, confirm what is inside the wall or ceiling. Use a stud finder, check for cables and pipes, and make a small inspection opening if the area is uncertain. The location must also respect the building requirements for fire separation, moisture exposure, and acoustic performance. If the wall is fire-rated, the access panel must be part of a tested assembly and cannot be treated as an ordinary drywall opening.
For a more detailed walk-through of substrates and fixing methods, see our installation guide for drywall, plaster, and suspended ceilings.
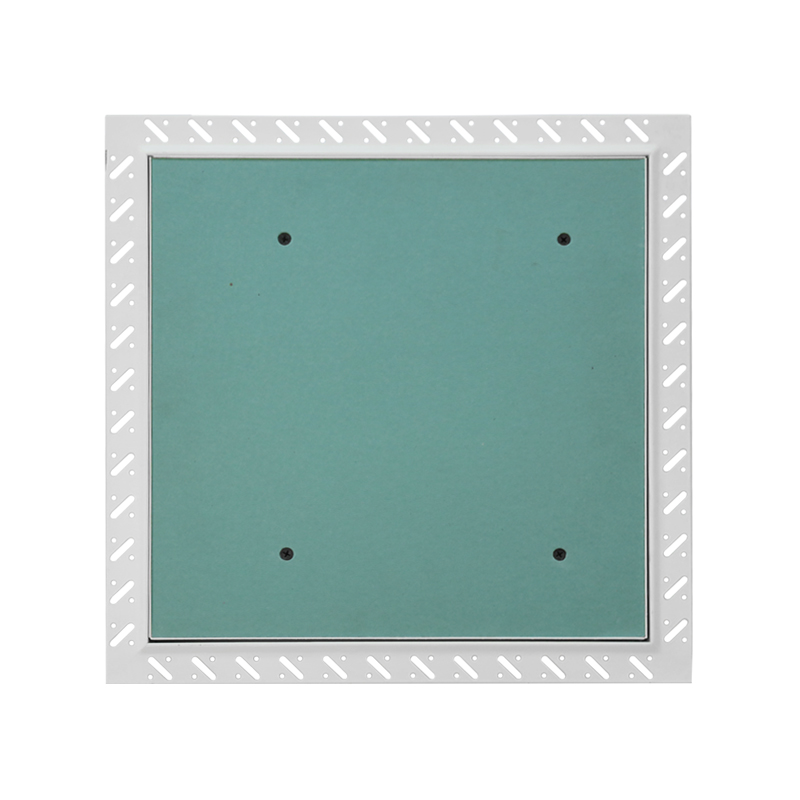
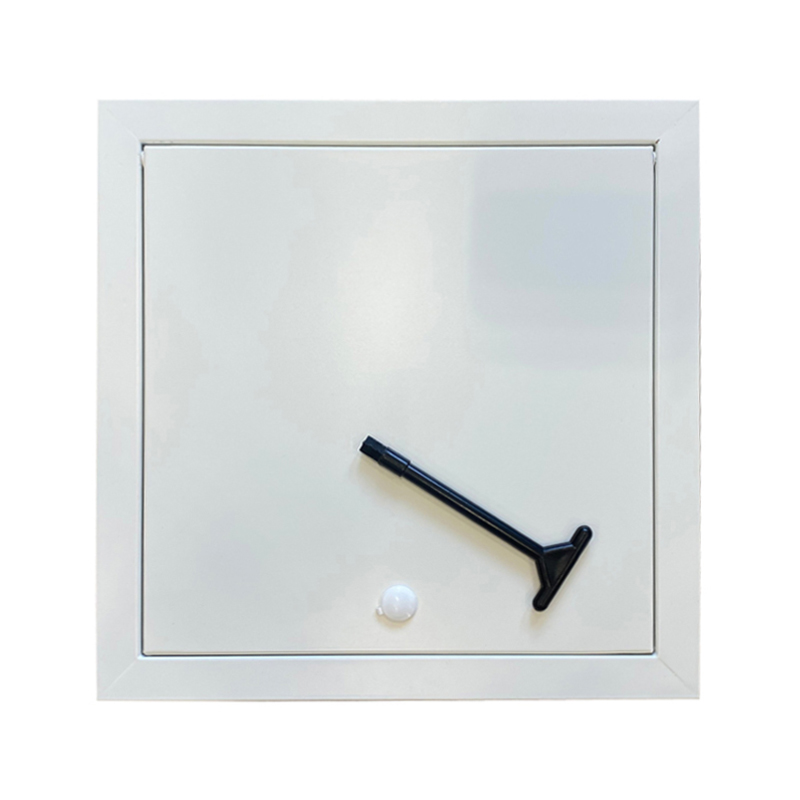
Access panels are not interchangeable. A flanged picture-frame panel sits on the face of the drywall and covers the cut edge. A drywall inlay panel is set into the opening so the frame can be finished flush with the surrounding surface. Plastic panels suit light-duty access points, steel panels give a rigid frame and a durable painted finish, and aluminum panels are often chosen for ceilings or clean interior details. Fire-rated and moisture-resistant versions exist, but only the correct tested model should be used in those locations.
| Panel type | Good fit | Installation note |
|---|---|---|
| Steel | Utility rooms, service corridors, painted walls | Rigid frame, fix through the flange, touch up cut edges |
| Aluminum | Ceilings and clean interior finishes | Lightweight, avoid over-tightening screws and check ceiling fixings |
| Plastic | Light-duty access, cupboards, cable points | Use for low loads, not as a substitute in fire-rated walls |
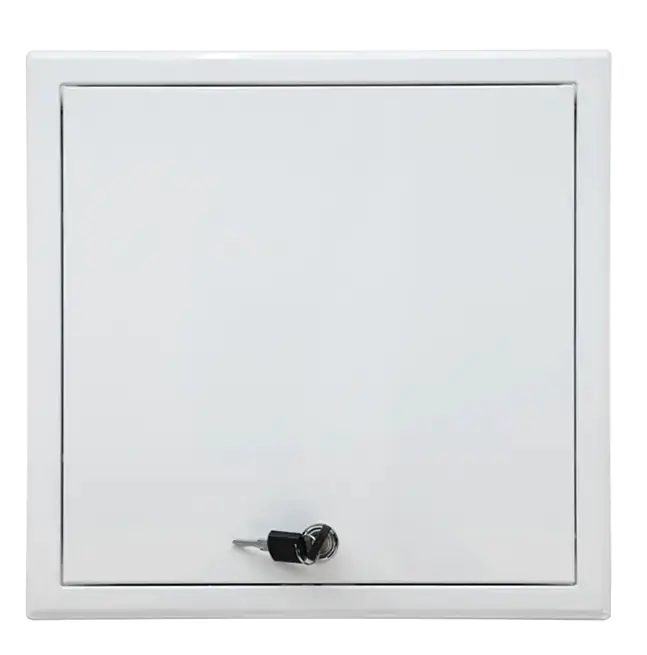
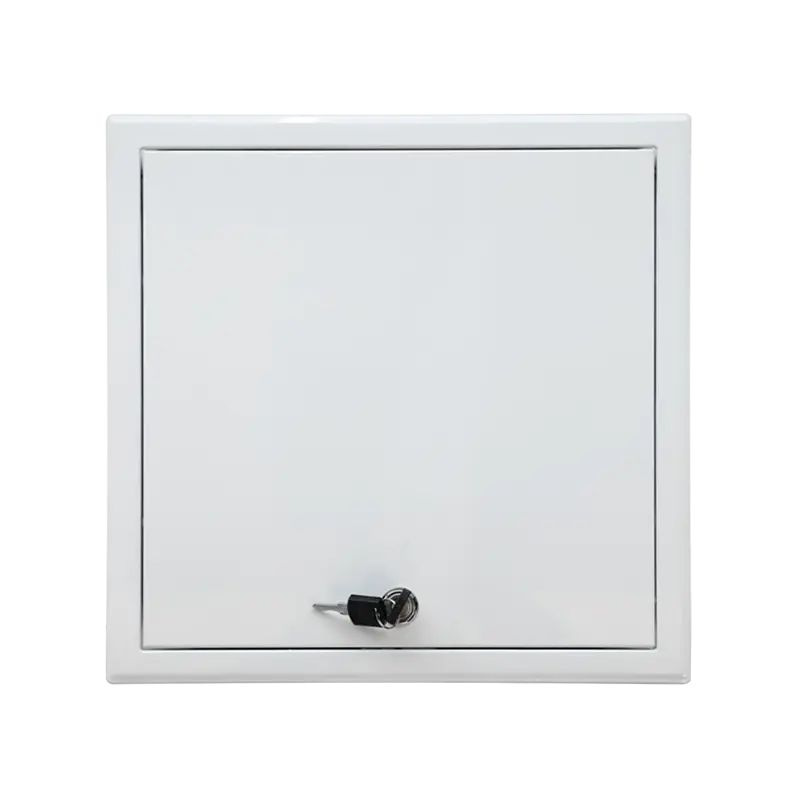
For a painted utility wall where the frame needs to stay firm under repeated use, a steel panel is often a sensible starting point. A representative option is shown below.
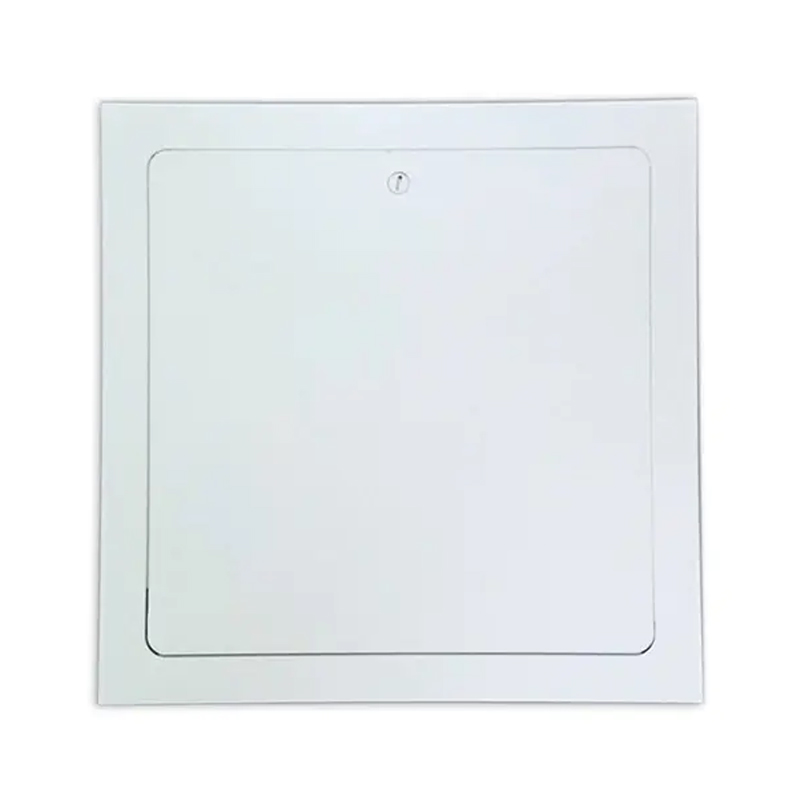 SS-AP240 Steel Access Panel for Utility WallsA galvanized steel access panel with welded frame, slotted lock, and powder-coated finish for firm, repeated-use utility wall installations.View Product →
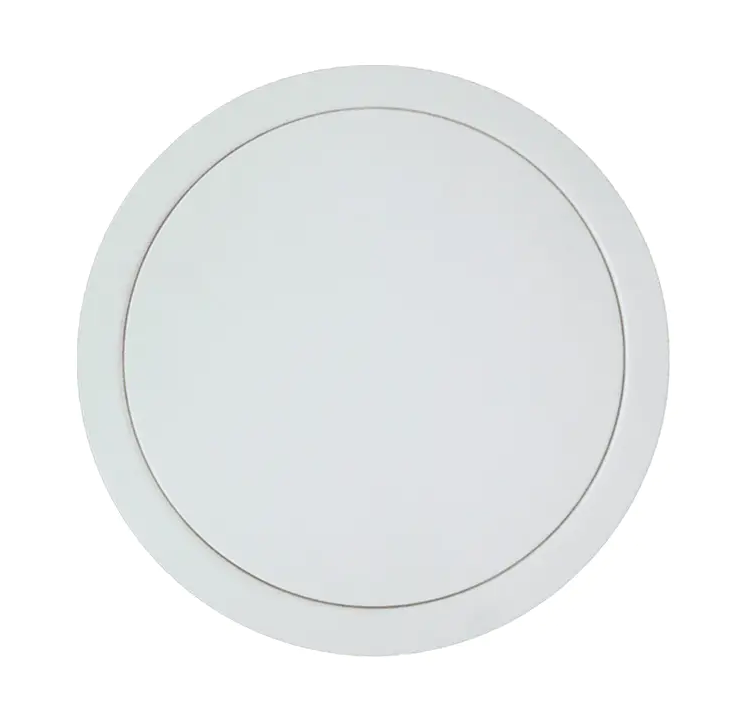
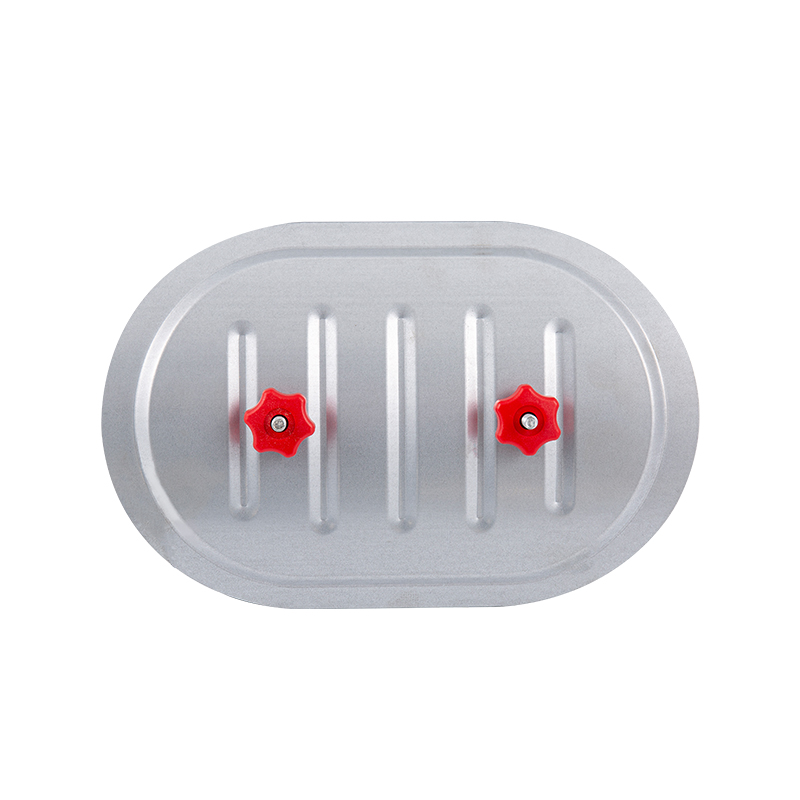
For a light-duty cable access point or a cupboard wall, a plastic panel can be enough, provided it is not exposed to heavy traffic or fire-rated requirements.
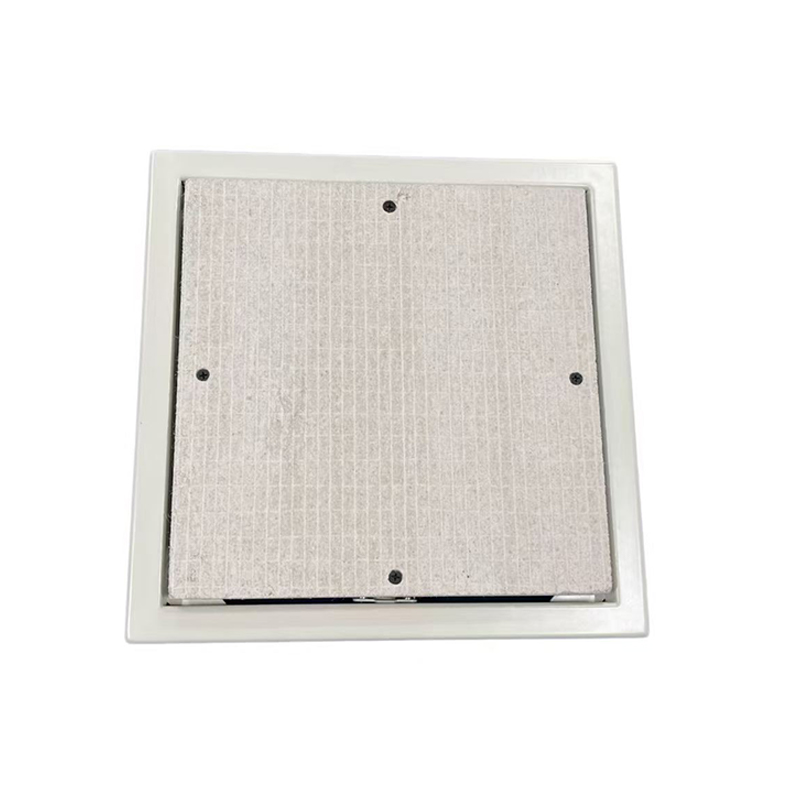
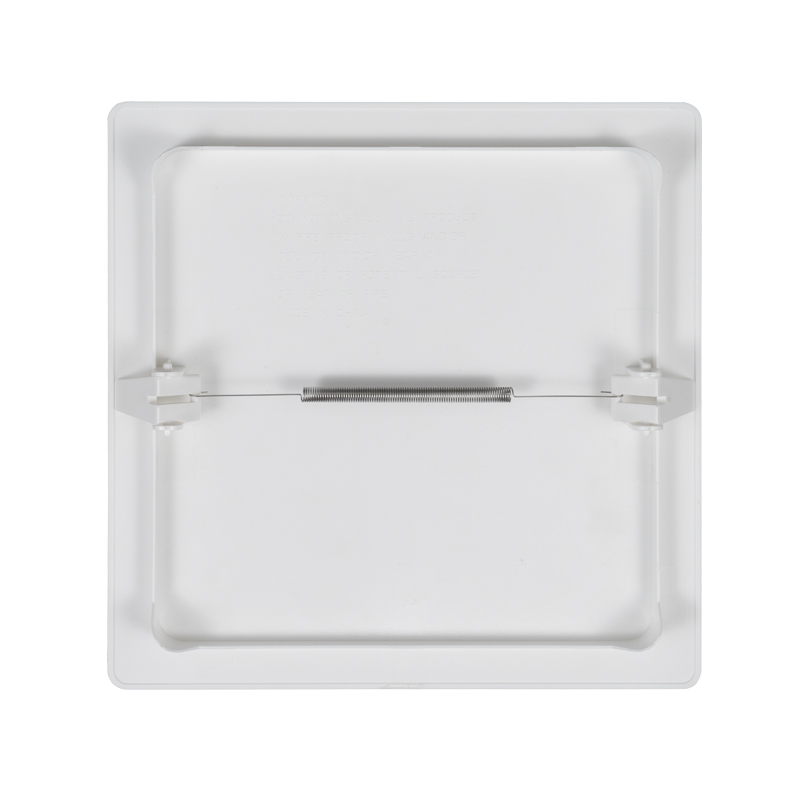 SP-AP002 Plastic Access Panel for Light-Duty AccessA removable ABS panel with spring-locked backside and flip clips for light-duty in-wall plumbing or electrical access.View Product →
The cutout size is normally the rough opening stated by the manufacturer, not the outside flange size and not the visible door size. Those three dimensions can be very different. Measure the panel itself, read the label, and check the access panel size and dimension guide if the model number is known. Do not add a random extra gap in the hope that it will make fitting easier. Too much clearance weakens the fixing and makes finishing harder.
Mark the opening with a level and a square. Check both diagonals before cutting; a slightly out-of-square opening will show at the frame. Confirm that the edges will land on studs, joists, or added blocking. If the opening falls between studs, plan the framing before the panel goes in. On a ceiling, mark the opening so the door can open fully and the fixings can be reached safely.
Score the paper face with a sharp utility knife, then cut with a drywall saw or an oscillating tool. Support the waste piece on a ceiling so it does not fall and damage the surface below. A vacuum held near the cut will not catch everything, but it reduces the dust that settles inside the wall and on the floor. Cut to the marked line, not beyond it. Stop immediately if the blade meets a cable, pipe, or a fixing that was not expected.
Test-fit the panel before any finishing work. It should enter the opening without force. If the opening is slightly tight, trim a little and recheck. If it is clearly too large, do not bridge the gap with sealant alone. Add a drywall patch or new framing so the panel has a solid, continuous edge to fix to.
A panel frame should not rely on the cut edge of drywall alone. The opening needs solid support, especially on a ceiling or in a wall used every day. Add timber blocking between studs or joists, screw it securely, and bring it flush with the drywall face. For a small opening beside a stud, the stud itself may provide one side, but the remaining sides still need support. Keep the blocking clear of the service point so the panel still opens and closes freely.
In fire-rated construction, do not improvise. The opening, panel, fixings, and finishing method must follow the tested details for that wall or ceiling assembly. A standard panel with a tight fit is not a fire-rated installation.
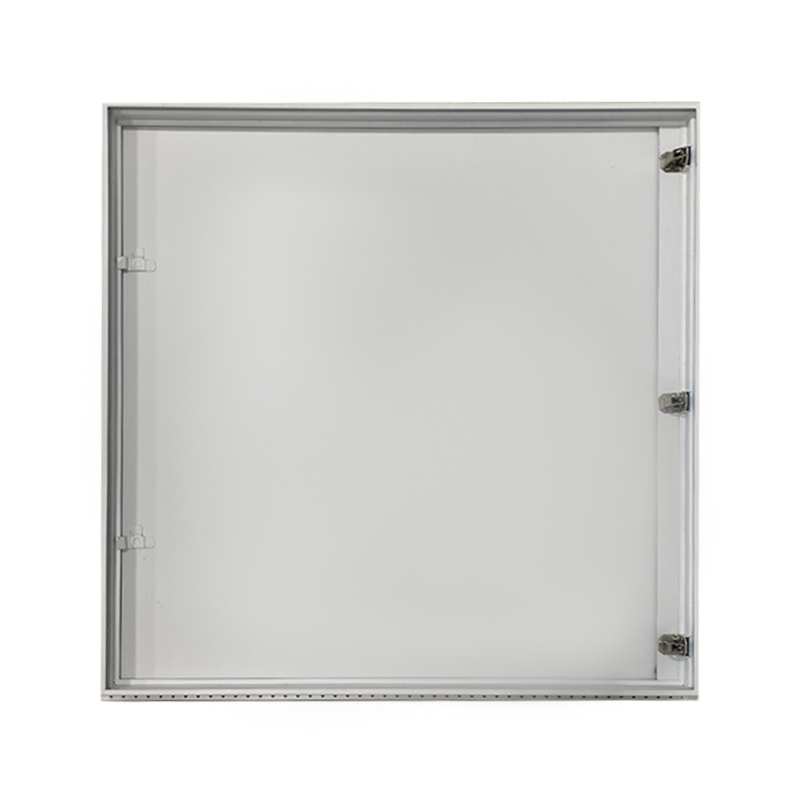
Dry-fit the frame, check the hinge side, and confirm that the door can open through its full swing. For a flanged panel, set the frame against the drywall face and fix through the flange into the framing or blocking. Drive screws at the corners first, then at intermediate points, and stop when the frame is snug. Over-tightening distorts the frame and can make the latch bind. For an inlay panel, follow the manufacturer's sequence for setting the frame flush and finishing over the narrow edge.
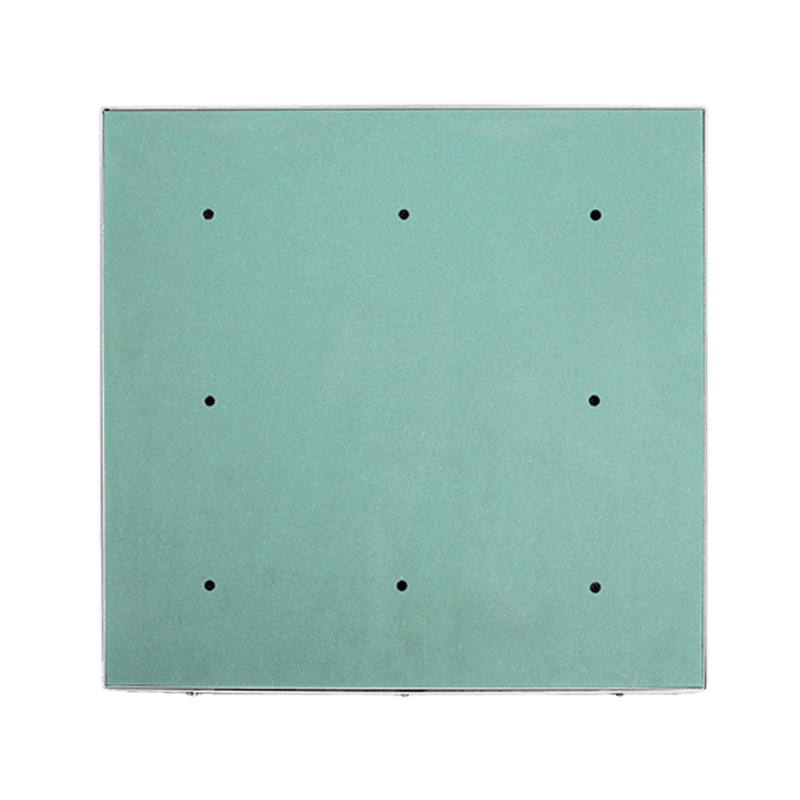
On a ceiling, a lightweight aluminum panel is often easier to hold and adjust during fixing. Check that the ceiling fixings are secure and that the open door does not foul any nearby fitting.
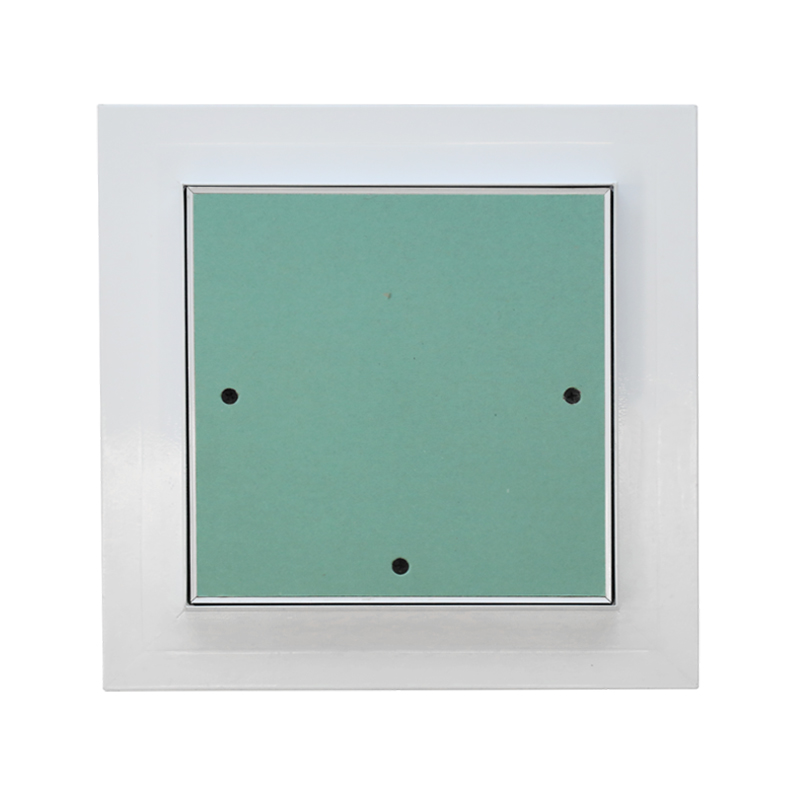 SA-AP320 Sliding Open Aluminum Access PanelA lightweight aluminum ceiling access panel with spring-loaded handle and double opening for easier fixing and maintenance access.View Product →
Open and close the door several times before finishing. Adjust the latch or hinge now, while the frame is still accessible. If the panel has a removable door, make sure it can be lifted out without scraping the surrounding finish.
For a flush finish, apply joint compound in thin layers and feather the edges beyond the frame. Let each layer dry before sanding. Do not fill the hinge, latch, or the gap needed for door movement. Keep compound away from the seal or fire-stop details. Once the surface is smooth, prime and paint the area, then remove any protective film before the panel is put into service.
Test the panel after finishing and again after the paint has dried. The door should sit neatly, open without sticking, and close without force. Clean out dust and debris from the opening, and label the service point if the panel hides a valve or electrical connection. A small label inside the door can save time on the next maintenance visit.
Stop and seek specialist advice if the opening affects a structural member, a fire-rated assembly, or a live electrical installation. The same applies when the service point is too large for a standard panel, when the ceiling cannot be reached safely, or when acoustic and moisture requirements are not clear. It is better to pause than to turn a small access problem into a repair job.
A well-installed access panel should look intentional, sit firmly in the wall or ceiling, and open without effort. The secret is not a special tool or a complicated technique. It is measuring the rough opening correctly, giving the frame real support, and finishing around a door that has already been tested. Take those steps in order, and the panel will remain useful long after the surrounding paint has settled.

Contact Us
SHUNSHI provides a range of technical support services to ensure that customers are able to properly select, install and maintain these products.
Products
Access Panels GuideContact
Tel: 86-15988108762
86-572-8298792
Fax: 86-572-8298792
E-mail: [email protected]
No.281 Mingzhu Main Road, Leidian Town, Deqing, Huzhou, Zhejiang, China, 313219

 English
 Español
 عربى